
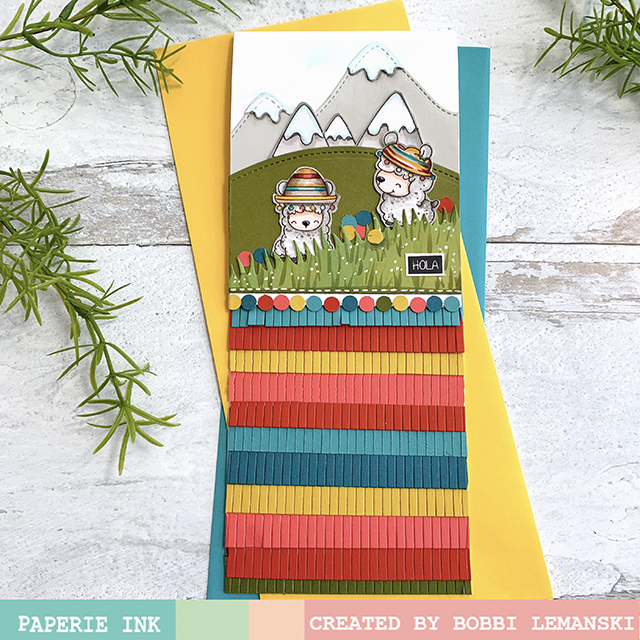
Paperie Ink just released five new sets and each one is so adorably cute! Today, I’m using the Llama Say stamp set for my inspiration card. I’m also using some fun fiesta fringe from Concord & 9th, too. The fringe die kit is called the Fringe Frenzy Kit. These two together make a great team… ummmm….I mean card!
To make this slimline, 3-1/2″ wide X 8-1/2″ long, top-fold card, I cut three pieces of cardstock, the size of the card out of one Neenah 80lb cardstock piece. I began with the inside of the card. I added fringe to the bottom section, alternating fringe colors, using the thin paper that is part of the C9 kit. I added 11 layers, covering 4-5/8″ of the interior panel measuring from the bottom edge. The die in the kit creates the perfectly even and trimmed fringe. You can do this with a scissors, but llama just say this die makes this a breeze!
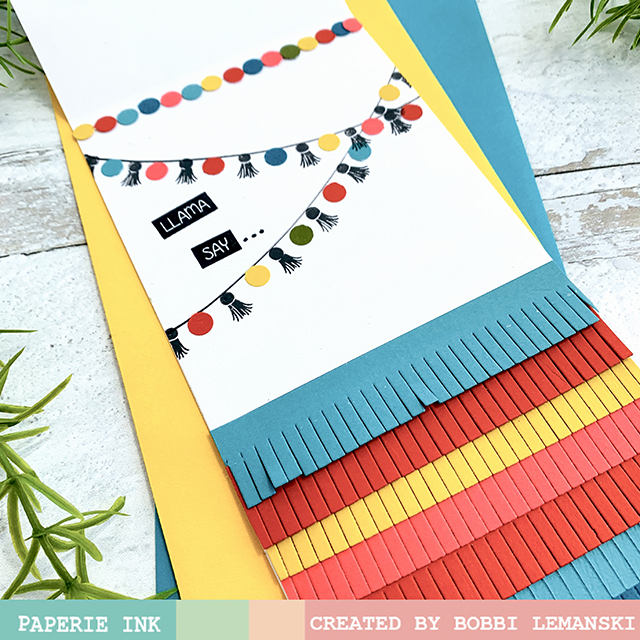
For the top 1/2 of the interior, I hand drew two black strings using a thin black marker and stamped the tassels using the image from the stamp set and added paper circles shapes for ball fringe. I simply used my hand paper punch and punched these out from the paper scraps I had left over from the fringe cuts. I also used my Misti Tool and stamped the phrase in black and added three dots using my marker. Now let’s finish the front…
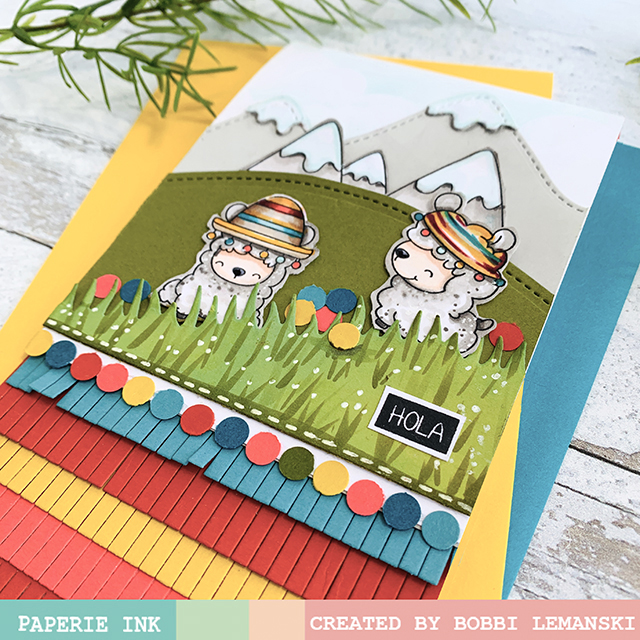
Using one of the three white cardstock pieces that I cut earlier, I created the front panel scene. I scored the top fold at 4-1/2″ so that I had a reference for placement of my scene. I used Lawn Fawn dies for the mountains in the background and stitched hill dies to make the rounded hill and grassy land foreground areas. Using two Copic Markers (YG93 and YG97) I added grass. The white flowers were added using the Uniball Signo White Gel Pen. The llamas and front mountains were stamped, fussy cut and added to the scene. I punched out a few more circles to match the fringe and added the ball fringe to the flap edge. I drew in some Faux stitching and sprinkled a few more paper circles for color around the animals. 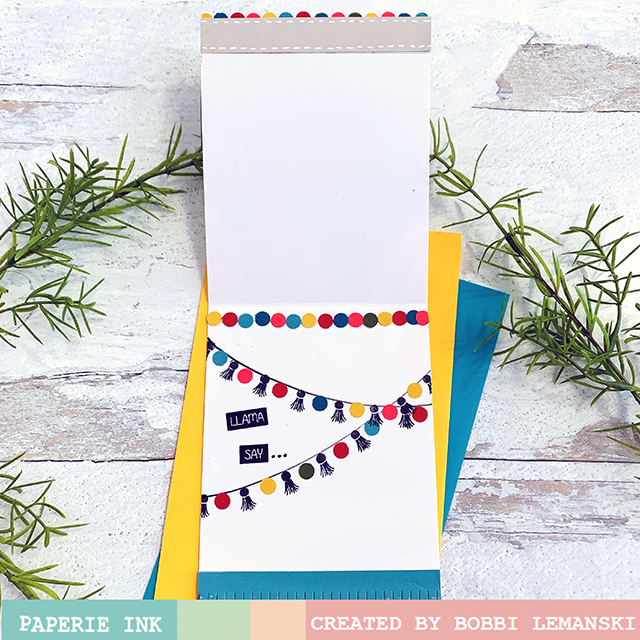
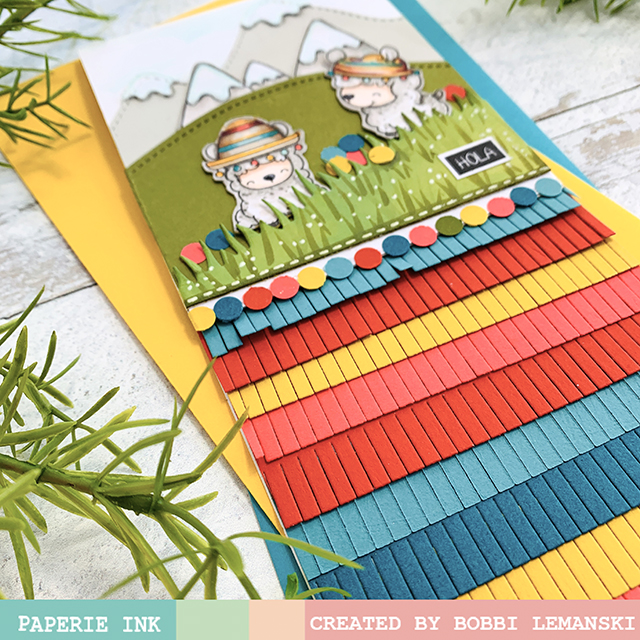
Once the scene was complete, I glued the the flap from the scored line to the edge to the back of the interior fringe panel. Because the top panel is short, the fringe shows on the outside and inside. I added the third piece of white cardstock to the back of the fringe panel, hiding the front flap edge in the back. I also added a warm gray strip of cardstock with faux white stitching to the interior side of the front flap bottom to finish it off nicely. This card fits neatly inside a business-sized envelope and mails flat, too! No added postage is needed for US domestic mailing.
Want to see more ideas and inspiration from me? Subscribe to my blog, BobbiHartDesign.com. I’ll send you updates on new posts! You can also find me on Instagram as @BobbiHartDesign and on Facebook as BobbiHartDesign.
Bobbi Hartmann Lemanski, Bobbi Hart♥ Design, Adding h♥art into every design


Like!! I blog quite often and I genuinely thank you for your information. The article has truly peaked my interest.