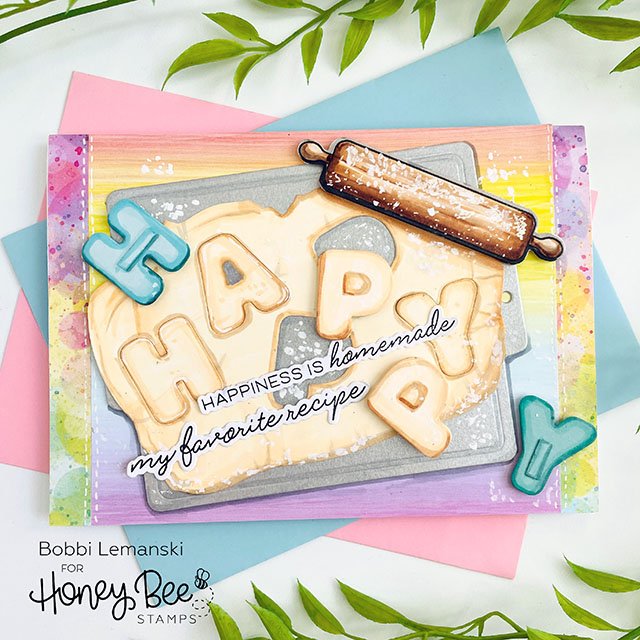
Hello Bee friends. It’s Bobbi Lemanski here with a new card to celebrate those sweet birthdays in your family. I hope you like cookies because I have lots to share on this one card I’ve designed for you. There are unbaked cookies on the outside and frosted cookies on the inside. I love cookie dough so I am as excited with the unbaked version you see first. Let’s get in the kitchen and start baking up some cookies!
I’m using the following Honey Bee Stamps products for this card:
Sugar Cookie Alphabet stamp set and coordinating die set
Baked With Love stamp set and coordinating die set
You Bake Me Happy stamp set and coordinating die set
Team Tie-dye 6″ X 6″ Paper Pad
Note: This card measures 5″ X 7″ and I used Neenah 80lb Solar White cardstock for the card base.
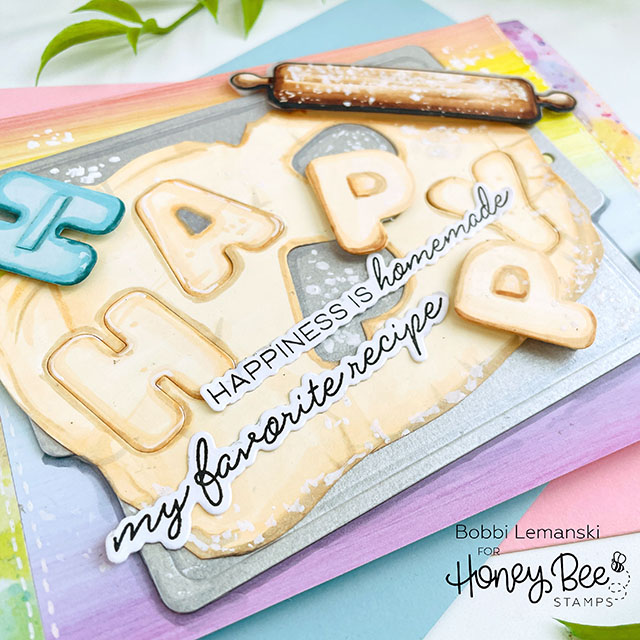
To make this card, I started by covering the front of the card using papers from the Team Tie-dye 6″ X 6″ Paper Pad. Since the papers measure 6″ square and my card is 7″ wide, I added 1/2″ wide strips of a coordinating paper to both sides of the center piece to make it 7″ wide. I added white stitching with a white gel pen to the pieces to make it look like a textile. For the rolled dough, I used an ivory Neenah cardstock and hand cut an irregular shaped layer of dough for the front. I die cut the letters H A P P Y from the dough using the Sugar Cookie die set. I colored/shaded the ivory cardstock using Copic markers in E43, E53, E51 and E50 with a little W2 to make the flat ivory cardstock look a little more like rolled dough. Each letter was colored, too. I placed two letters back in to their die cut spaces to make it look like they were cut, but not removed from the rolled dough. An extra H and Y were die cut from blue and green cardstock. These will be used as “cookie cutter” accents on the front.

Next, I die cut the cookie sheet from metallic gray cardstock. I also stamped and die cut the rolling pin from white cardstock using the Baked With Love stamp set and coordinating die set and colored it using Copic Markers in E59, E57, E55, E43, E53 and E50 colors. Using a white gel pen, I added flour to the pin. Cut out cookies always require a lot of flour mess so I’ve got white flour everywhere! I even added some white acrylic paint to get bigger splotches of flour. All the layers were adhered to the front using Bee Creative Precision Glue. The cookie cutters, rolling pin and the “P” letters were attached using 3D adhesive foam squares. Two phrases from the You Bake Me Happy stamp set and coordinating die set were added to the front.
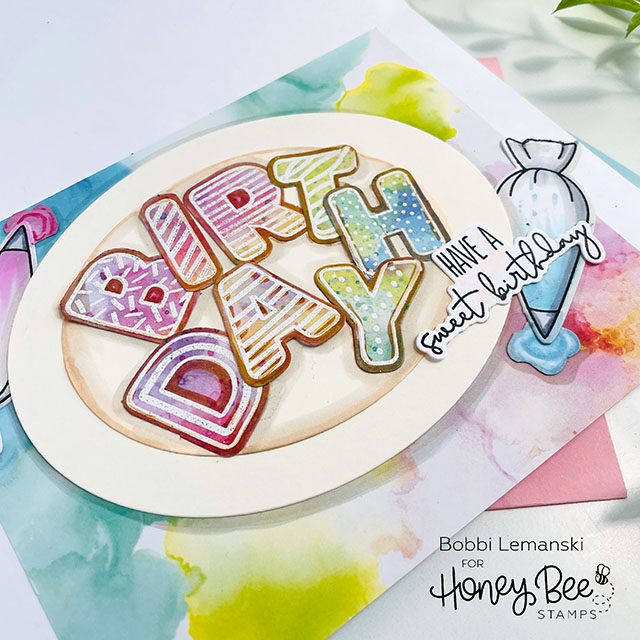
For the inside, I stamped in Versamark and heat embossed in white the frosted B I R T H D A Y cookies using the Sugar Cookie Alphabet stamp set and coordinating die set. Each cookie was colored on the edges using Copic E34 for brown cookies. I created a plate using two ivory ovals measuring 5″ X 4″ and 3-1/4″ X 3″. The cookies were added on the plate, layering them to look like a real plate of cookies. I shaded everything for dimension using a W1 shade. The plate of cookies was layered over another piece of pattern paper from the Team Tie-dye 6″ X 6″ Paper Pad.
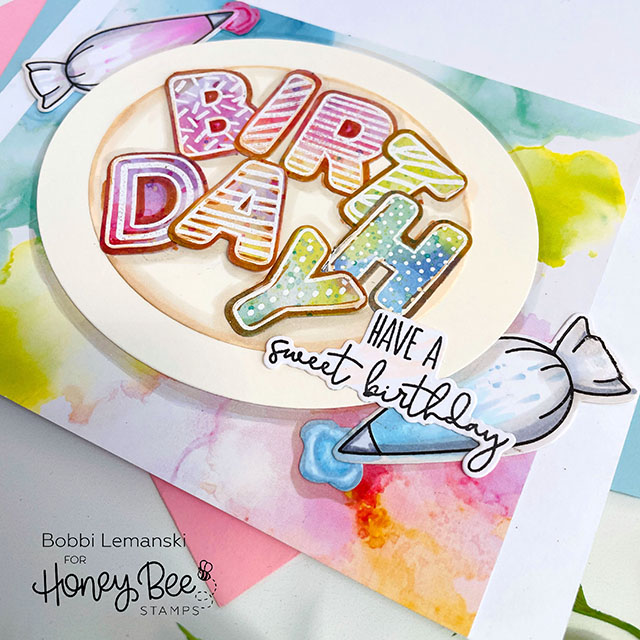
Lastly, I added two bags of icing around the plate from the Baked With Love stamp set and coordinating die set plus a little dollop of frosting and a phrase from the Baked With Love stamp set and coordinating die set to finish the card. This card is so yummy and ready to give to any cutout cookie lover you know!
You can shop the entire Honey Bee Stamps Let’s Celebrate release here. If you decide to place an order, please use the links in this post so that Honey Bee knows which ideas inspired you!
Thanks for stopping by today. If you want to see more ideas and inspiration from me, subscribe to my blog, BobbiHartDesign.com. I’ll send you updates on new posts! You can also find me on Instagram as @BobbiHartDesign and on Facebook as BobbiHartDesign.

