
Hello friends. Lots of pretties were just released by Brass and Bliss Craft Co. and I have two cards to share with you today! Let’s jump in. I’m using the following products for these two products:
Both of the cards below are 5″ X 7″ greeting cards. The card bases are made from Neenah 80lb white cardstock.
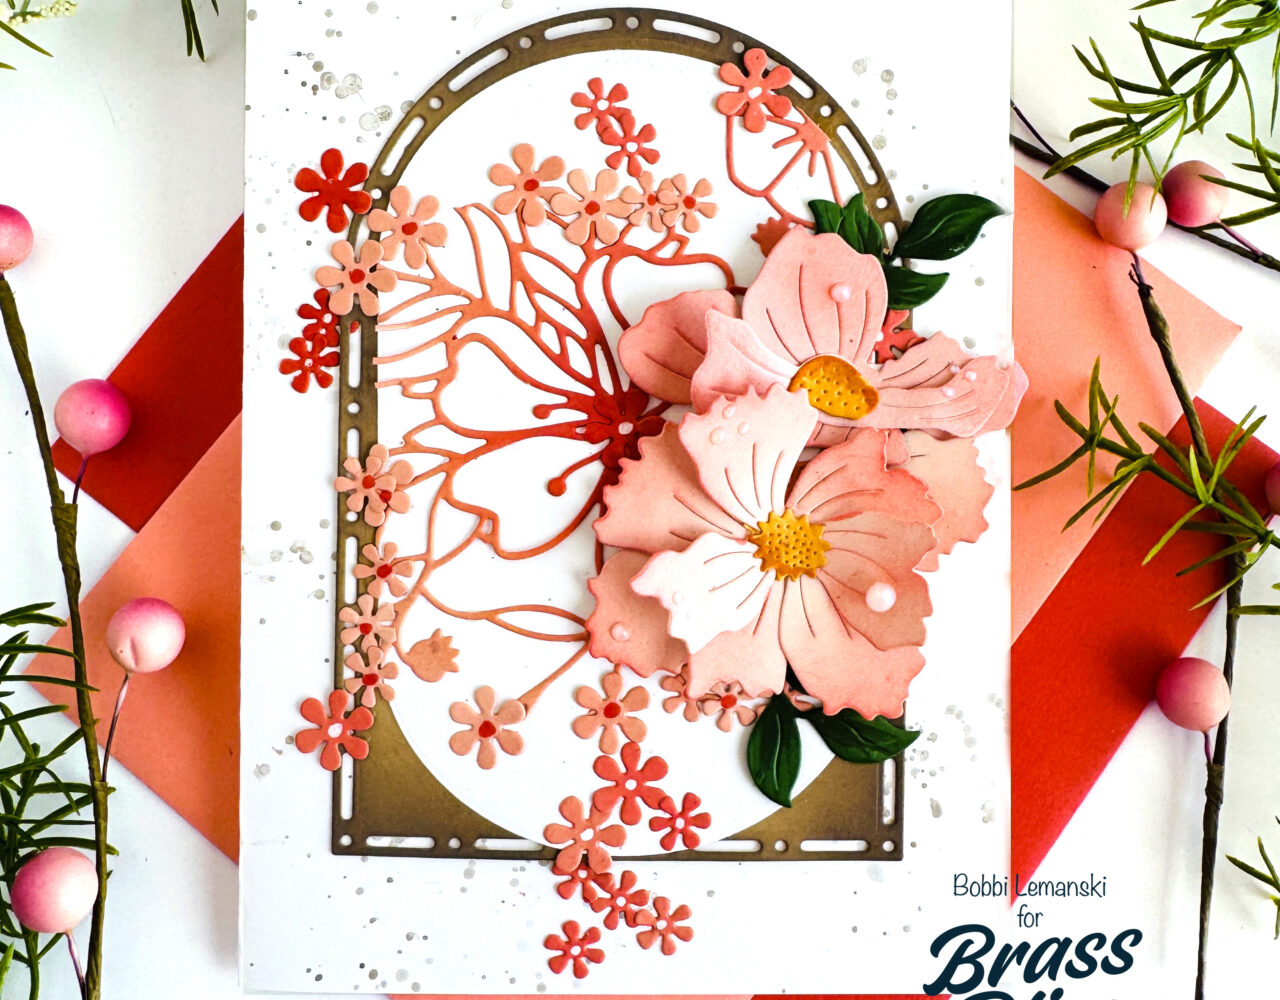
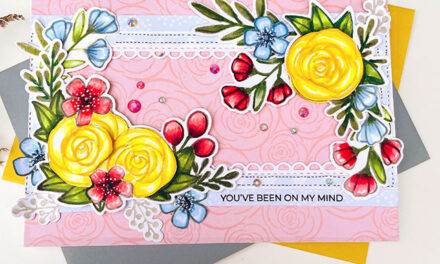
Build-An-Anemone Floral Die Card
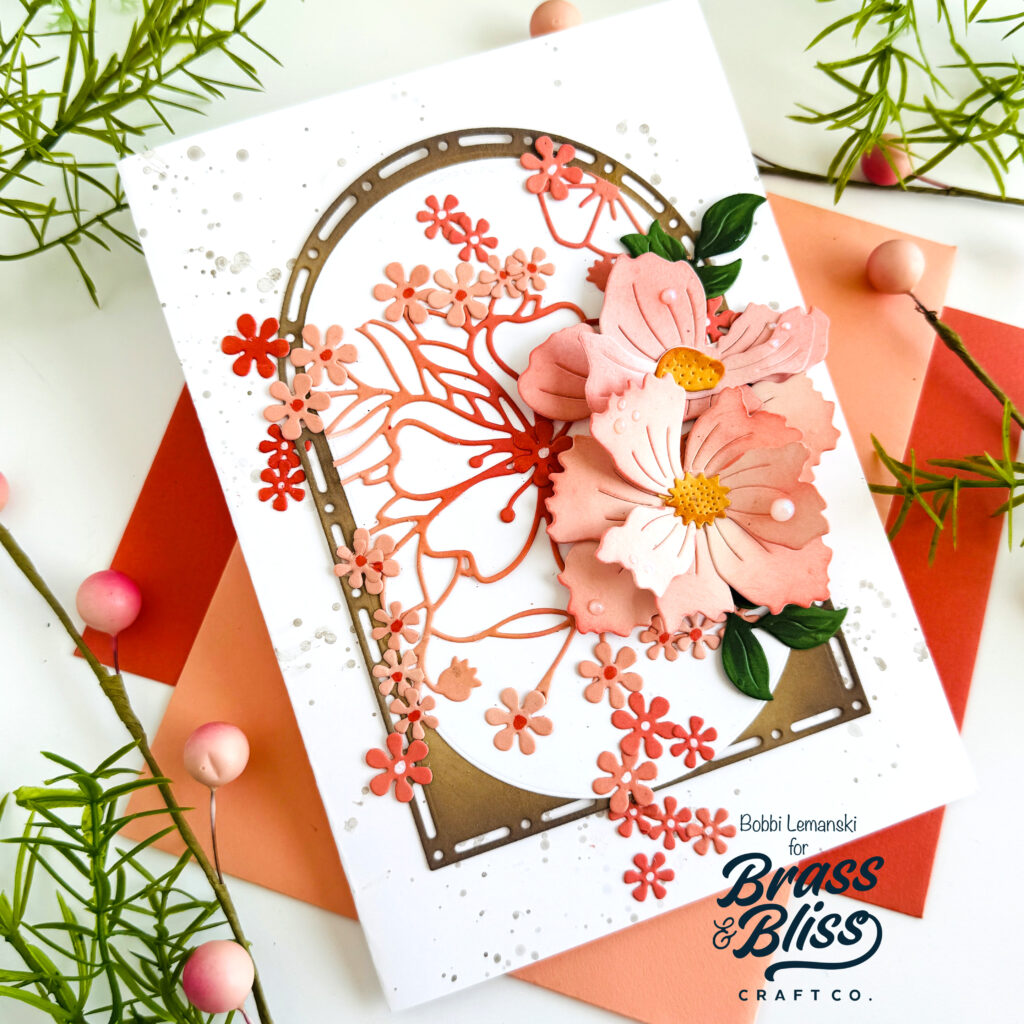
To make this 5″ X 7″ card, I started by die cutting the largest arch from the Dash Dot Nested Arch Dies. I cut it from Kraft cardstock and used Walnut Stain Distress Oxide Ink to blend a darker brown on the edges to make it more interesting in color. Next, I die cut a white oval from the Swanky Nested Oval Dies over the arch using an oval that fit perfectly inside the arch curvature at the top. These sets are great together! Before attaching it to the arch, I added the next layer, using the Floral Cover Die. This was a leftover piece from the card below. I had cut the design from a peachy cardstock that I added red and orange ink to the cardstock to make the pretty floral inset pieces below. I cut it down to fit inside the oval, cutting around the large focal flower in the design and around the oval shape. I glued it to the ovals and attached the oval to the arch. I like the organic shape this created with the floral. By doing this, I had lots of open ends to this floral layer which we’ll take care of later.
I splattered brown watercolor paint to the white card base and attached the arch layered design to the card base.
I die cut the Build A Bloom Anemones Dies to make these large, 3D, gorgeous florals on the card. I used a light pink cardstock and blended on some orangey and red Distressed Oxide Ink colors to make the blooms really come to life. I attached the flowers using foam tabs to the arch design to make them stand out more from the background.
Now back to the open edges… I added small, delicate florals to contrast with the large anemones to the card. I cut them from various shades of pink, corals and reds. I positioned them to look like they were trailing from those open ended lines of the Floral Cover Die. I positioned them to fall downward from gravity of the weight of the florals, going beyond the arch shaped background.
Lastly, I added some clear dew drops on the anemone petals and colored in the centers of the tiny blossoms using a white Gelly Roll Pen and and YR09 Copic Marker. I see I missed one. Do you see it? 🙂
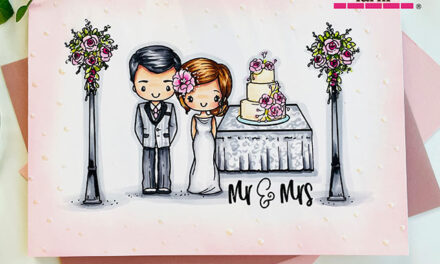
Floral Cover Die Background Card
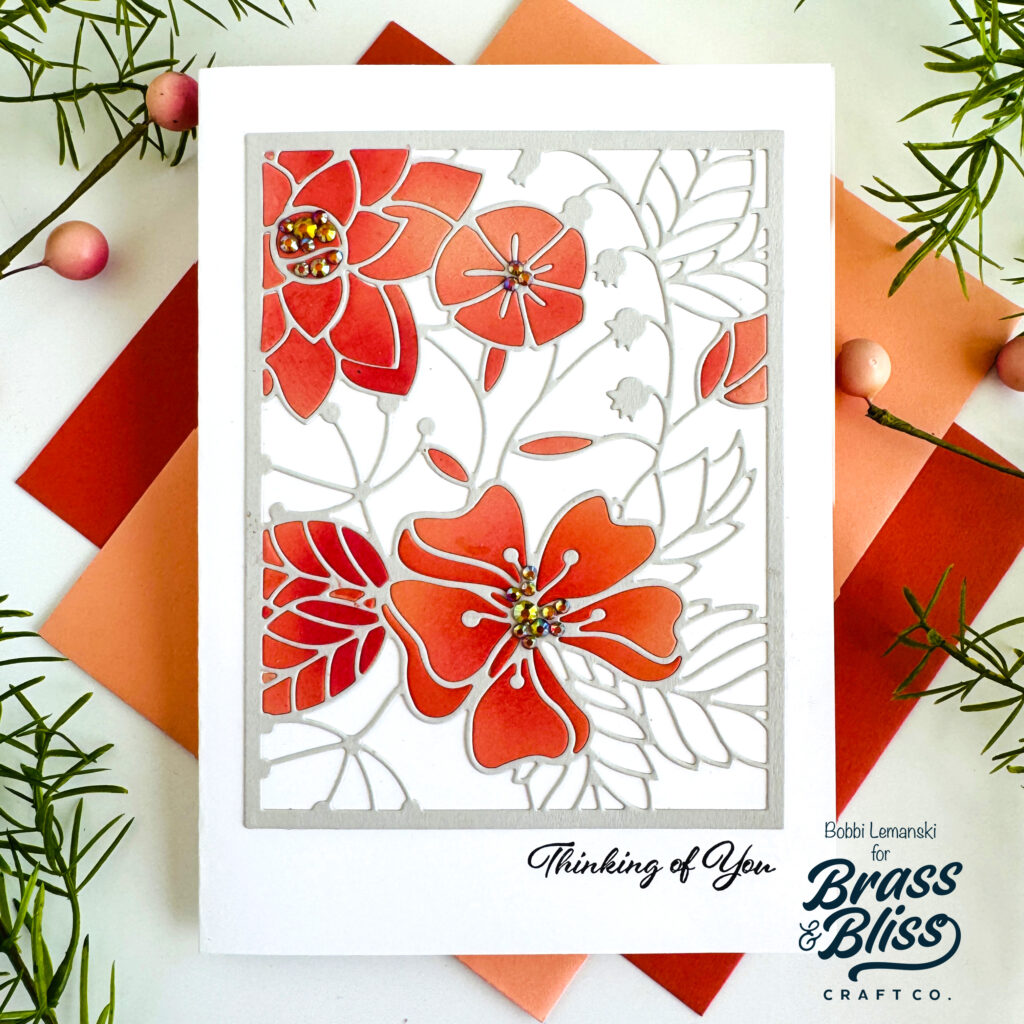
For this 5″ X 7″ card, I die cut the Floral Cover Die from a beautiful warm gray cardstock and a blended color peachy cardstock. I attached the gray outline to a white card base. I added pieces of the main flowers from the die set from a peach/orange/red blend of colors to the warm gray outline.
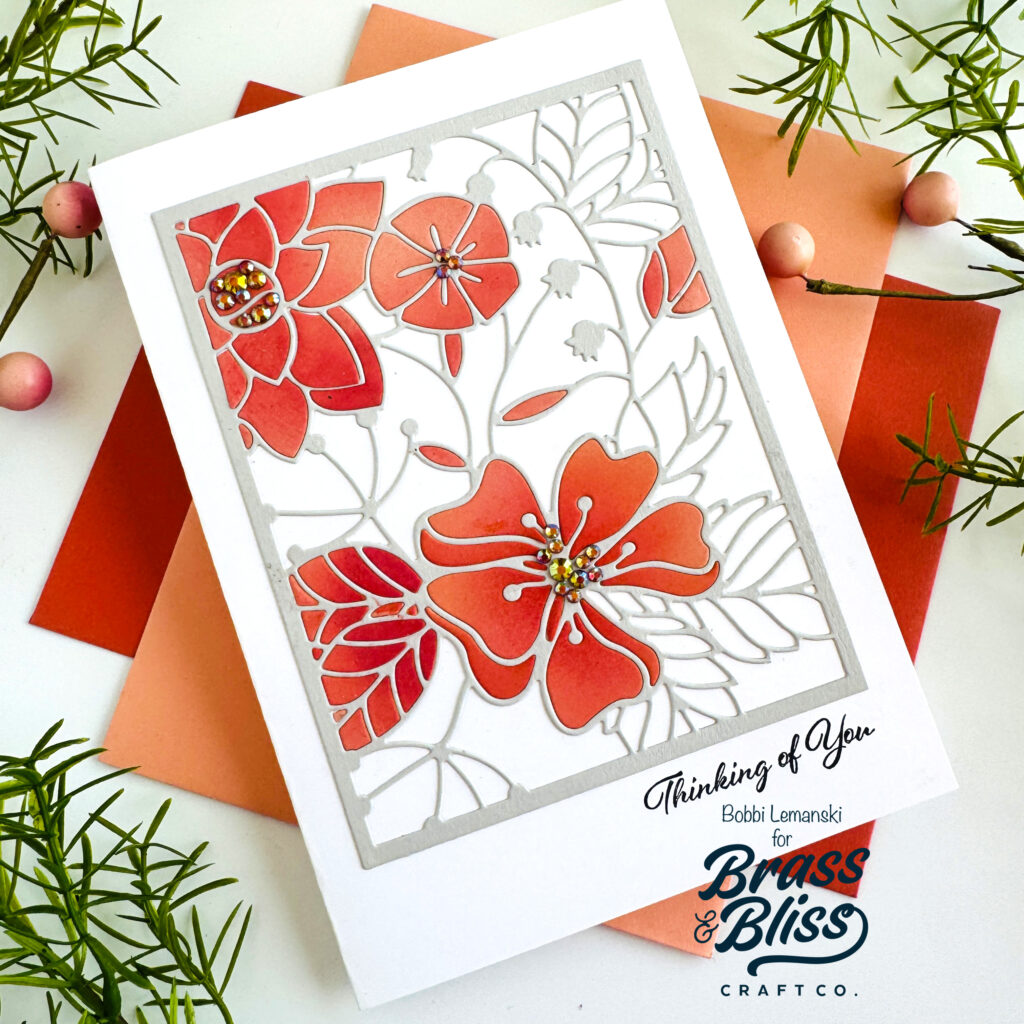
For a little shine and shimmer, I added beautiful gem stickers to the centers of the florals. I added the “thinking of you” sentiment to the Silhouette Wildflowers stamp set at the bottom using black ink.
These sets are ready to order now. you can purchase them using the links in this post. I appreciate you using my links!
You can shop the entire Sensational Spring release here. If you decide to place an order, please use the links in this post so that Beth and team knows which ideas inspired you!
Thanks for stopping by today. If you want to see more ideas and inspiration from me, subscribe to my blog, BobbiHartDesign.com. I’ll send you updates on new posts! You can also find me on Instagram as @BobbiHartDesign and on Facebook as BobbiHartDesign.


