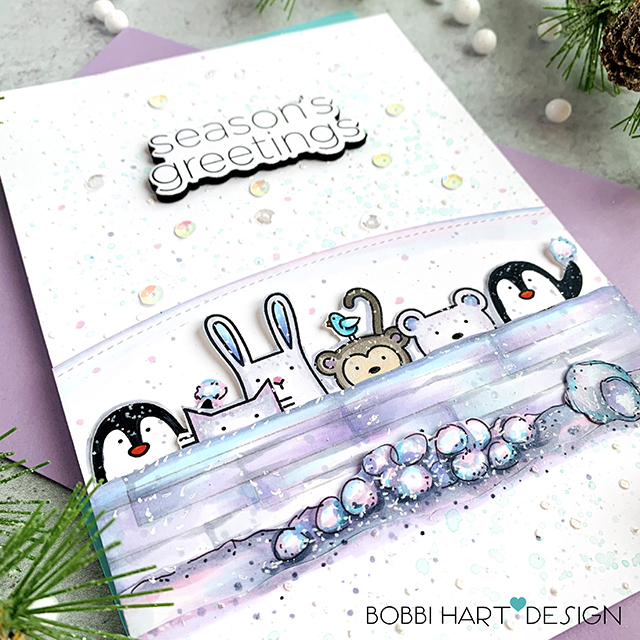
Hey there! It’s really snowing in Wisconsin this week. It’s too early in my opinion, but one thing is for sure. Falling snow gets you in the mood for making holiday cards! I’ve got a new one today featuring products from Simon Says Stamp. For this card, I used the following featured stamp, die and stencil products. Links to additional items that I used are also listed at the bottom for your convenience.
Links to Featured Products
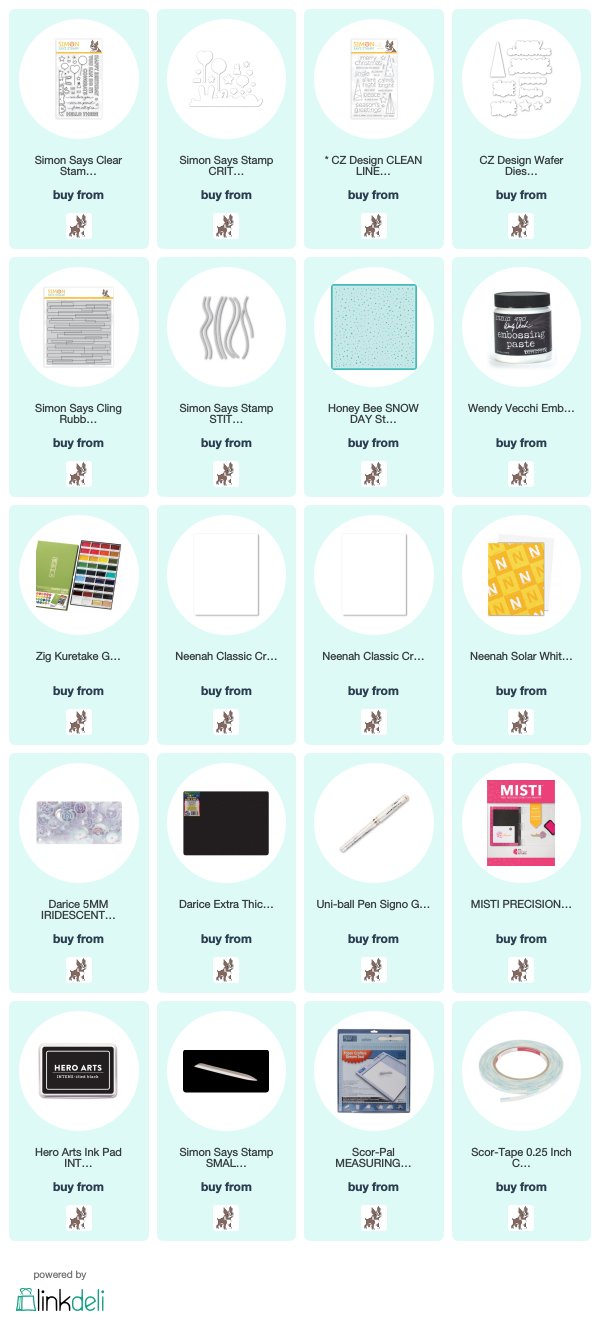
- Simon Says Stamp Critter Crowd stamp set and die set (Here’s the combo set)
- Simon Says Stamp Clean Line Christmas stamp set and die set (Here’s the combo set)
- Simon Says Stamp Plank Background stamp set
- Simon Says Stamp Hill dies
- Honey Bee Snowy Day Stencil
How to Make this Card
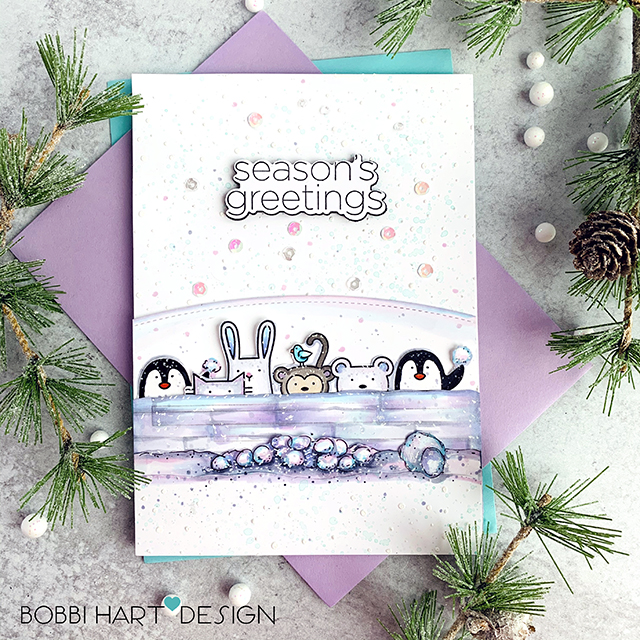
To make this 5″ X 7″ card, I started by cutting a 5″ X 7″ piece from the 80lb white cardstock for the card front and a 10″ X 7″ card base from the 11olb cardstock. The heavier cardstock will keep your card sturdy. The Neenah cardstock is excellent for Copic coloring, too. I set the card base aside for later. On the the card front, I splattered watercolor paint on it using a small paint brush and a light lavender and aqua color for falling snow. Next, I used the Snowy Day Stencil and embossing paste in white for more dimensional snowflakes. I did the same thing on another piece of cardstock and cut it out using the Stitched Hill die to layer over the card front. The hill was die cut and the stitched edge was shaded to make it stand out in the background.
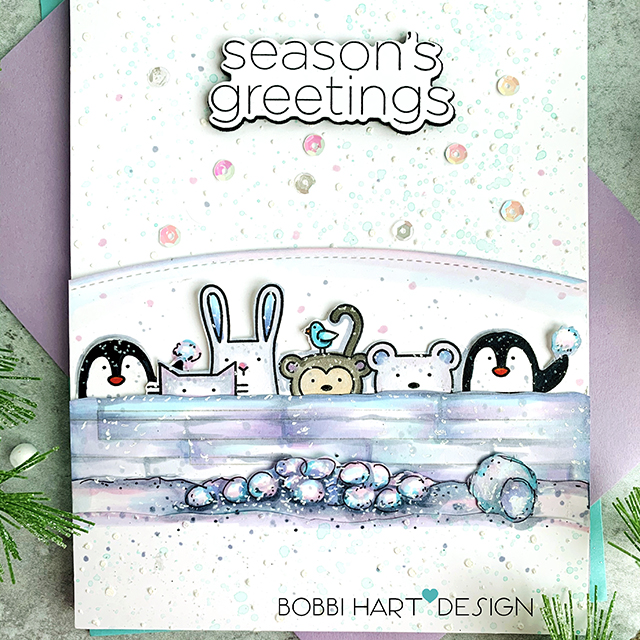
I stamped the fort using the Plank Background stamp set on a piece of 80lb cardstock. A mound of snowballs were added to the base. I added coloring using Copics in BV00, BV01, C1, C3, B01 and B00 . The animals were stamped using Hero Arts Black Ink pad and my MISTI tool, colored using Copics and die cut using the coordinating die. Because my card is 5″ wide, I added an extra penguin to the left to have a 5″ set of animals. I also added snowballs to both the penguins’ wings in the air. Those were simply hand drawn, colored, fussy cut and glued to their wings. Notice that I added gray and white dots to the entire scene to look like snow was falling in front of their cute faces.
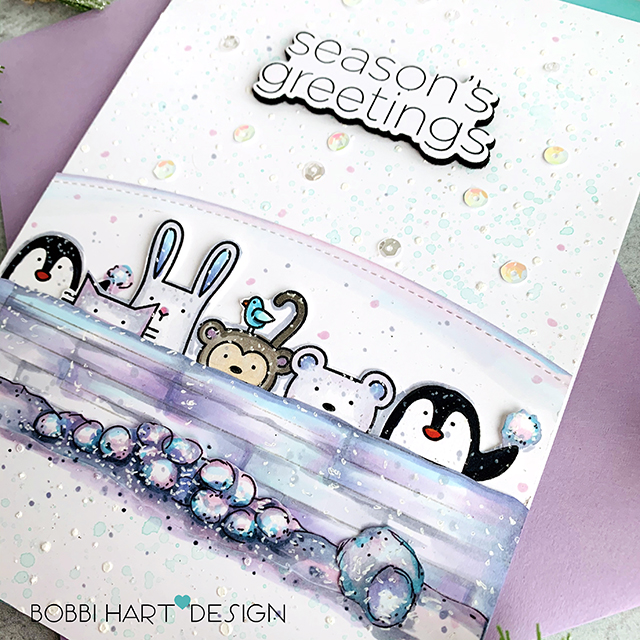
The animals and snow fort were layered on top of the background snowhill and secured in place with 1/4″ double sided tape. The Season’s Greetings phrase was stamped, die cut and layered with a piece of die cut black foam to make the phrase stand out. The phrase was added to the top center to complete this 5″ X 7″ card. The card front was attached to the card base to complete it. I think a snow fight with these cute critters looks pretty fun on a snowy day like today!
Want to see more ideas and inspiration from me? Subscribe to my blog on the right.
I’ll send you updates on new posts! You can find me on Instagram as @BobbiHartDesign and on Facebook as BobbiHartDesign.
Bobbi Hartmann Lemanski, Bobbi Hart♥ Design,
Adding h♥art into every design
Here’s a list of additional products used. Featured and additional products are listed below with link to purchase.
Links to Additional Products Used
-
- Embossing Paste
- Zig Kuretake Gansai Tambi 48 COLOR Set
- Neenah 110 lb Classic Crest Solar White cardstock
- Neenah 80 lb Classic Crest Solar Whitecardstock
- Darice Iridescent sequins
- Darice Black Craft Foam
- Uniball Signo White Gel Pen
- Hero Arts Black Ink Pad
- MISTI Stamping Tool
- 1/4″ double sided tape
- Copic Markers – Various colors were used.

