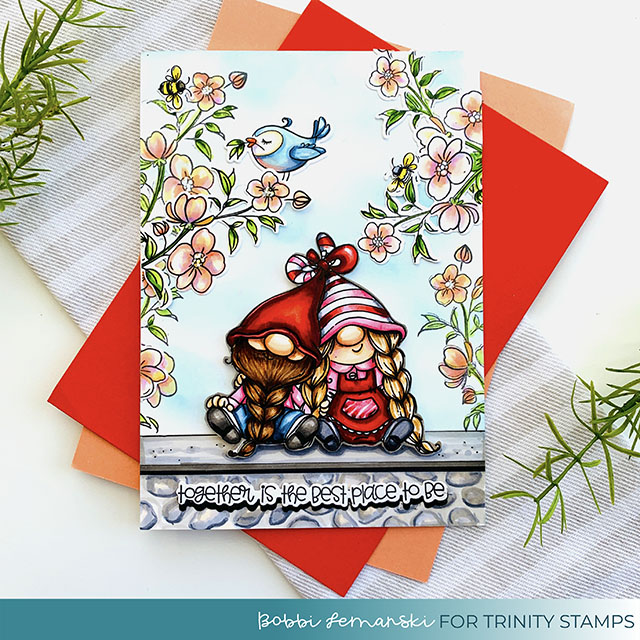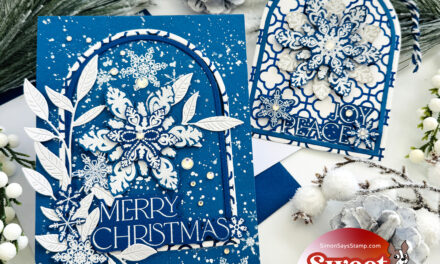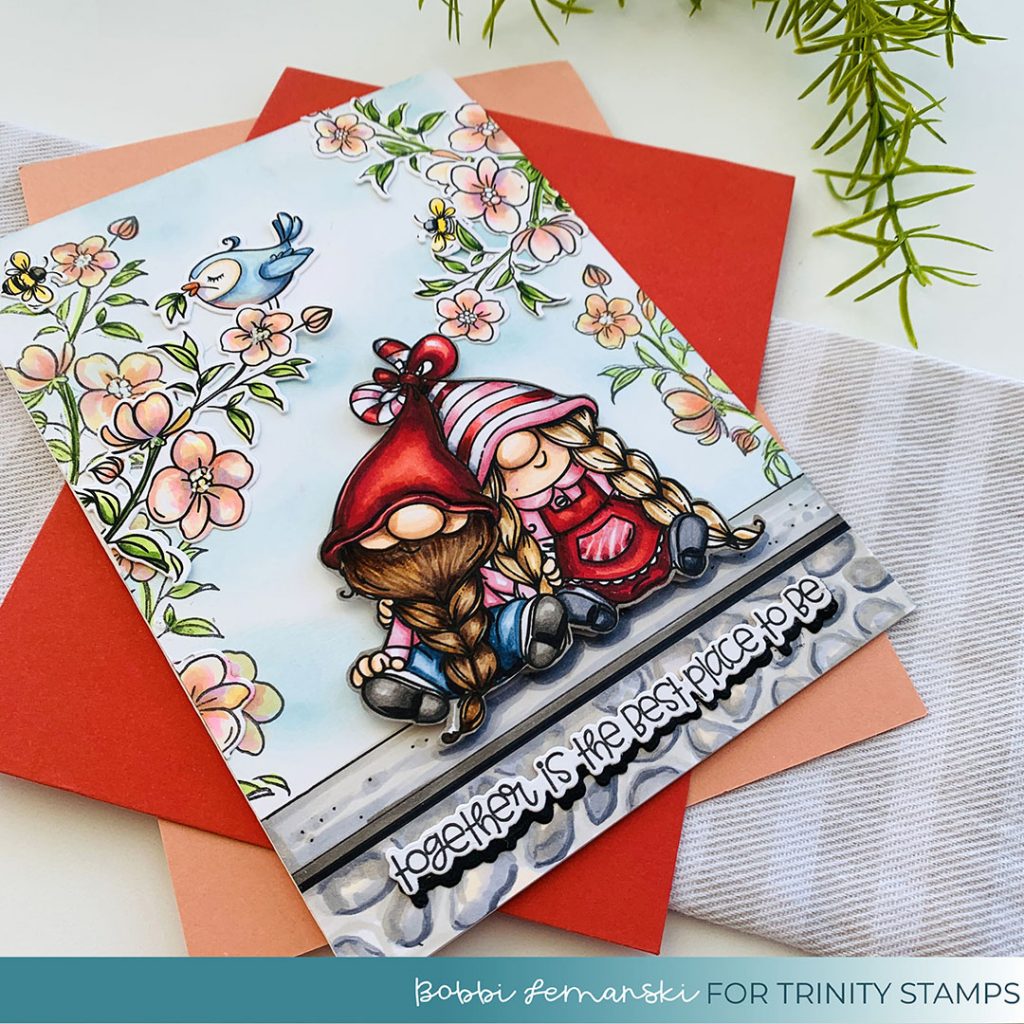
I think these two gnomes are the perfect pair. I placed them on a stone ledge in a garden filled with lovely flowers, a bee and a sweet bird. All of the images I used on this 5″ X 7″ card are all included in this adorable set. I used 80lb Neenah Solar White cardstock for the card front, base and all of the die cuts.
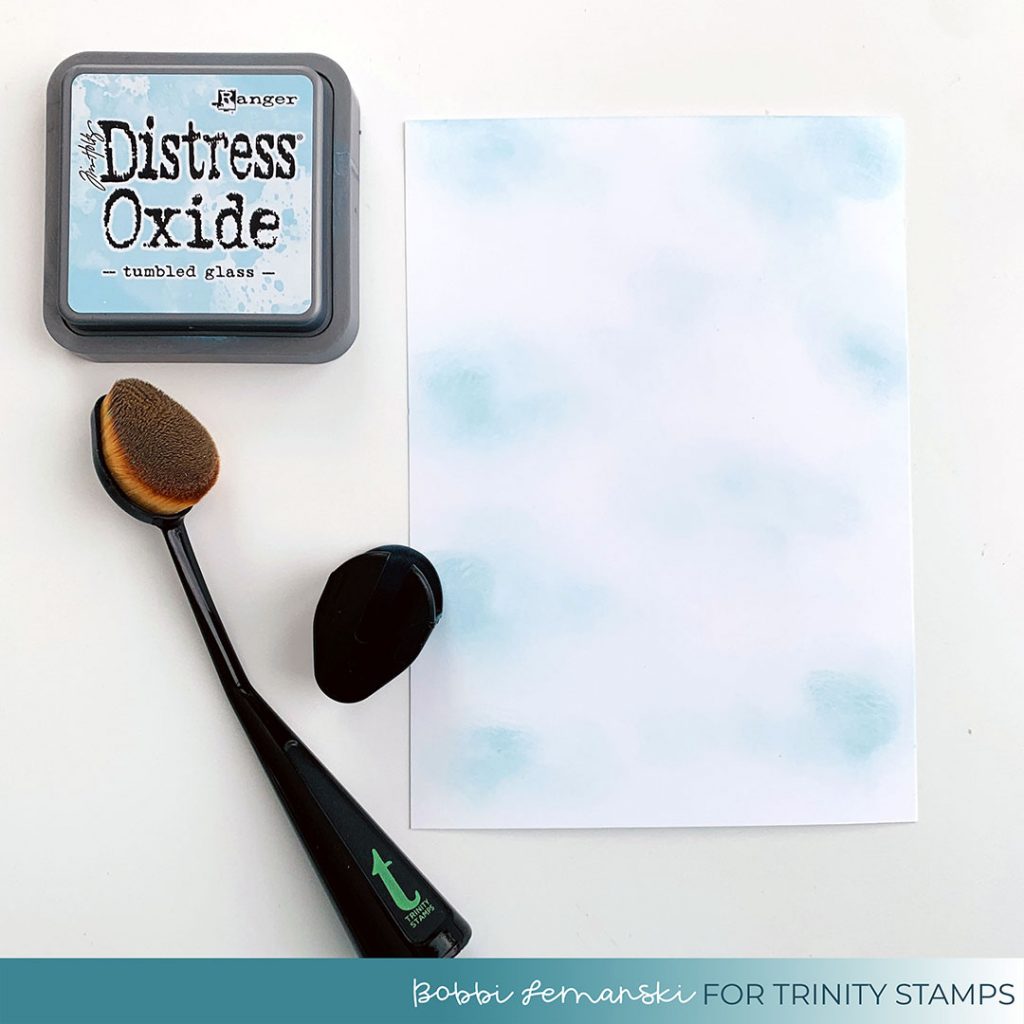
To make this card, I started by creating a cloudy sky background by applying Ranger DistreTo make this card, I started by creating a cloudy sky background by applying Distress Oxide Ink in Tumbled Glass using my Blending Buddy brush on a 5″ X 7″ card front piece. This is a quick and easy background to do for outdoor scenes. No fussing required!
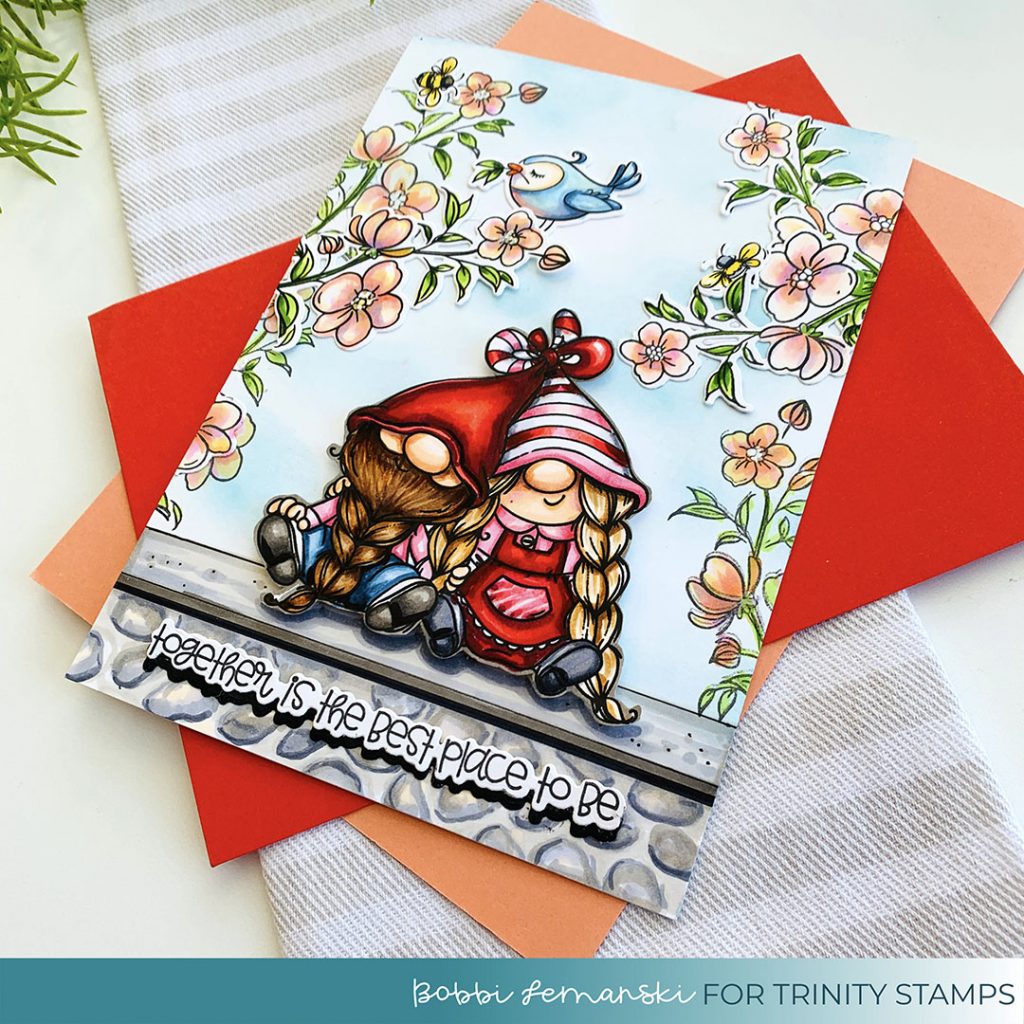
I added the stone ledge at the bottom of the card for the gnomes to sit on. The stone ledge is 3/4″ high and with the top cement cap, it is 1-3/8″ tall on the card. Notice that the lightly sponged sky background gets completely covered. There’s no need to mask.
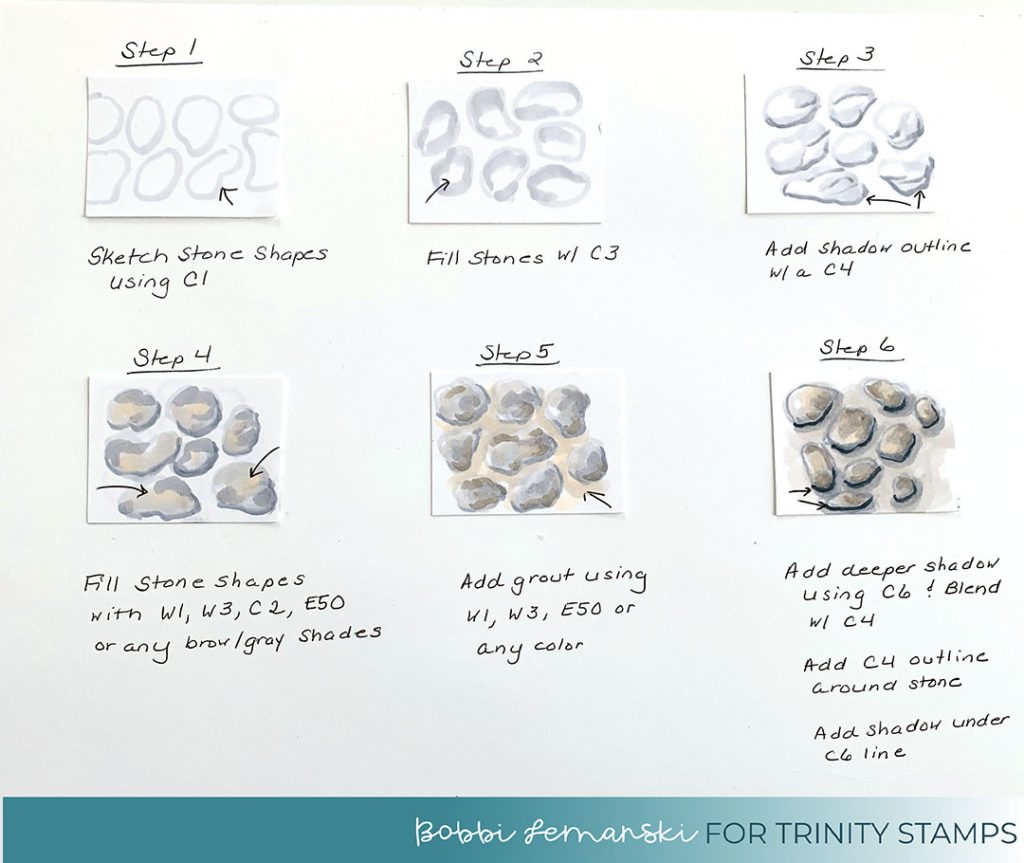
To create the stone ledge, I hand-drew and colored a stone-look ledge following steps 1 through 6 above, right over the cloudy sky background. I used a black marker and a ruler to draw the lines for the cement ledge at the top. You can change the colors of the stone by simply swapping out the colors. I used warm and cool gray shades for mine as well as an earthy E50 brown for the grout.
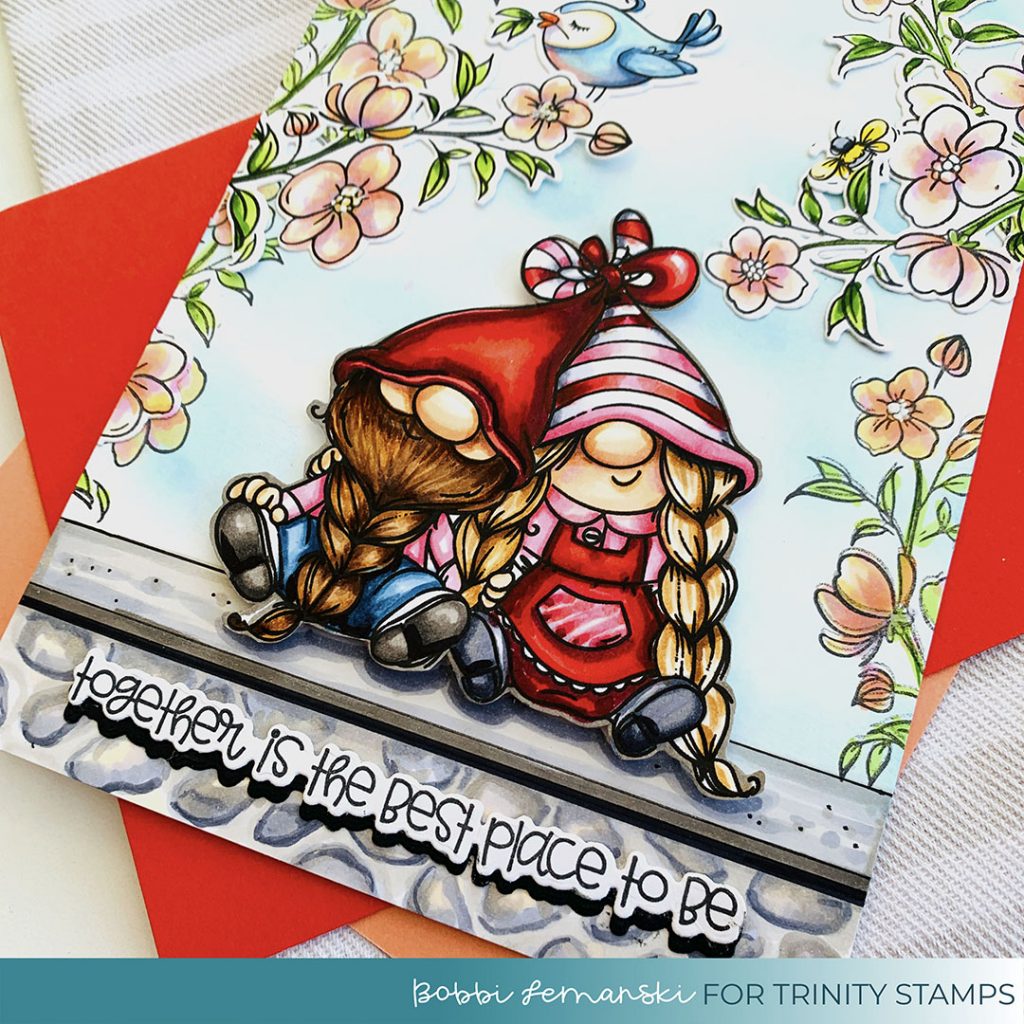
On a separate piece of white cardstock, I stamped the gnome pair, a few vines of flowers, the bee and the bird and colored them using Copic Sketch Markers using the colors listed below. I die cut all of them using the coordinating die set. I also stamped some vines directly on the card front and colored them in, too. I used the following Copic colors to color the images:
- Skin: E000, E00, E04, E11, E21
- Hair: (He) E57, E55, E43 (Her) E50, E53, E43
- Her Outfit: R89, R59, R29, R17, R14, RV10, RV55, C9, C7, C5, C3, C1
- His Outfit: B45, B41, B21, Rv10, RV55, R89, R59, R29, R17, R14, W9, W7, W5, 100, C1, C3
- Leaves: YG03, YG 67, YG63, YG61
- Flowers: Y13, Y00, RV10, RV02, R20, E50
- Bird: B45, B41, B21, R20, YR09, E50
- Bee: Y13, Y18, C9, C5, C1
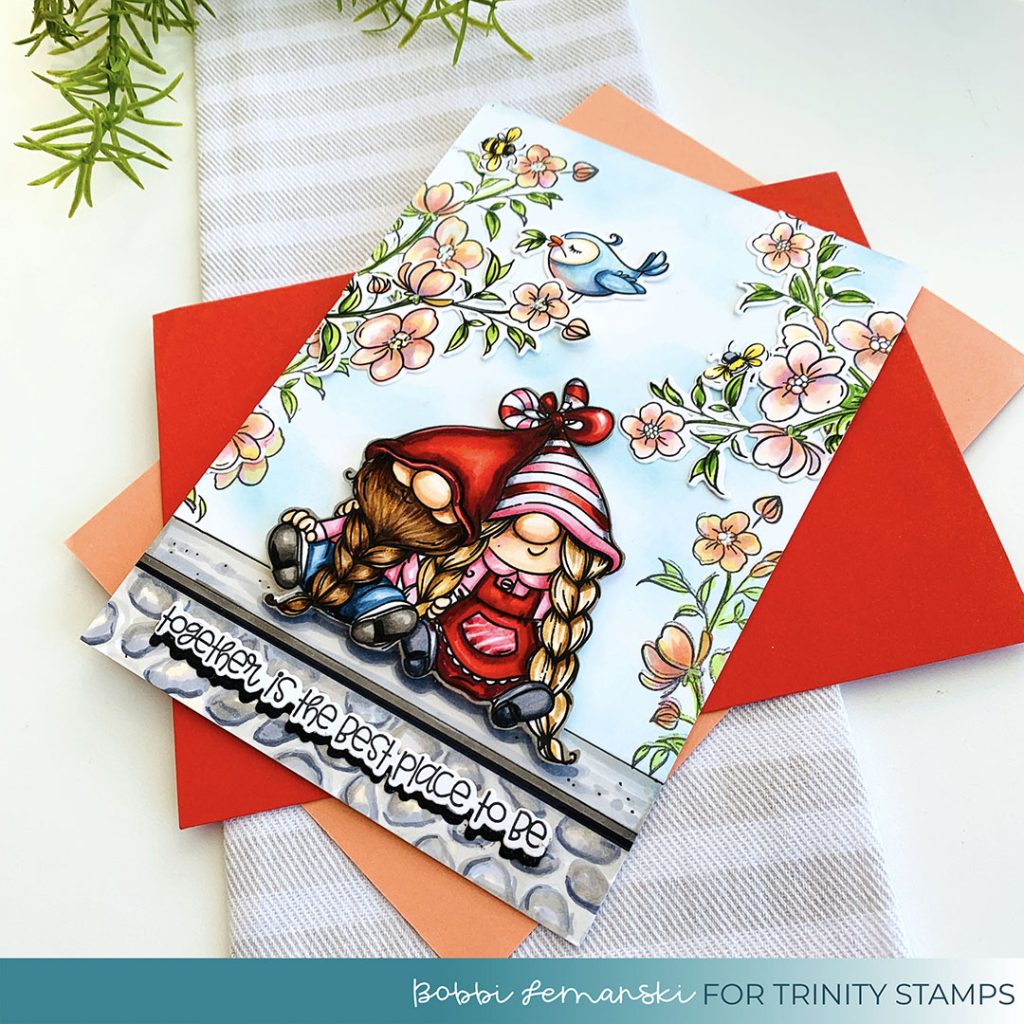
All the elements were secured to the card front. I used dimensional foam tabs under the gnome pair to make them stand out a bit from the background. I added shading below the gnomes, right on the ledge to anchor them to their resting place using a Copic C6 marker. Finally, I added the phrase at the bottom along with a die cut black shadow to make it stand out from the stone wall.
Shop this Best Place To Be stamp and coordinating die set and all the adorable Trinity Stamps products here! By using the links in this post, Trinity will know this card inspired you!
Thanks for stopping by today. If you want to see more ideas and inspiration from me, subscribe to my blog, BobbiHartDesign.com. I’ll send you updates on new posts! You can also find me on Instagram as @BobbiHartDesign and on Facebook as BobbiHartDesign.
Bobbi Hartmann Lemanski, Bobbi Hart♥ Design, Adding h♥art into every design

