Cheers Paper Piercing Stand Alone die set
Pop Fizz 6″ X 9″ Layering Stencil (coordinates with the Cheers die set)
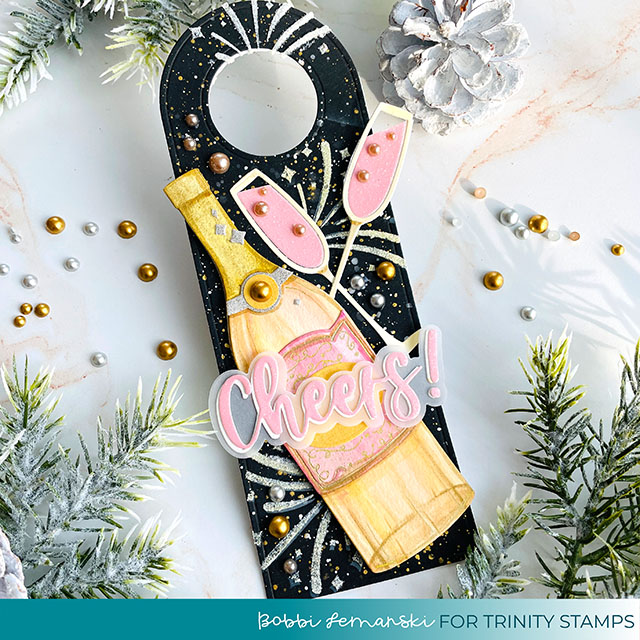
The Bottle Tag Die set is a fifteen piece die set that includes the base tag as seen here, as well as 7 word dies with a shadow die for each word. The tag die measures 8 ½” x 3” and can also be used as a hanger/tag for a door knob, too! Just think of the possibilities!
The Champagne Bottle
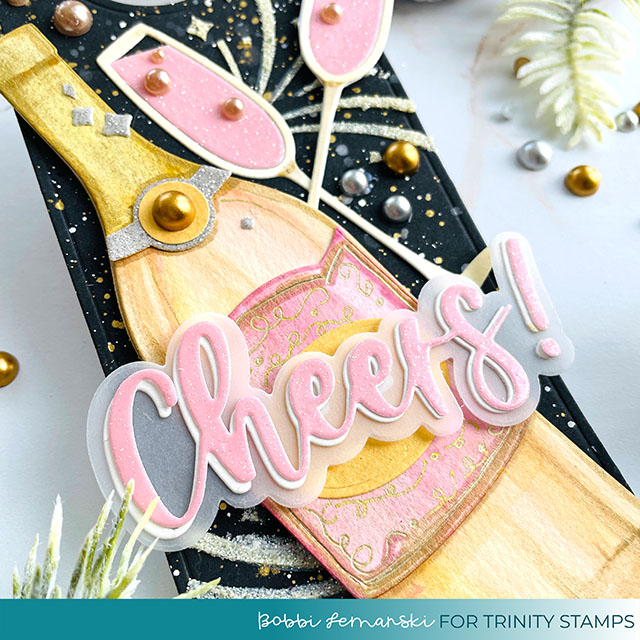
To make this bottle tag, I started with the bottle. I wanted the champagne bottle to be light and see-through looking versus the traditional green bottle. I tried a few Copic combinations first and then decided to use watercolor paints on watercolor paper instead. I like the look I achieved with the watercolor combination. I was thinking “bachelorette party” so I used the champagne/pink/gold color combination for something a little less expected. I combined the gold/champagne-colored bottle with pink and black for high contrast.
The Cheers Paper Piercing Stand Alone die set set contains two different glasses, the word cheers with a shadow layer and all of the pieces to put together a paper pieced champagne bottle. 14 dies total. I applied pink watercolor to the bottle’s label piece and added gold hand-scrolling using a metallic gold pen to make it a bit artsy and very girly. I also added a silver glitter wrapper at the top, adorned with a gold satin bauble and a metallic gold wrapped top. Small silver glitter die cut sparkles were added to the bottle neck.
To finish the bottle, I die cut the word, “Cheers” from pink glitter paper and white cardstock and offset them a bit. I added a vellum shadow using the shadow die that comes in the set. The word was attached to the bottle using dimensional foam tabs to make it stand out from the bottle.
Champagne Glasses
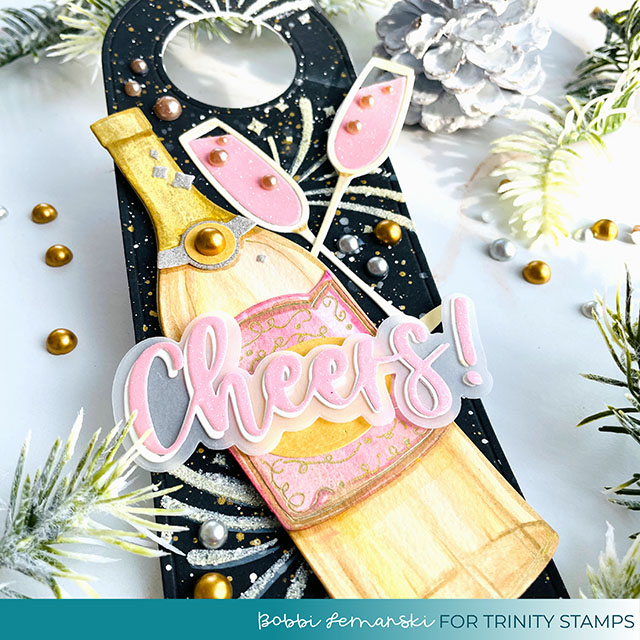
Next, I moved on to the champagne glasses. I die cut the glasses from the champagne painted watercolor paper and pink glitter cardstock and swapped out the centers. I clipped the corners of the pink glitter insert to look like the champagne liquid was leveling with the tip of the glass in each one. I love how you can “see-through” the glass with this die cut and clipped corner. Baubles in Champagne Celebration were glued to the pink glitter insert for bubbles.
Tag Base
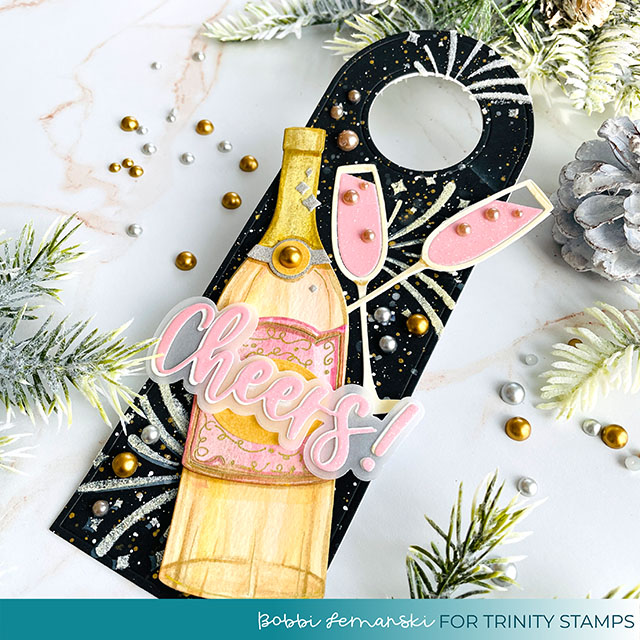
For the tag, I die cut the bottle gift tag from black cardstock and splattered white and metallic gold paint on the black. I used Dr. PH Marten’s Bleed-Proof paint and Kuretake Gansai Tambi metallic gold paints.
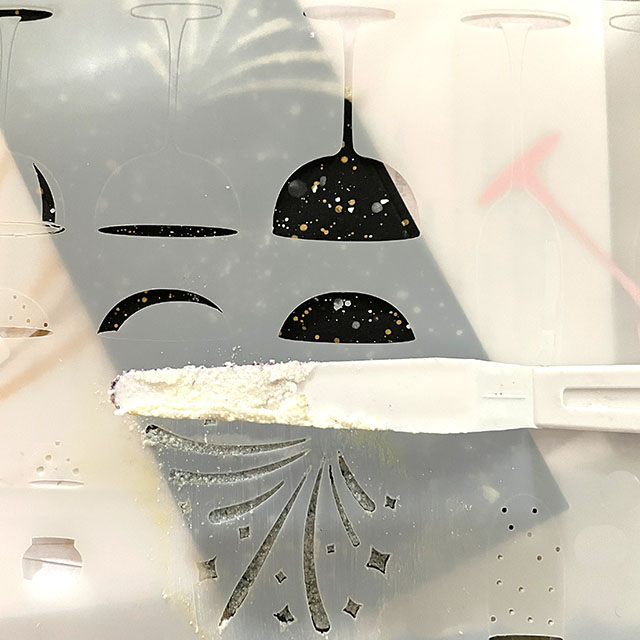
Once the paint was dry, I used the Pop Fizz 6″ X 9″ Layering Stencil and Glitz Glitter Gel in Iridescent to create the designs on the front. I use a plastic media applicator tool to apply the gel in the design sections and then cleaned off the stencil surface using the straight, side edge of the tool, making sure all elements of the design were filled with gel. I cleaned off my stencil using water, right after use.
Next I added all the elements – bottle and two glasses – and attached them to the tag. Lastly, I embellished the tag with Baubles in Gold Satin, Silver Satin, and Champagne Celebration. They add just the right amount of sparkle! Now all I need is a bottle of champagne to give and this gift is in the tag!
Thanks for stopping by today. If you decide to place an order, please use the links in this post so that Trinity Stamps knows what inspired you. If you want to see more ideas and inspiration from me, subscribe to my blog, BobbiHartDesign.com. I’ll send you updates on new posts! You can also find me on Instagram as @BobbiHartDesign and on Facebook as BobbiHartDesign.
Bobbi Hartmann Lemanski, Bobbi Hart♥ Design, Adding h♥art into every design

