
Mum’s the word. Well, not really. These layered mums by Honey Bee Stamps speak loudlyendless layers of beauty! It’s Bobbi Lemanski here with this Lovely Layers: Mum A7 card. For this project, I’m using the following Honey Bee Stamps products:
Ornate A2 Cover Plate Top Honey Cuts
Fall Foliage Sentiments Hot Foil Plate and coordinating dies
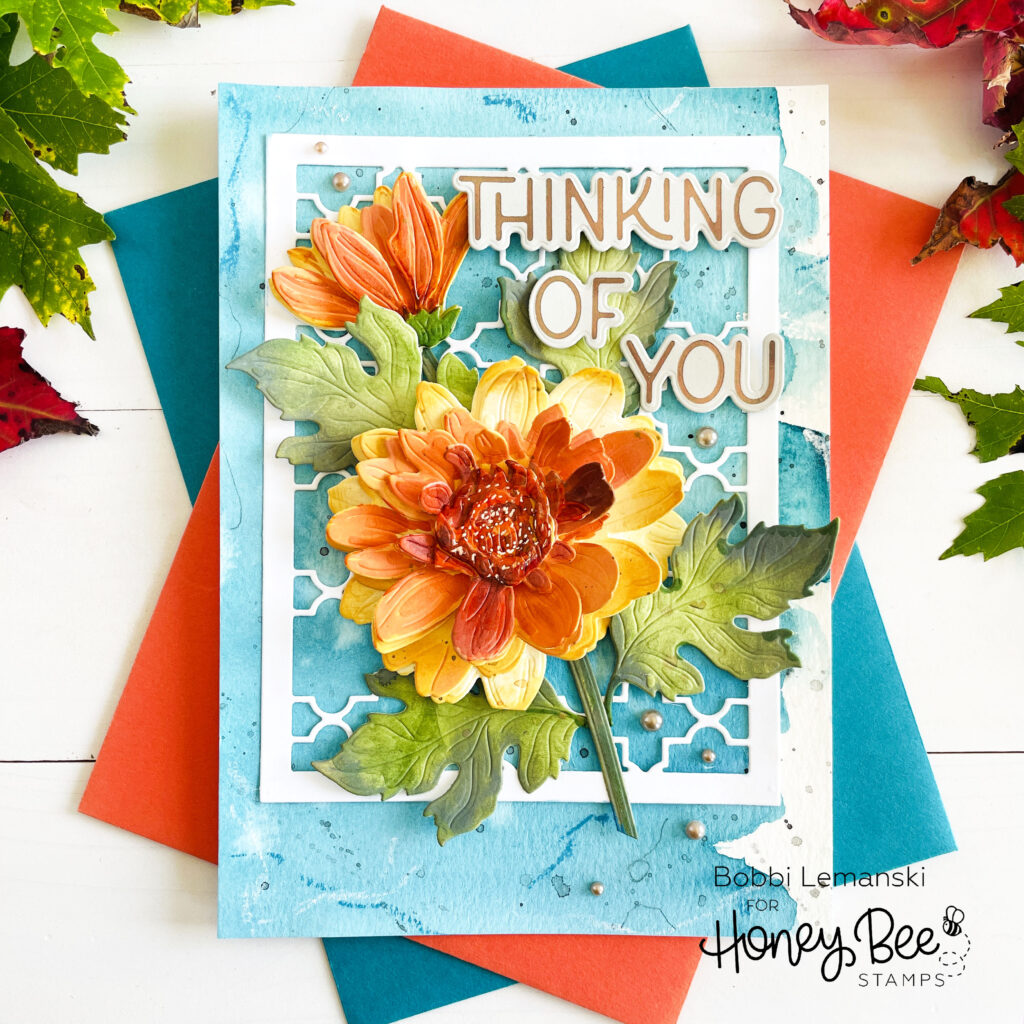
My 5″ X 7″ card begins with a white card base made from 80lb Neenah Solar White cardstock and a card front panel made from Canson XL Watercolor Paper (Cold Press) with a wash of teal. I like the organic look and feel of watercolor not fully covering the background so I left a little white showing on the right edge. It creates more interest. I also like to splatter paint on it (golds and blacks) and add markings in charcoal and oils, too. This background is ready for the florals.
I cut the Ornate A2 Cover Plate Top Honey Cuts out of white cardstock and attached it to the watercolor background using Honey Bee Stamps Bee Creative Precision Glue. I use glue when attaching layers to watercolor paper. It dries quickly and holds beautifully. Some adhesives are not as effective on watercolor papers.
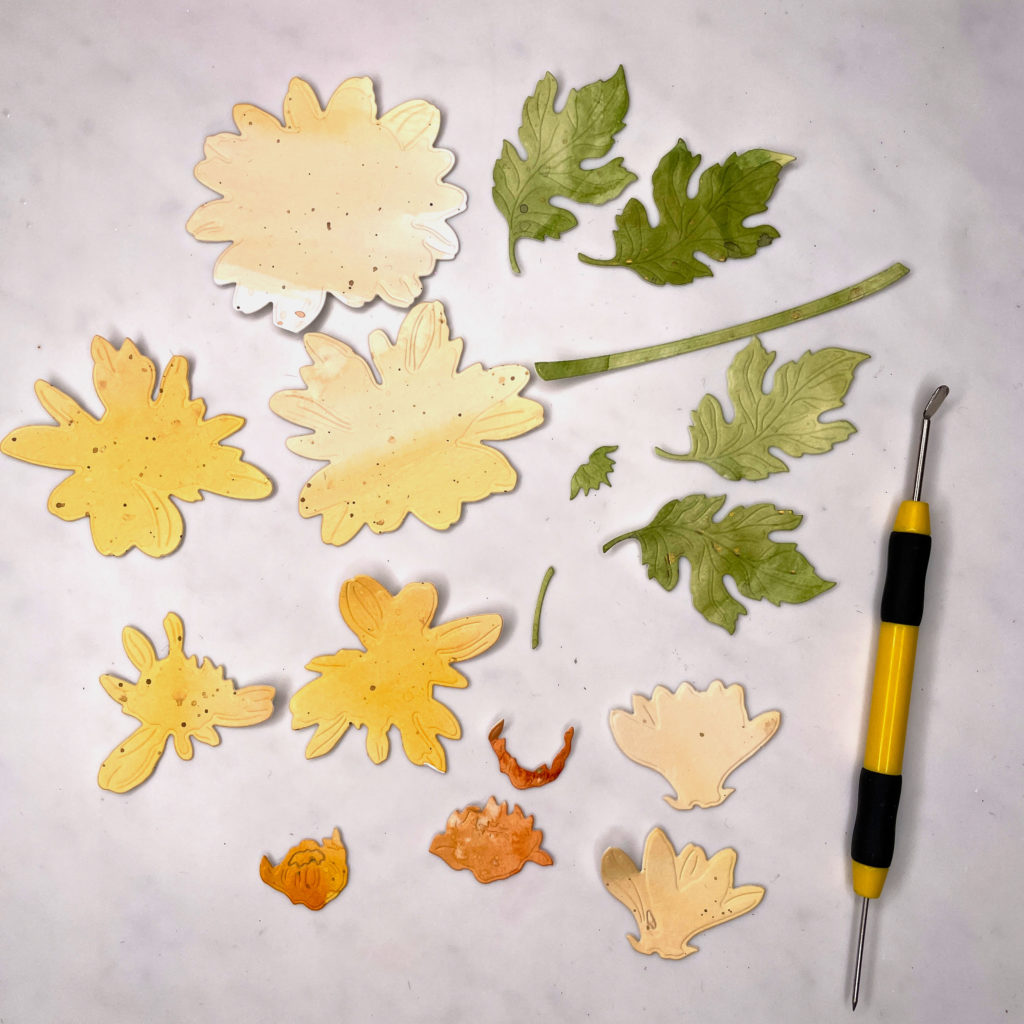
For the mum layers, I did a wash of golds, oranges, terracotta and browns with paint splatters of black and metallic gold. I die cut the layers from the watercolor paper. I think using watercolors is an efficient and pretty starting point for these flowers. It avoids the need to get multiple pieces of paper out since you can get all the colors on one piece for die cutting (more efficient). I like the imperfect looks of the colors, too. It looks more natural than using several colors of solid cardstock (prettier).
When I use watercolor paper, I will often go in later and enhance the petals with a bit of ink blending on the edges and Copic coloring if the individual layered colors aren’t perfect. I did ink blend Spiced Marmalade Distress Oxide Ink on the petal edges and added in more color using Copic YR27 and YR24 to some of the mid-layers to create a darker colored mum.
The leaves were done in greens with splatters of metallic gold on them. You can see the gold splatters on the leaves in the photos. I used Copics in YG63 and YG67 and ink blended some Bundled Sage to enhance some of the edges.
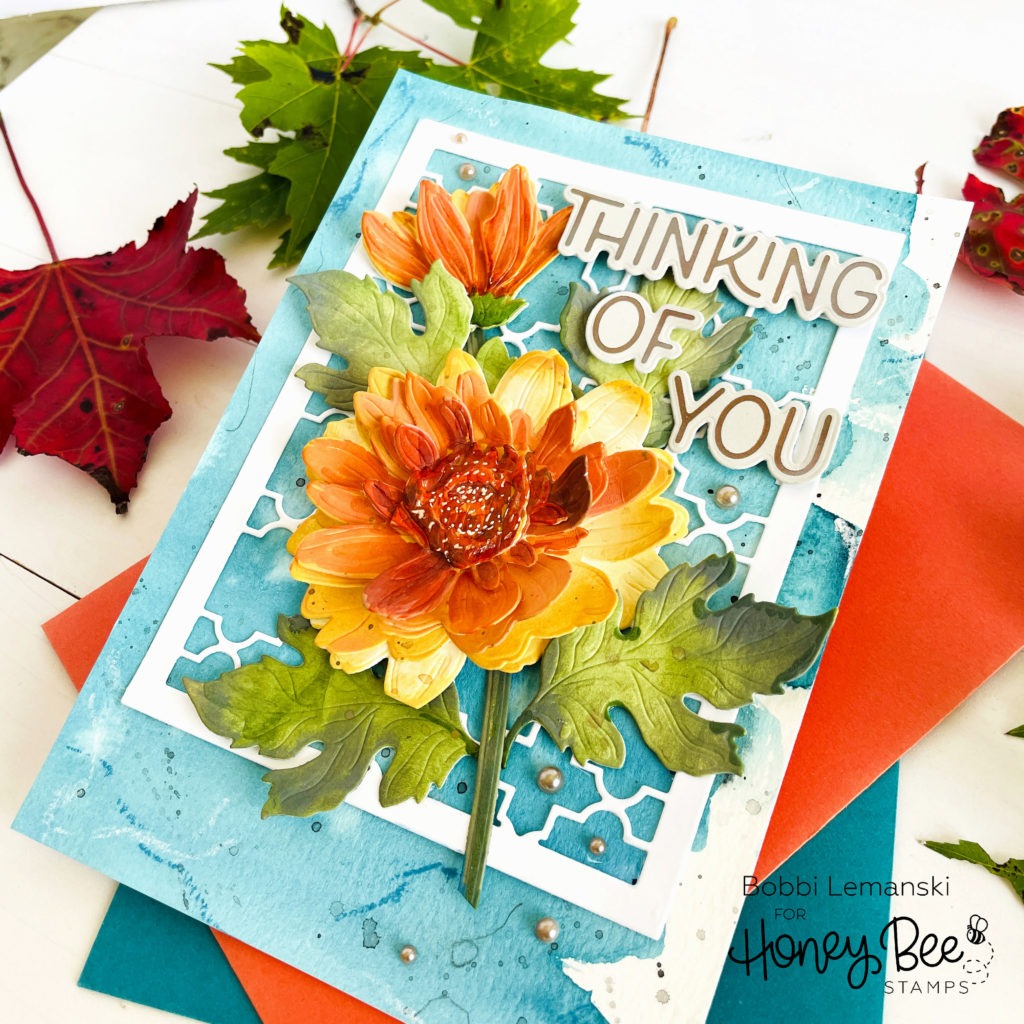
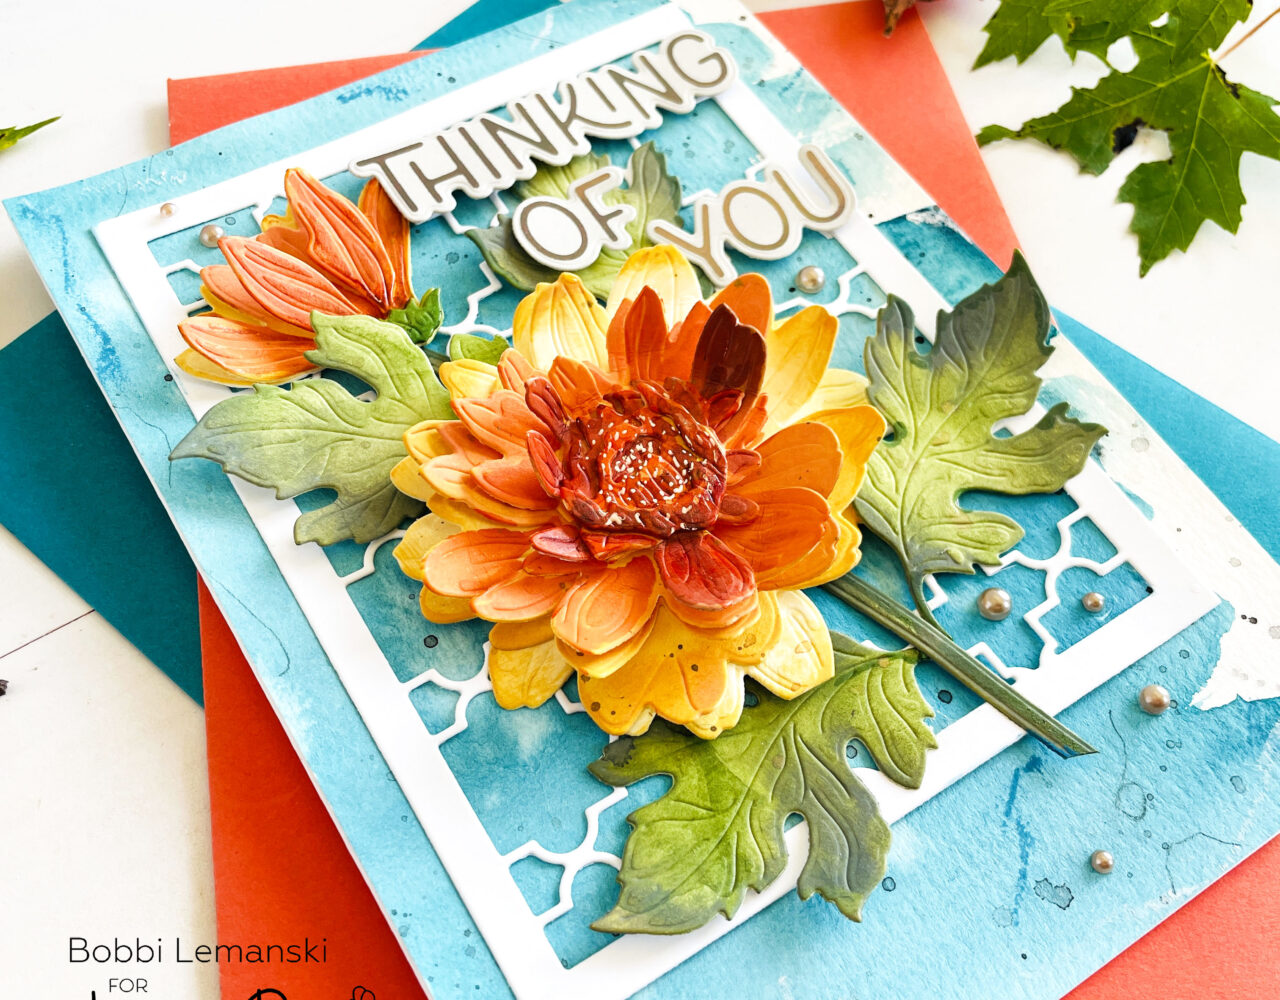
I layered the mums, using Honey Bee Stamps Bee Creative Precision Glue to attach the layers to each other. I also used two foam dots between layers 4 and 5 (counting from the bottom with the largest layer) on the large bloom for more dimension. I added white highlights to the center of the mum to make the tiny petals stand out in the center of the flower. Everything was attached to the background, including the words, “thinking of you.” I used the Fall Foliage Sentiments Hot Foil Plate and coordinating dies, foiling on warm gray cardstock using Glimmer Pewter Foil. The words were attached using foam dots to stand out. Autumn Pearls – Pearl Stickers in a light pewter color finish the look. I’m obsessed with these little pearls and this color! The pearls come with adhesive on the back, but when I’m attaching them to watercolor paper, I use Precision Glue to make sure they stay secured.
These mum florals are such beauties and they speak loudly on any project with their multi-layer dimension. If you see something you like here or would like to give these mums a try, you can shop the products here. Thank you for using the links in this post. It helps Honey Bee Stamps know what inspired you today!
Thanks for stopping by today. If you want to see more ideas and inspiration from me, subscribe to my blog, BobbiHartDesign.com. I’ll send you updates on new posts! You can also find me on Instagram as @BobbiHartDesign and on Facebook as BobbiHartDesign.


Absolutely beautiful! Love the colors, the design… great card!