Happy May Day Bee friends! In many countries, May Day is celebrated on May 1. It is an ancient festival marking the first day of summer, and a current traditional spring holiday in many European cultures. Dances, singing, and cake are usually part of the festivities. When I was young, I would fill baskets with flowers and leave them hanging on my Grandma’s door knob. I would ring the doorbell and take off running. She knew it was me every year! 🙂 I thought it was fitting to share a May Day basket on the blog today in honor of this special tradition.
I am using the following Honey Bee Stamps products:
Honey Bee Stitching Die set (felt stitching kit available here)
Sweet Honey Bee stamp set (for the “honey bee” phrase, only) and coordinating die set
Busy Bee stamp set and coordinating die set
The featured project below is made from Neenah 80lb Solar White cardstock for the white flowers. All of the black ink stamping was done using Honey Bee’s Bee Creative Intense Black Ink. I use Honey Bee Stamps Bee Creative Precision Glue for adhering my elements together.
How to Make the Bee Basket
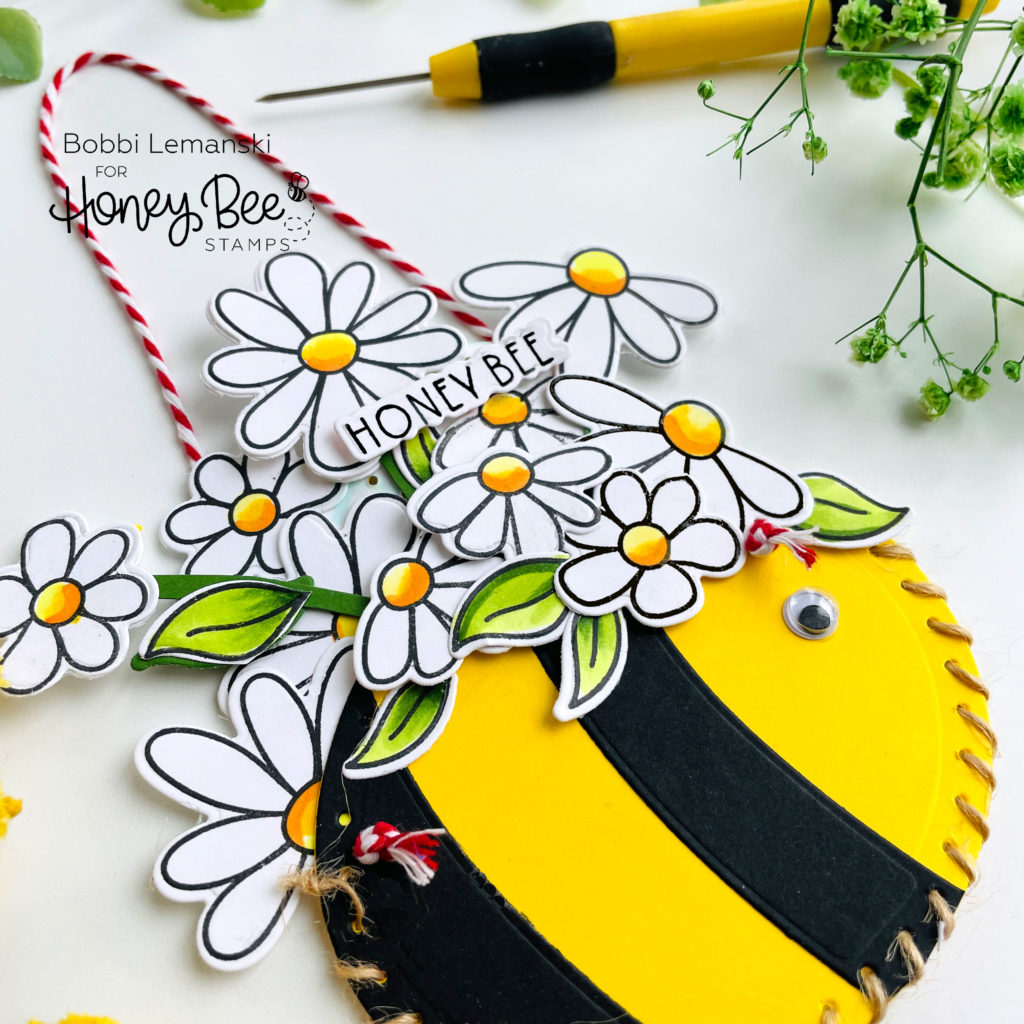
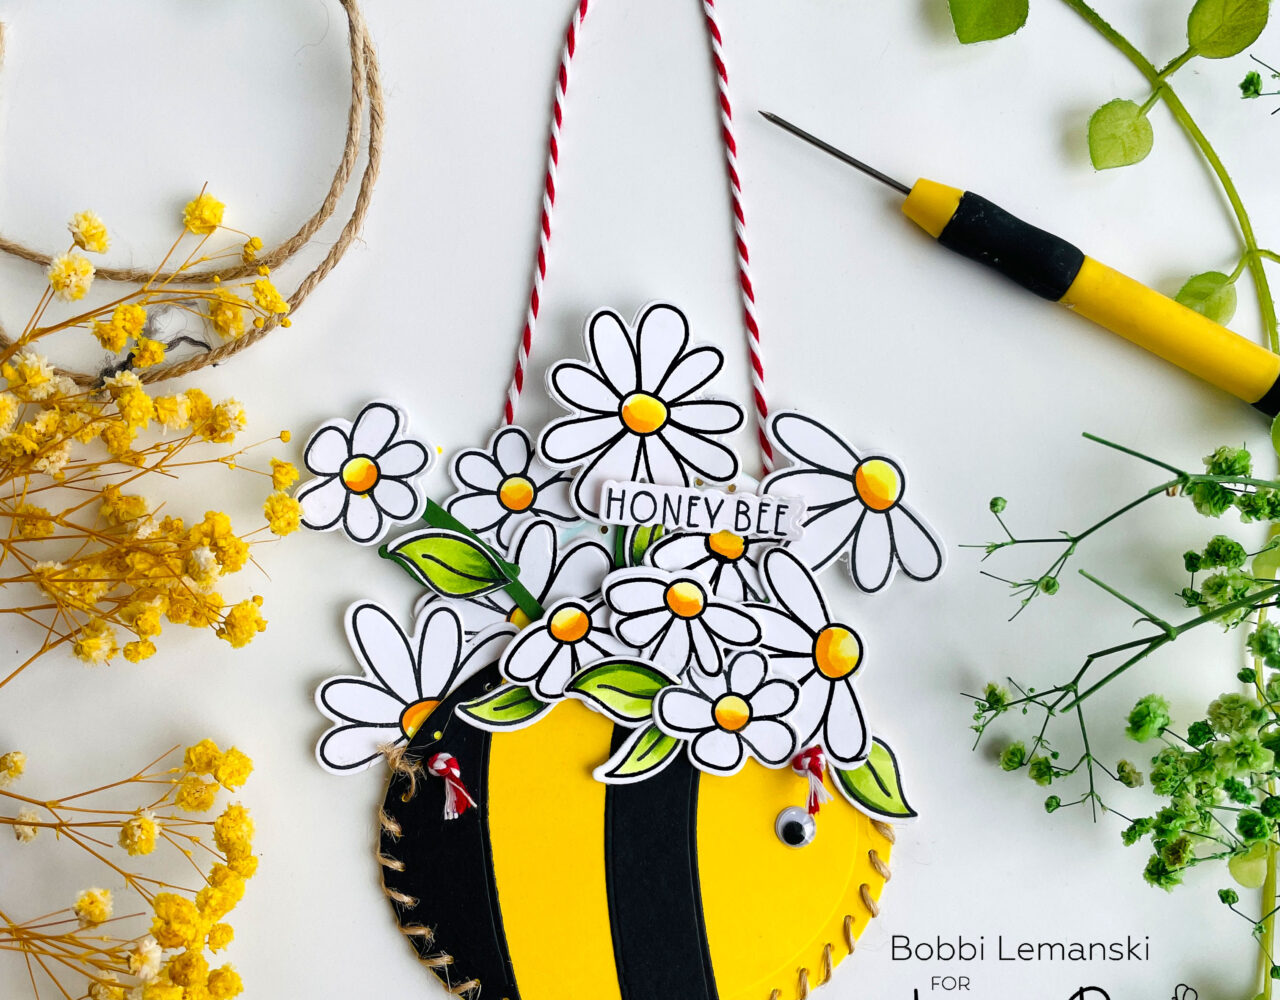
To make the basket, I used the Honey Bee Stitching Die set. I die cut the elements from white, yellow and black cardstock and assembled the layers using glue. I did not glue the back to the front panel. I kept that open. I used my favorite Die Release tool from Honey Bee to remove any leftover tiny hole cuts, too. I stitched only the lower half of the bee body and left the top open to insert my flowers. I used hemp twine and an embroidery needle and did a basic stitch to stitch the bottom.
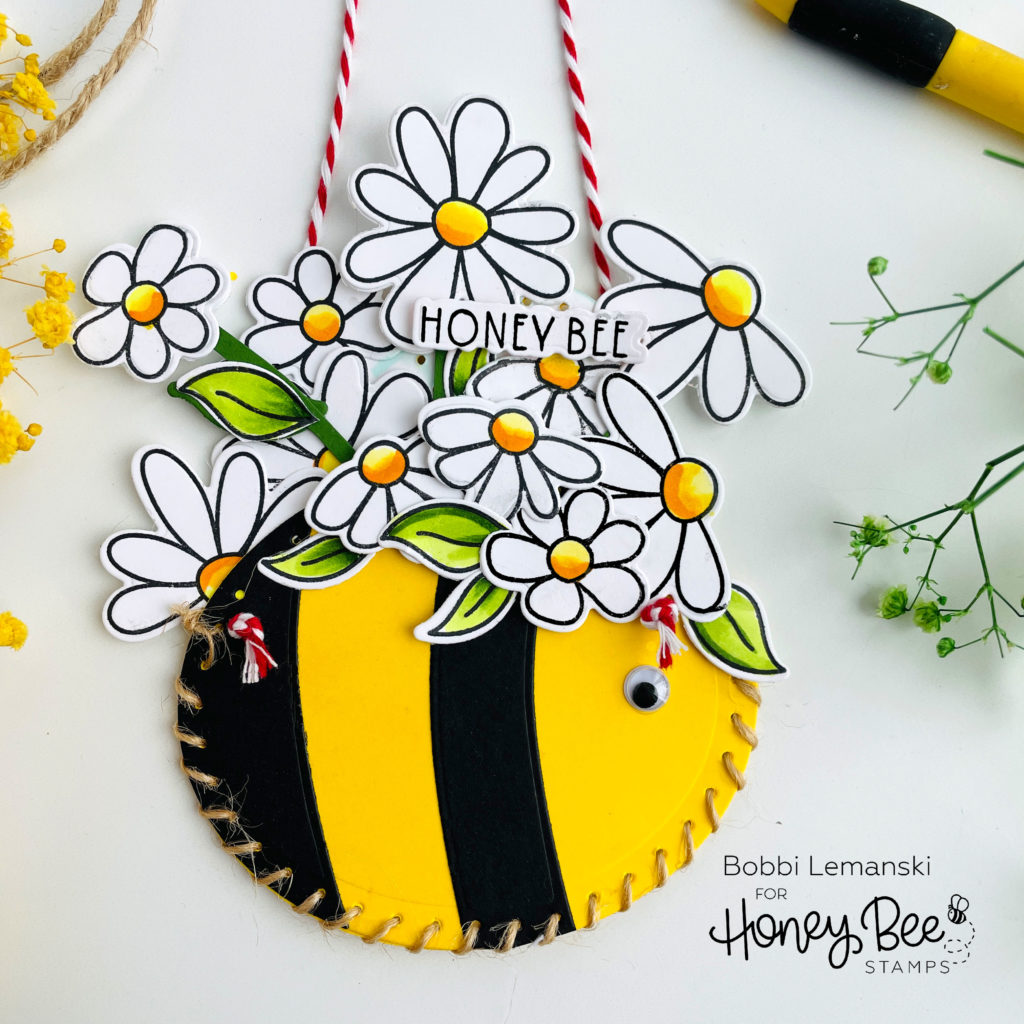
I stamped, colored and die cut four sizes of daisies and two sizes of leaves from the Busy Bee stamp set and coordinating die set. I used Y38, Y19, and Y13 Copic colors to color in the daisy centers. For the leaves, I used YG67, YG03, and YG01 to color them. I placed the flowers, leaves and stems (cut from green cardstock) inside my basket and glued them in place. Some of the daisies were positioned above others using Scrapbook Adhesives .25 Foam Squares in white.
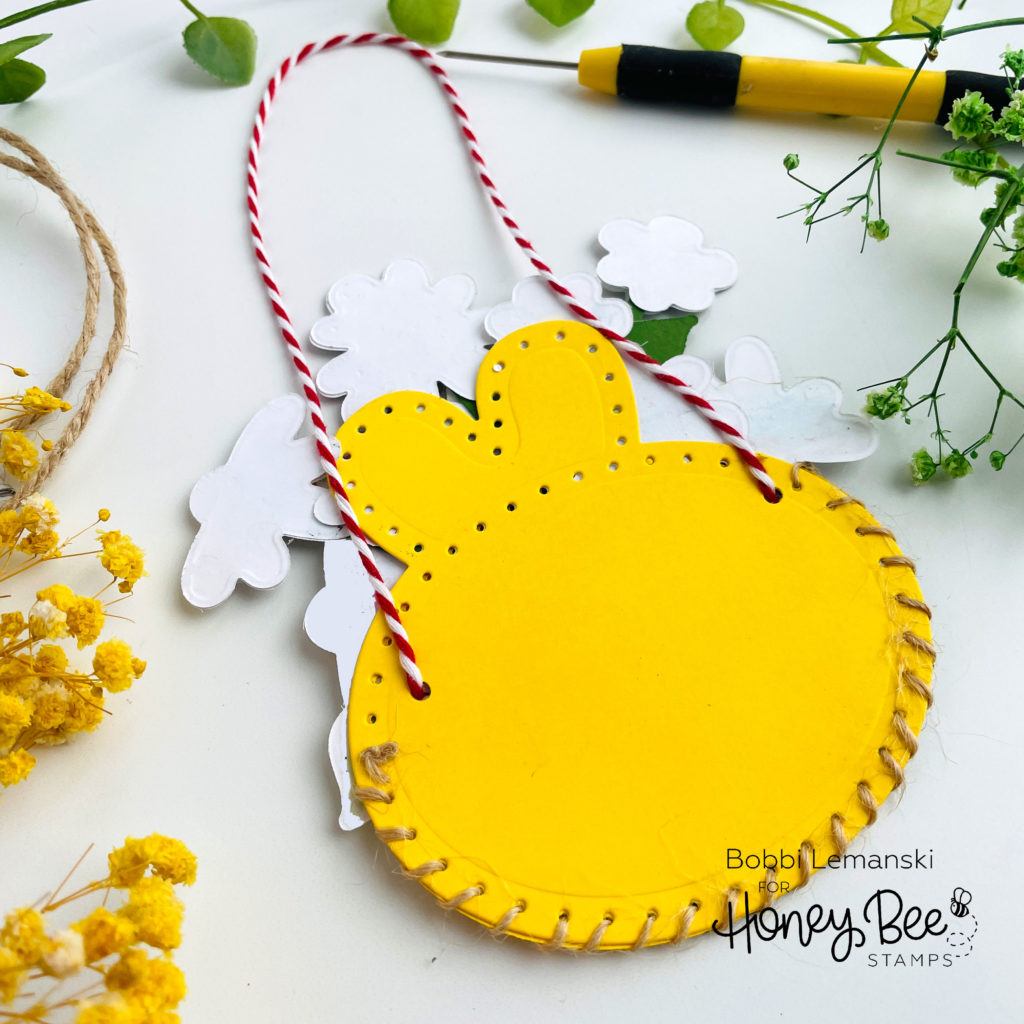
I used a red and white baker’s twine string for the basket handle. I simply punched two holes on each side and attached the handle using a knot on the front. To make sure I had a clean back, I also die cut more flower die cuts and glued them on any daisies that showed on the back side. This covers any Copic color bleeding.
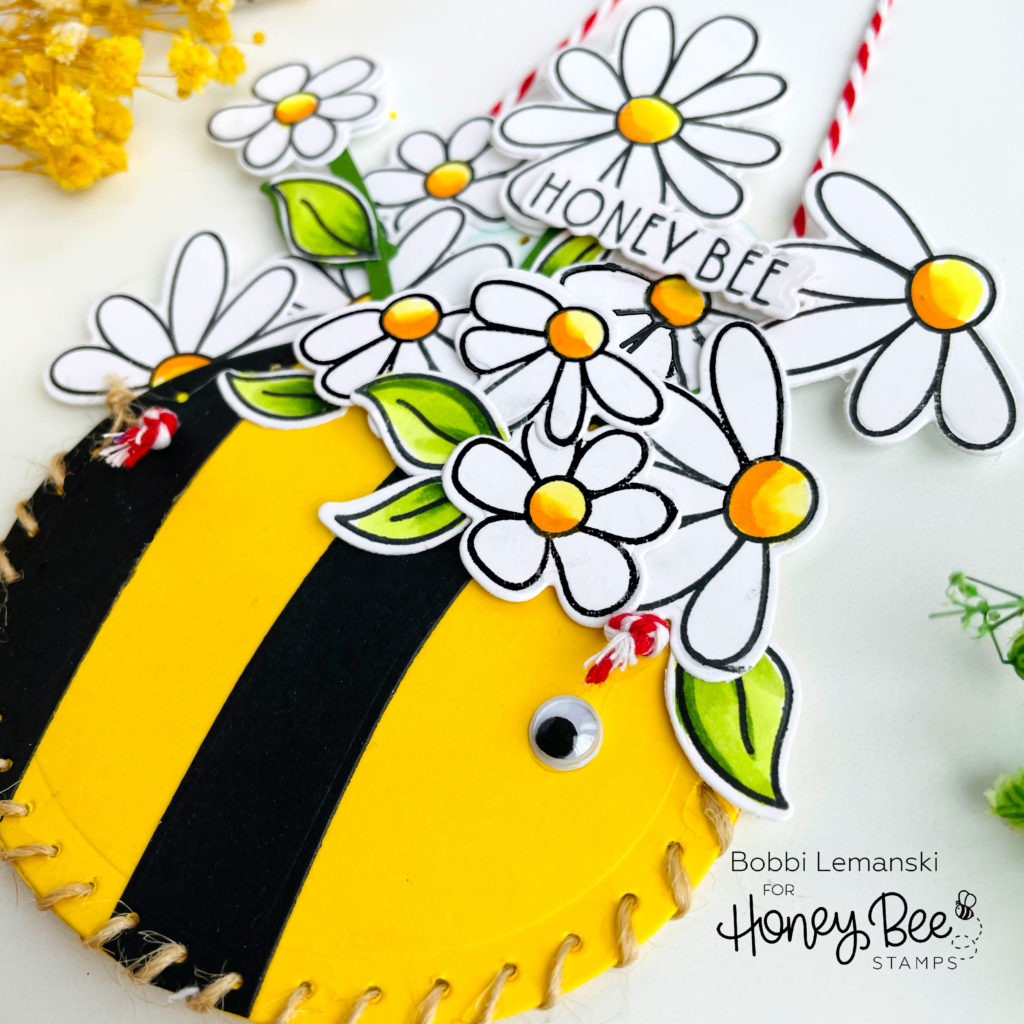
I added a rolling eyeball to the front of the bee and added the phrase “Honey Bee” to the bouquet to finish this sweet bee May basket. You can shop all these fun Honey Bee Stamps products today on the website! Please use the links in this post. It lets the Bee know what inspired you today! I appreciate it. 🙂
Thanks for stopping by today. If you want to see more ideas and inspiration from me, subscribe to my blog, BobbiHartDesign.com. I’ll send you updates on new posts! You can also find me on Instagram as @BobbiHartDesign and on Facebook as BobbiHartDesign.

