
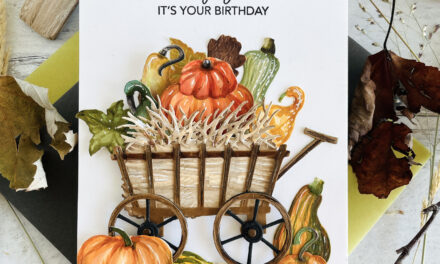
Hi there. It’s Bobbi Lemanski here sharing another card featuring the new Wonky Windows die set. This set will quickly be one of my staples because not only do you get these fun-shaped windows, but also three uniquely shaped pennants to dress up your cards. Today, I paired the cute windows with that yummy cupcake set we all love. On the outside, this card teases a little with some treat tidbits. When the card is opened, a big cupcake with all the fixings is waiting for the birthday celebration! I’m using the following Sunny Studio Stamps products:
Kiddie Pool Stamps (for the “It’s your birthday/Day” phrases, only)
Inside Greetings Congrats (“You deserve this” phrase)
Subtle Grey Tones 6″ X 6″ paper
How to Make this Card
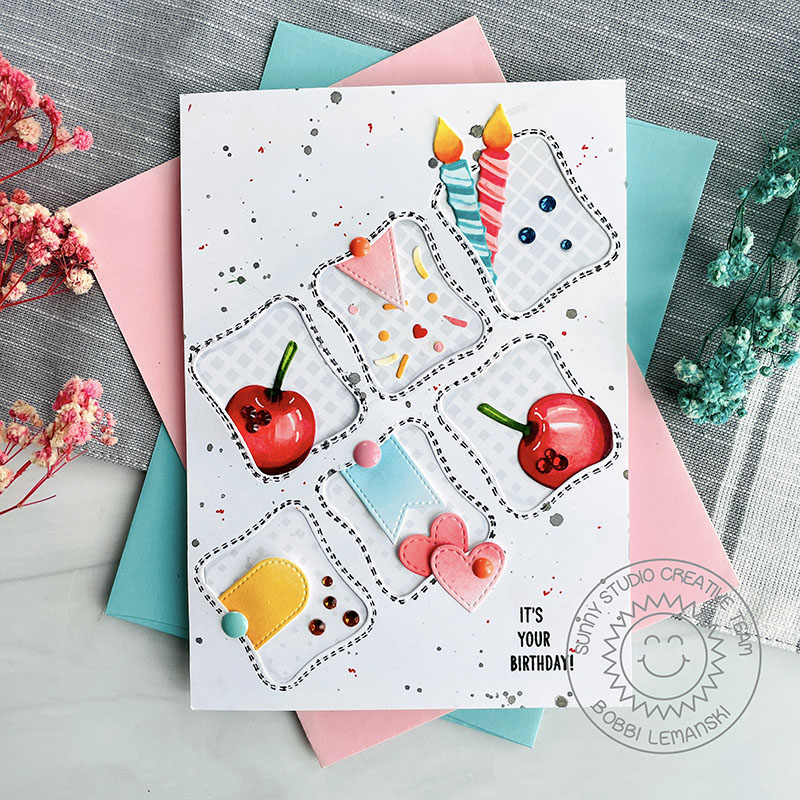
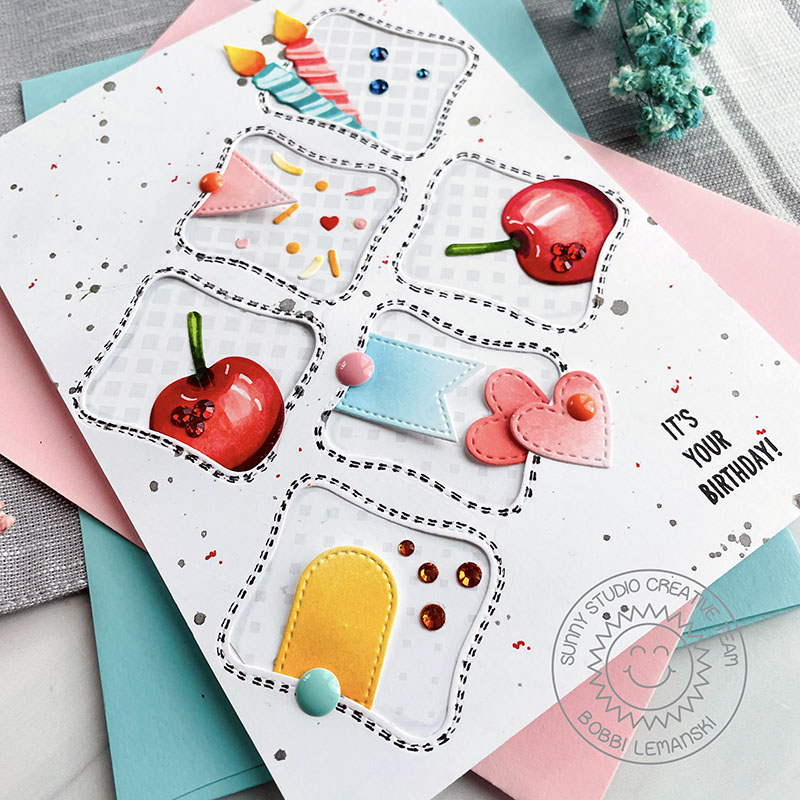
To make this 5″ X 7″ (A7) card, I cut the card base at 10″ wide X 7″ tall and scored down the center. I also cut the front panel measuring 5″ X 7″. I used Neenah 80lb Solar White cardstock for all the pieces. I die cut two rows of the the Wonky Windows on a diagonal for interest. The Wonky Windows die cuts all three windows at once which makes it easy to use.
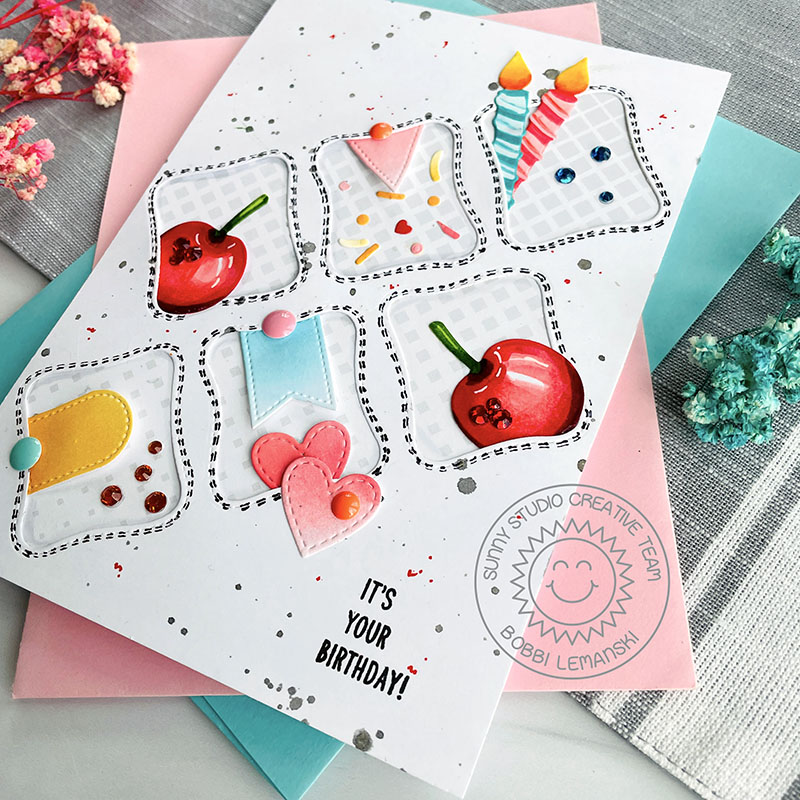
For the front panel, I splattered black watercolor paint and added some red specks using a marker. I used a fine-tip black marker and added faux double stitching around each window. I added grey tones pattern paper to the back of the windows and attached it in place. Next, I added lots of fun bits from the Cupcake Shape Dies set. Two cherries, two candles, two hearts, small confetti, and the pennants from the Wonky Windows set were added to the windows. I used Ranger Distress Oxide Inks in Mermaid Lagoon, Carved Pumpkin, and Worn Lipstick to color the banners, pennants, and hearts. I list the Copic colors I used for the other colored elements below. I added Red Zircon Jewels, Blue Topaz Jewels, Orange Topaz Jewels and some enamel gem stickers to the windows. I stamped the phrase in the lower right corner.
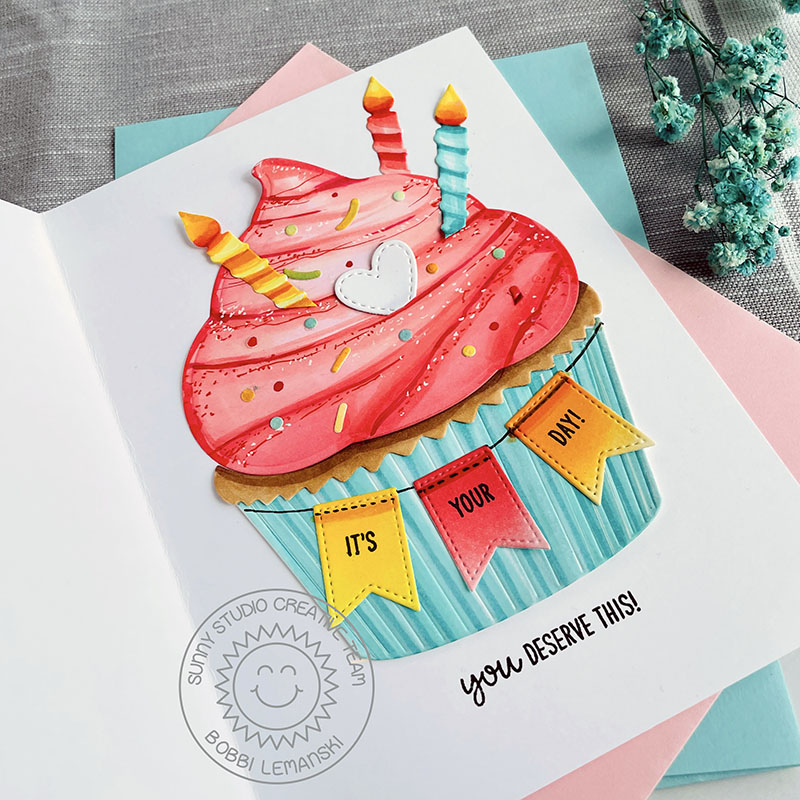
Inside the card, I added the elements of the Cupcake Shape Dies and colored them using the following Copics. These are the same colors I used on the front panel.
- Blue/Greens: B49, B23, BG11
- Reds: R46, R29, R24, R17, R14, R22, R20
- Browns: E59, E57, E55
- Yellows: Y38, Y19, Y15, Y13
- Oranges: YR68, YR65, YR61, YR04
- Greens: YG67, YG03 (front panel cherry stems)
Notice that I cut the candles and the white heart at slants at the bottom edges to make them look like they are inserted into the frosting. I used a white gel pen and red marker to add some frosting texture. I added fun details like the cute pennants from the Wonky Windows set to the cupcake. I used a fine-tip black marker to “connect” the pennants around the cake. Lastly, I stamped the phrase, “You deserve this” at the bottom to finish the card. This card fits inside an A7 size envelope for giving.
Thanks for stopping by today. If you want to see more ideas and inspiration from me, subscribe to my blog, BobbiHartDesign.com. I’
Bobbi Hartmann Lemanski, Bobbi Hart♥ Design, Adding h♥art into every design


