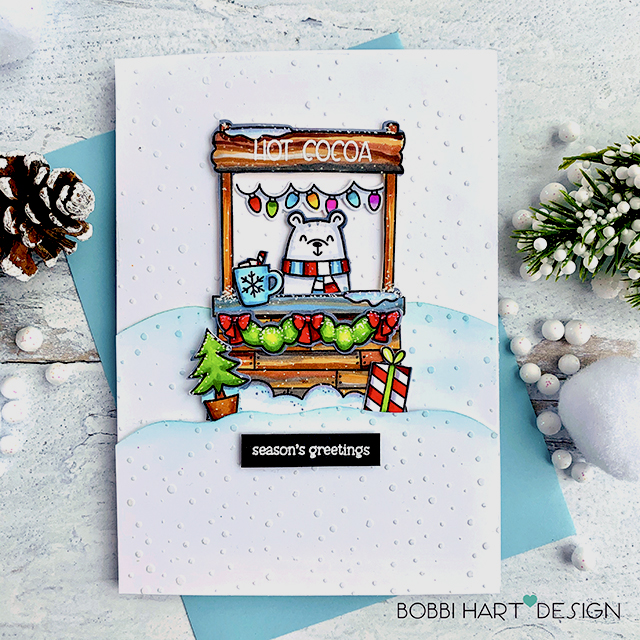
Okay, how cute is this new set from Avery Elle? I always fall in love with its winter holiday sets and this year is no exception. I had a few on my list that were “must-haves” for the season.
Today, I’m featuring the following products available at Simon Says Stamp (Woo hoo! I have a free shipping code at the end! )
- Avery Elle Cocoa Stand stamp and Cocoa Stand die set
- Honey Bee Snowy Day Stencil
- Simon Says Stamp Stitched Slopes and Hills Dies
Here’s some additional products I used:
- Hero Arts Intense Black stamp pad
- Embossing Paste for background snow
- Ranger Palette Knife Set (a must-have for $4.99!)
- Ranger Distressed Ink in Tumbled Glass
- Honey Bee Blender Brushes
- Neenah 80-lb and 110-lb Classic Crest Solar White cardstock
- 3M Foam Tape (Best value and lasts a long time!)
- MISTI Stamping Tool
- Uni-ball Signo White Gel Pen
- Versamark Ink Pad
- WOW! Opaque White Embossing Powder
- Wagner Heat Gun
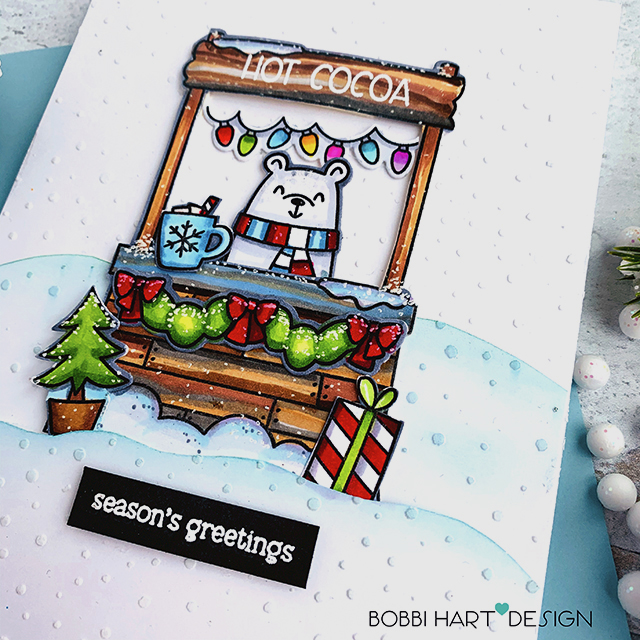
To Make this card, I started by using the Ranger Embossing Paste, palette knife set and Snowy Stencil. I created the fun snow background on two 5″ X 7″ pieces of 80lb Neenah cardstock. One will be used for the card front and the other will be used for the layering hills in the forefront. I hand cut my hills in two heights and used a soft blue Distressed Ink and my Blender Brushes to highlight the hills’ edges. I use a direct to paper technique to get the edge nice and dark and then I use my blender brushes to bring some of the color to the surface of the hills. A little Copic in BV00 was also added for some shading. Instead of hand cutting the hills, you could also use the SSS slopes and hills dies to create these if you prefer a perfect look with a nice stitched edge.
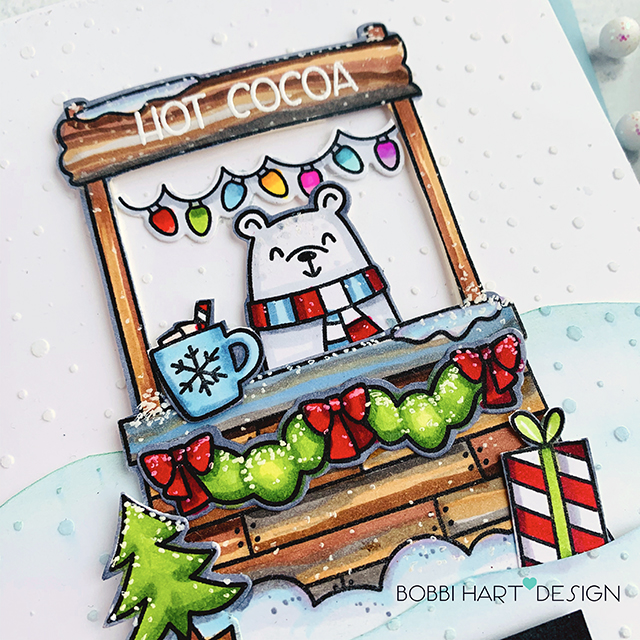
The cocoa stand, boughs, present, tree, mug, bear and lights were stamped in Copic-friendly black ink using my MISTI tool. I colored them in using my Copics (the colors are listed below) and die cut them out. I used Versamark to stamp the HOT COCOA words, embossing powder to emboss it in white and my heat gun to heat set it.
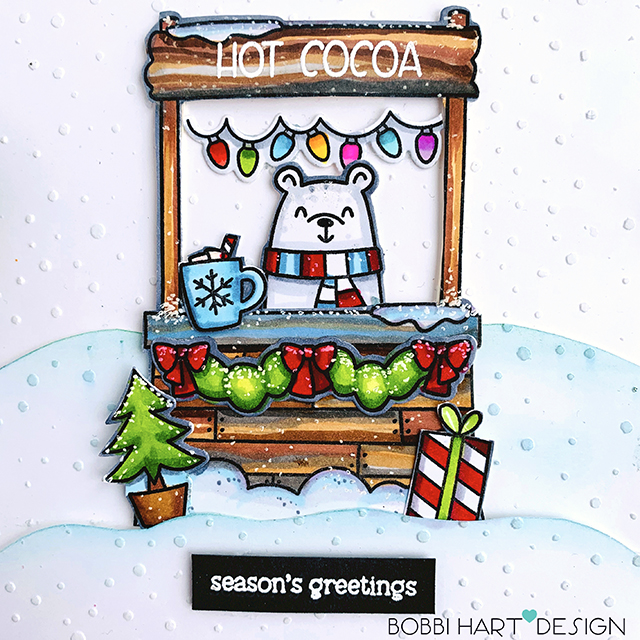
I used the following Copic Marker colors:
Copic Coloring Details
Snow, Mug: B000, B00
Tree, Boughs: YG67, YG03, YG00
Lights: B01/B00, R46/R29, V04/V01, Y38/y19, YG67/YG03
Scarf: B01/B00, R46/R29
Bear: C3/C1
Woodgrain Counter: B00, W1, W3
Woodgrain Stand: E55, E57, W1, W3, E47, black marker
Present: YG03, R46, R29
Snow: B00, BV000, BV000
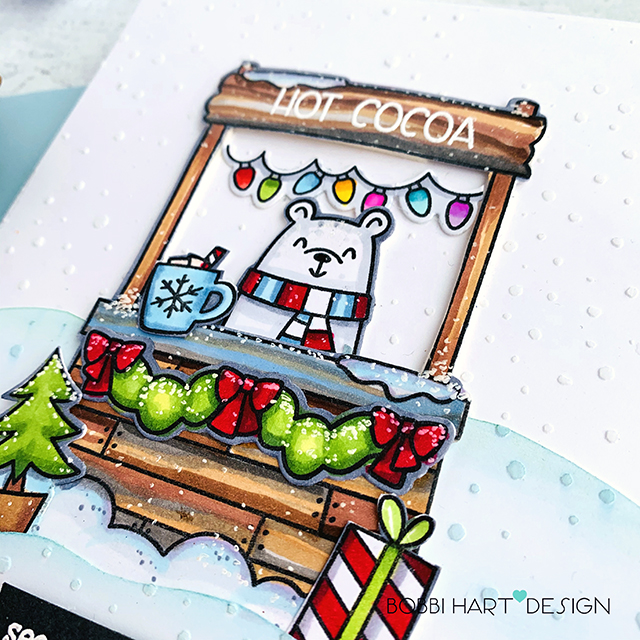
The stand and the seasonal elements were adhered into place and nestled in the hills of the card front. I added foam tape to the back of the stand for it to stand out a bit. I also added white dots using my gel pen and gray dots using a C3 (on the bear) for falling snow. I also cut a 10″ x 7″ card base, cut from the 110lb cardstock for sturdiness and attached the card front to it to complete my card.
 Thanks for stopping by today. If you are interested in purchasing these products, I would appreciate it if you used the links here!
Want to see more ideas and inspiration from me? Subscribe to my blog on the right.
I’ll send you updates on new posts!
You can find me on Instagram as @BobbiHartDesign and on Facebook as BobbiHartDesign.
Bobbi Hartmann Lemanski, Bobbi Hart♥ Design, Adding h♥art into every design

FREE SHIPPING! UPDATE: Want these products….free shipping for a limited time at Simon Says Stamp. Free shipping over $100. Use Code SHPUSA and for International orders, use SHP2NT for free shipping over $200. Expires on 11/24 at 11:59 ET

