Hello, Bee friends! It’s Bobbi Lemanski here with a few ideas that I just can’t keep under wraps. 
Lovely Layers: Heart Vine die set
Love You Bunches stamp and die sets
Slimline Sentiments: Stitched die set
Stitched Scallop Circles die set
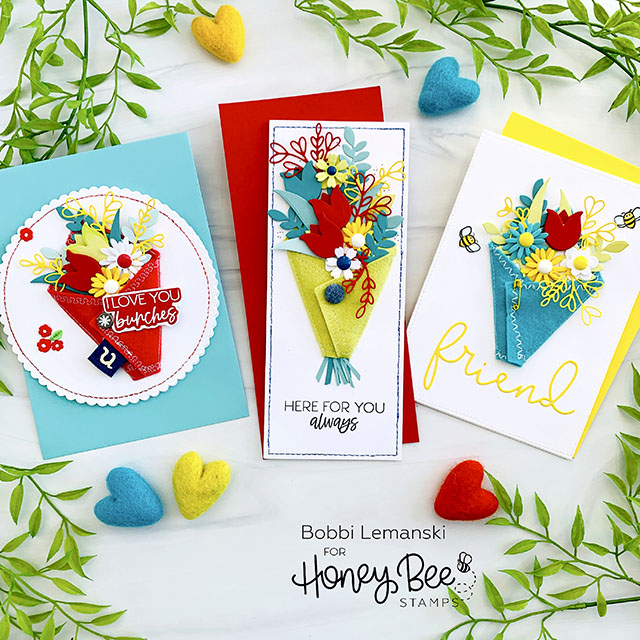
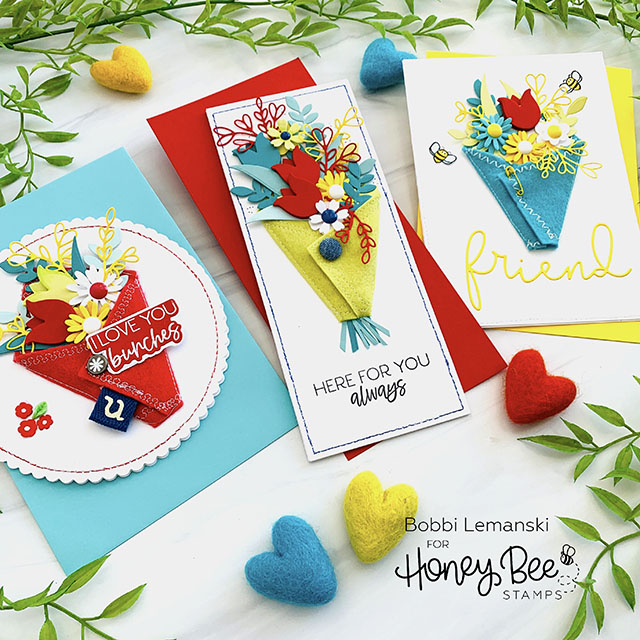
All three cards feature a wrap made from colorful wool felt. Honey Bee Stamp dies cut felt as easy as they cut cardstock. It’s cuts just like butter! Let’s take a look…
Love You Bunches Circular Card
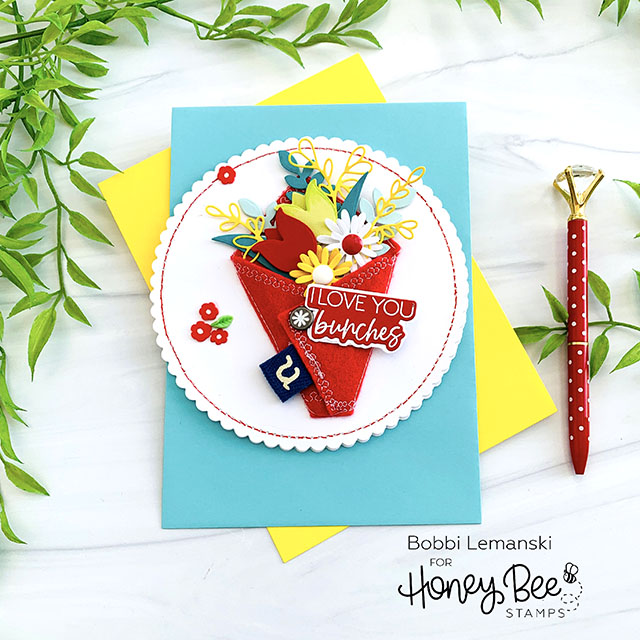
The first card uses the largest stitched scallop circle die from the Stitched Scallop Circles die set. It measures just under 5-1/2″ to fit inside a 5-1/2″ square envelope. The die already has stitching marks around the perimeter so I simply used an ultra-fine red marker and connected the dots for a faux red stitch design. I cut three of these scalloped circles from Neenah 80lb Solar White cardstock and created the card based by scoring 1″ down from the top of one circle and adhering it another (above the score line). After the card front was completed, I attached it to this two-panel base to create the folding card. No separate hinge is necessary nor is your circle design impacted when you use this method
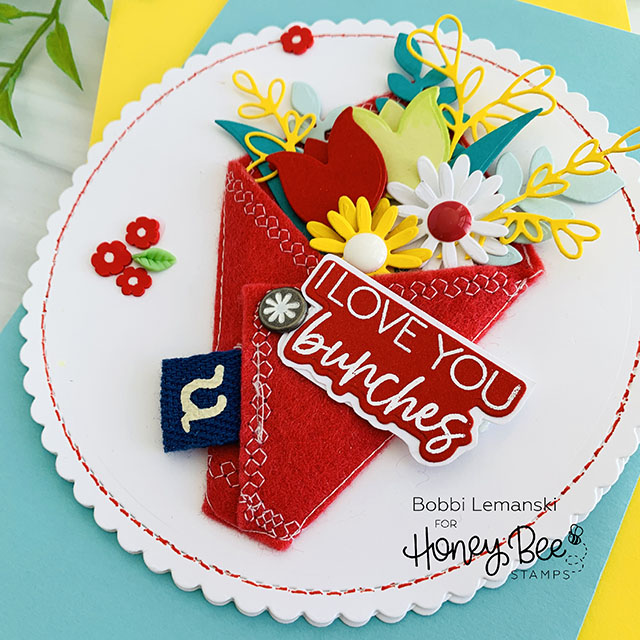
To make the wrap, I die cut the design from red felt and used my sewing machine to create a decorative stitching edge around the perimeter in white. I secured the wrap together by adding a decorative flower brad in the front corner of the wrap. I also sewed in a “u” cloth tag that I had on hand from my scrapbooking days. You could add any little ribbon strip, charm or photo to your wrap to personalize. Next, I actually sewed the wrap to the card front with a straight stitch around the folded perimeter. This secured it all in place. It’s now ready to fill with flowers…
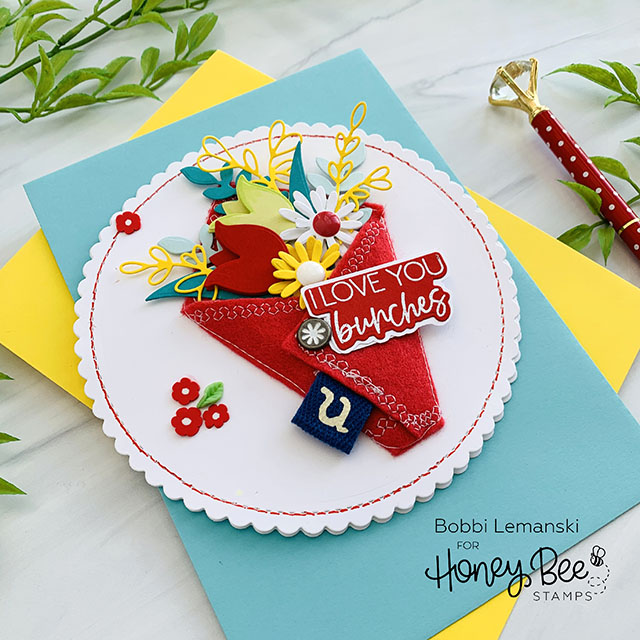
Using the Spring Bouquets Dies, I die cut flowers and leaves in bright colors and arranged and adhered them to a simple cardstock circle using Honey Bee Stamps Bee Creative Precision Glue. I added some of the heart vines that really made the bouquet come to life! Next, using strips of 3/8″ Scor-Tape, I adhered the filled circle to the inside of the wrap. The phrase was heat embossed in white on red cardstock, die cut, shadowed with a white die cut and attached to the felt front using the Scor-tape. The card front was attached to the card base (created in the first step) to finish the card.
Here For You Slimline Card
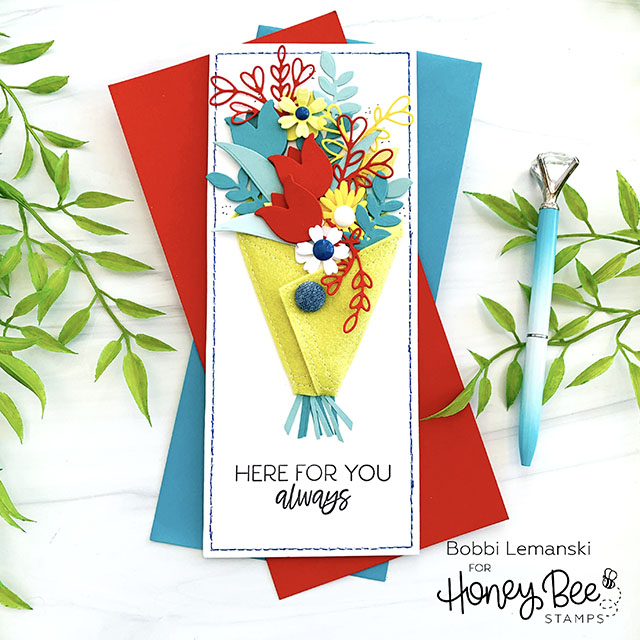
For this slimline card measuring 3-1/2″ wide X 8-1/2″ tall, I basically followed the same steps as in the first card. This time, I used a denim covered brad to secure the wrap and stitched the whole wrap to the slimline stitched card front panel. I used a blue marker to connect the stitched lines around the perimeter. Note: If you don’t have a sewing machine, using these pre-stitched base dies are a great way to get the look of machine stitching around the perimeter of your cards.
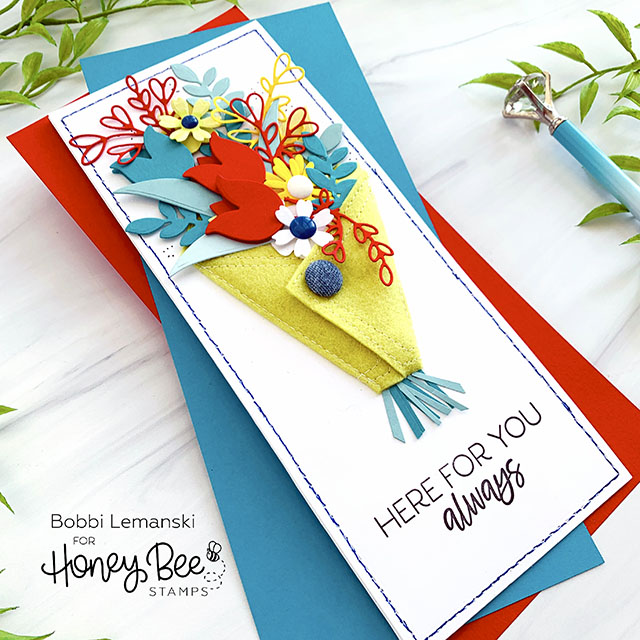
I added teal and aqua strips to the wrap to create the look of stems hanging out at the bottom of the hand wrap. Notice, that I added more of those sweet heart vines in red and yellow to this bouquet, too!
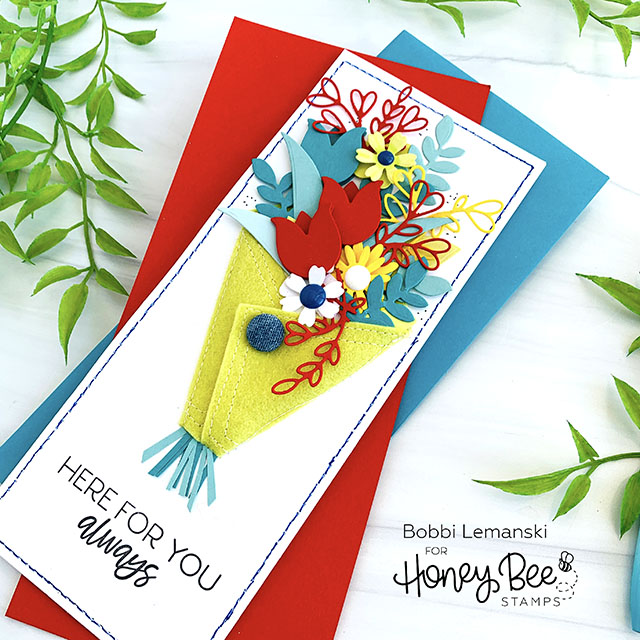
I stamped the phrase from the stamps set, Love You Bunches stamp set in black at the bottom of the card’s front panel and attached it to a slimline card base made from Neenah 80lb Solar White cardstock to complete the look.
Bee Friend A7-Size Greeting
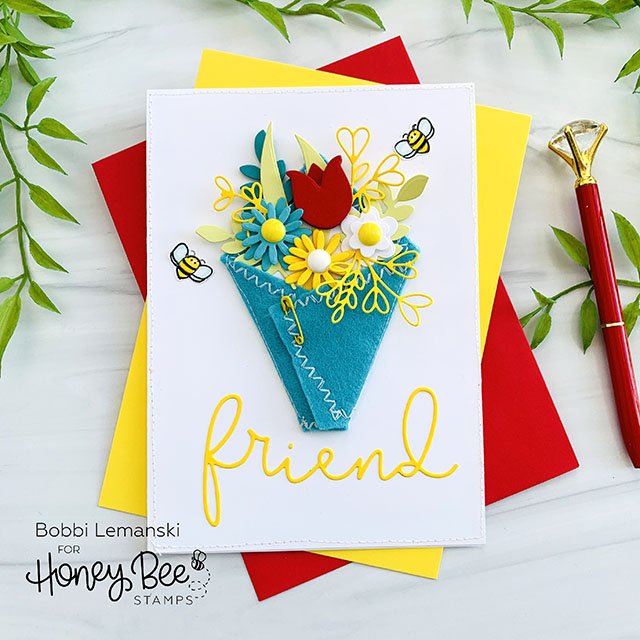
For this 5″ X 7″ card, I added two bees to the design. (These bees happen to be FREE BEES I earned with one of my prior Honey Bee orders) I wanted to connect the sweet bees to the bouquet. The heart vines in yellow really made that happen in a very whimsical way.
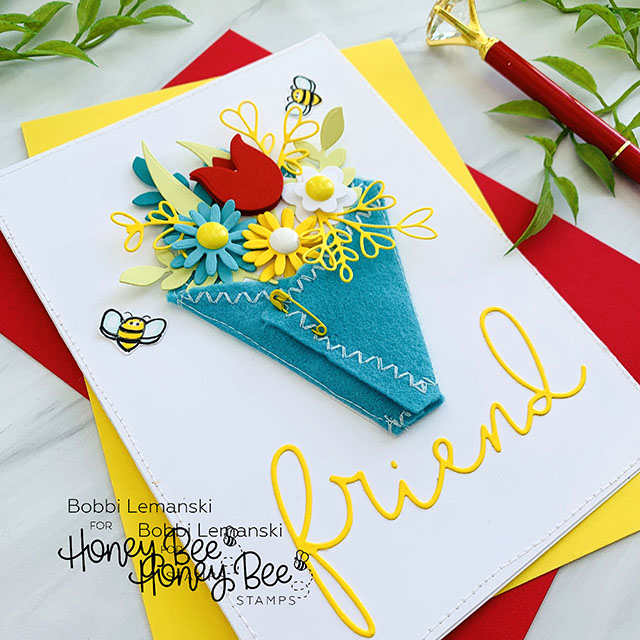
The flowers created by layering the dies from the Spring Bouquets Dies really add a lot of dimension to all of these bouquets which I love. You can really see it on all my side view photos like the one above. I added the “Friend” script die from the stamp set, Slimline Sentiments: Stitched die set. A bright yellow, mini safety pin attaches the corners of the wrap.
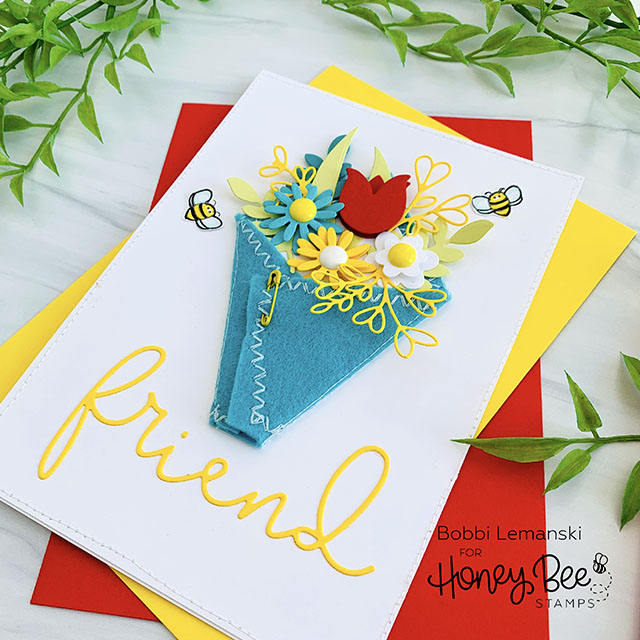
I stitched around the card’s perimeter using my sewing machine. You could also create faux stitches like in the other two cards as well. I used enamel dots for the flower centers. It’s fresh and fun and a perfect card for Valentine’s Day, May Day, Mother’s Day, birthday, or just as a “pick-me-up bouquet” day!
You can shop the entire Love Letters release here. If you decide to place an order at Honey Bee Stamps, please use the links in this post so that Honey Bee knows how you found these products!
Thanks for stopping by today. If you want to see more ideas and inspiration from me, subscribe to my blog, BobbiHartDesign.com. I’ll send you updates on new posts! You can also find me on Instagram as @BobbiHartDesign and on Facebook as BobbiHartDesign.
Bobbi Hartmann Lemanski, Bobbi Hart♥ Design, Adding h♥art into every design

