
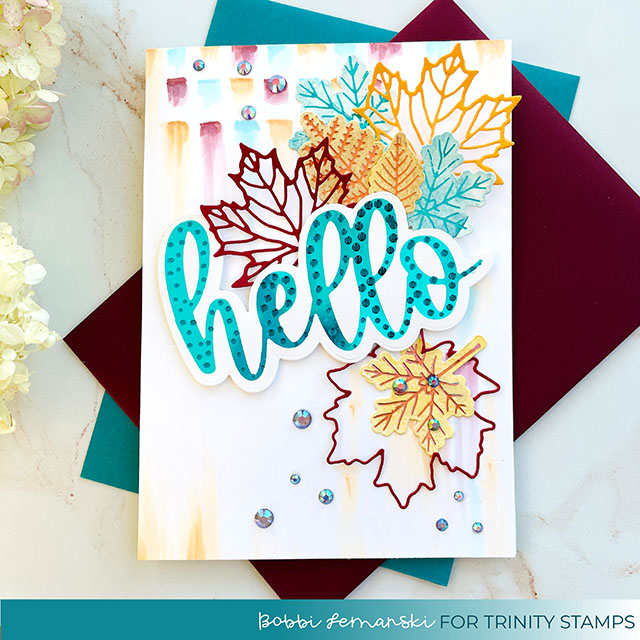
It’s that time again when leaves are falling, temps are cooling off and mounds of pumpkins are everywhere. It’s Bobbi Lemanski here (@BobbiHartDesign) welcoming fall with a card featuring a modern edge and some very sparkly elements, thanks to the new cut and foil sets! I’m using the following Trinity Stamps products for this 5″ X 7″ card:
Big Hello Cut and Foil Die set
Cut and Foil Autumn Rainbow Die set
A Sentiment for (almost) Everything stamp set
Magic Melanite Rhinestone embellishment mix
Below, are the steps I followed to make this card.
Step 1: “Hello” Word
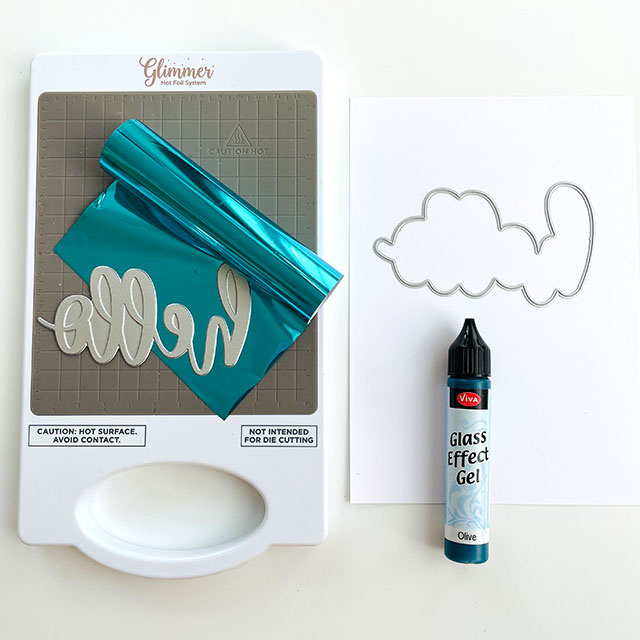
To create this 5″ X 7″ greeting card, I started by foiling the oversized “hello” word using a turquoise blue foil and my Glimmer Hot Foil System. I simply followed the machine’s directions on foiling. Once I foiled the word, I used the outline die to cut it out, leaving a nice white border around the foiling. Next, I added drops of Glass Effect Gel in olive over the foil to make it dimensional. The gel is transparent, allowing light to shine through the drops, making it extra pretty! Nuvo Drops could also work for this step. This is a great way to cover up any spots that did not foil properly, too. 
Step 2: Autumn Leaves
Next came the leaves. I foiled a number of the leaves from the Cut and Foil Autumn Rainbow Die Set using a rose gold and the same turquoise foil used on the “hello” word. I foiled them on some scrap watercolor paper that were painted in light golds and shades of blue. I die cut them using the dies from the set. This is a great way to use up watercolor paper scraps.
In addition, I die cut a few larger maple leaves – border and outline pieces – from a maroon and a light pumpkin cardstock using the Slimline Maple Leaf Die set. I set all the leaves aside and worked on the background.
Step 3: Background Abstract Design
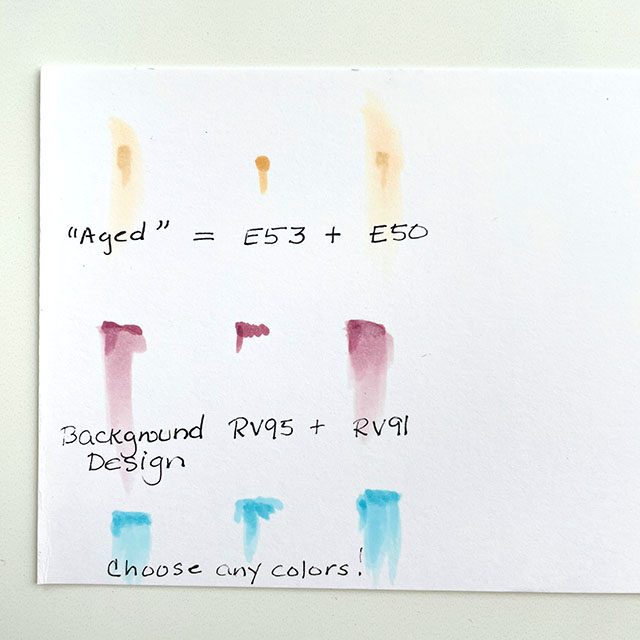
To create the background for the word and leaves, I started with a 5″ X 7″ front panel made from 80lb Neenah Solar White cardstock. I used my Copic Markers to create an abstract, imperfect background using the following colors:
Copic Markers: E53, E50, RV95, RV93, B01, B000.
I love to create different combinations of colors and I think these work so well together. This background is easy to do. I added more intense color and then dragged the color down using a lighter shade. I added various small blocks of color, placed in rows in the upper left corner and a few in the lower right, too. I added some staggered aged spots on the front panel as well using the E colors. I like the organic / imperfect look of this background to complement the leaves. It’s modern and a little edgy to make this card unique and interesting. It complements the die cuts / design nicely.
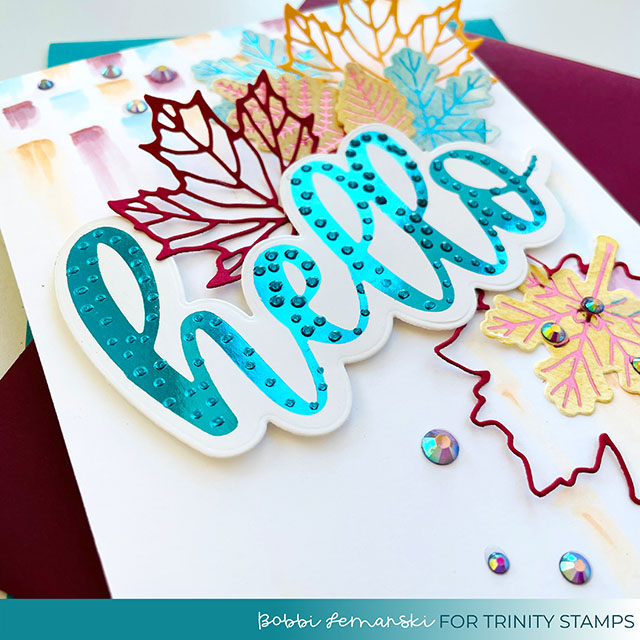
Step 4: Card Assembly
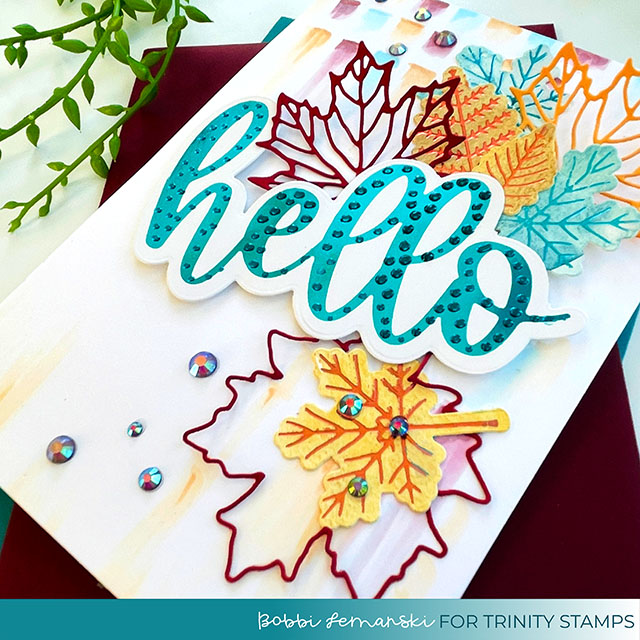
To assemble the front panel, I attached the foiled “hello” word using foam tabs so that it would stand out. I attached leaves above and below the word, tucking them in behind the word and overlapping the leaves. Lastly, I added some Magic Melanite Rhinestone embellishments on and around the leaves. I love this deep color for fall! The front panel was attached to an A7-sized white card base.
Step 5: Inside the Card
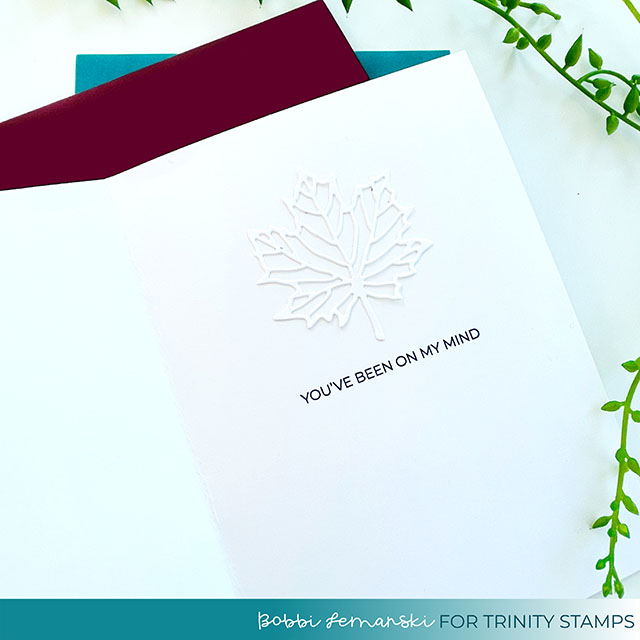
Inside the card, I added a maple leaf outline in white on the white card base and stamped the “You’ve been on my mind” phrase from the set, A Sentiment for (almost) Everything stamp set. I always think the inside should have some pretty element, too. It’s a little surprise inside! This card is now ready to send or give to someone special this fall!
You can shop the entire collection of cut and foil sets at Trinity Stamps here. If you decide to place an order, please use the links in this post so that Trinity Stamps knows what inspired you.
Thanks for stopping by today. If you want to see more ideas and inspiration from me, subscribe to my blog, BobbiHartDesign.com. I’ll send you updates on new posts! You can also find me on Instagram as @BobbiHartDesign and on Facebook as BobbiHartDesign.
Bobbi Hartmann Lemanski, Bobbi Hart♥ Design, Adding h♥art into every design


