
Hi there. It’s Bobbi Lemanski here with a festive load of cuteness to share. I’m using the new Penguin Party stamp set and coordinating die set by Sunny Studio Stamps. and let me tell you, there are a whole lot of cute penguins in this set! I couldn’t choose my favorite so I used almost all of them on my one-layer card today. These little guys are so festive that you’ll want to add them to all your holiday gift tags and greetings.
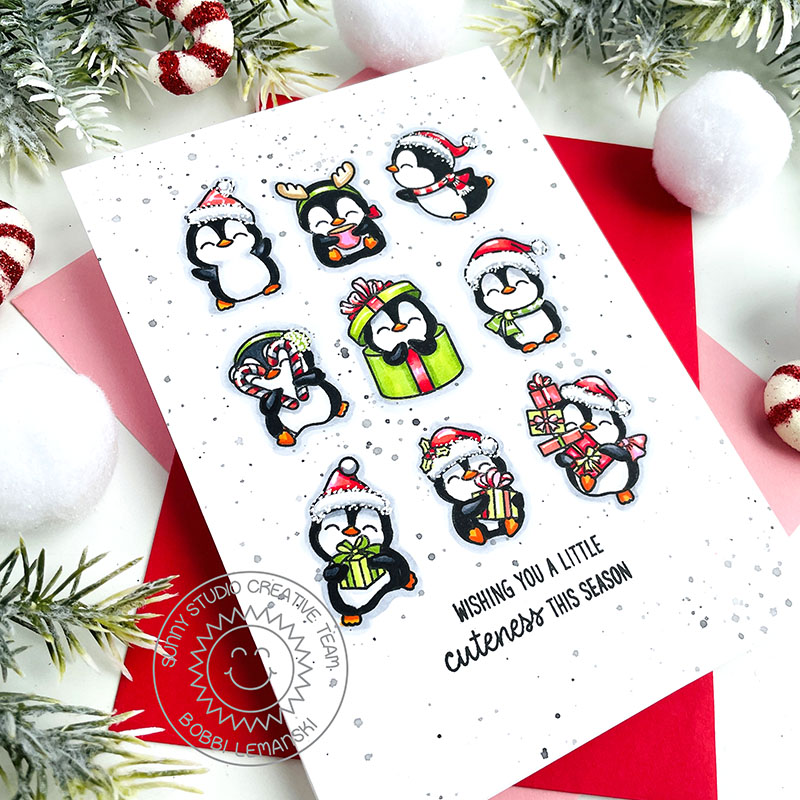
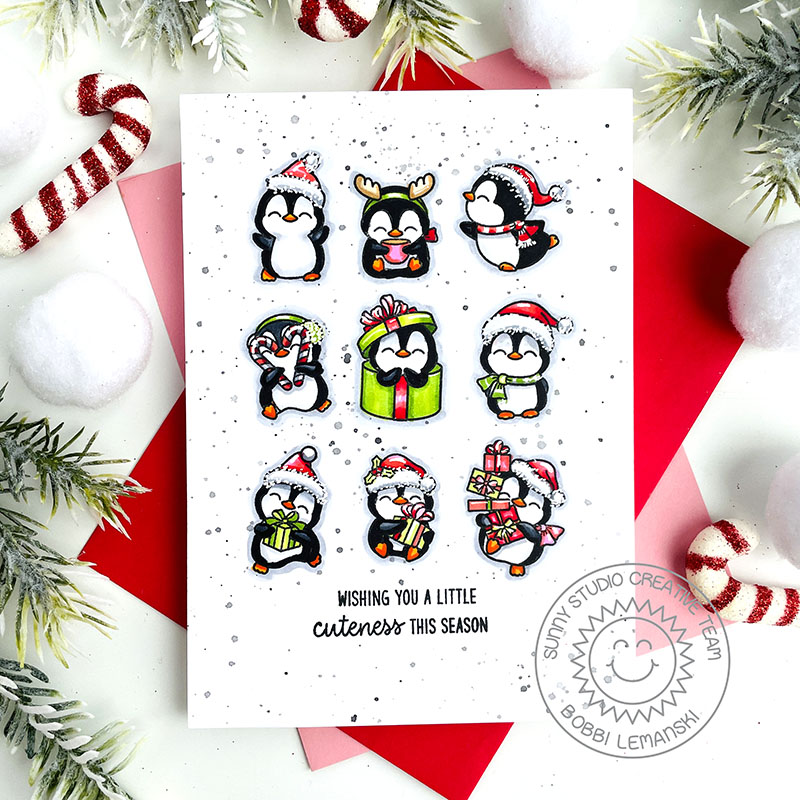
To make this 5″ X 7″ card, I started by stamping all my penguins on my 5″ X 7″ card front panel cut from 80lb Neenah Solar Crest white cardstock. I used the same cardstock for my card base, too. I stamped all the penguins at once using my MISTI stamp tool, positioning them in clean columns and rows, along with a sentiment from the set. You can make lots of these one-layer cards for the holidays once you have the stamps in place on your MISTI grid. Just ink up and stamp over and over. It’s so easy and great for mass production of cards for the holidays.
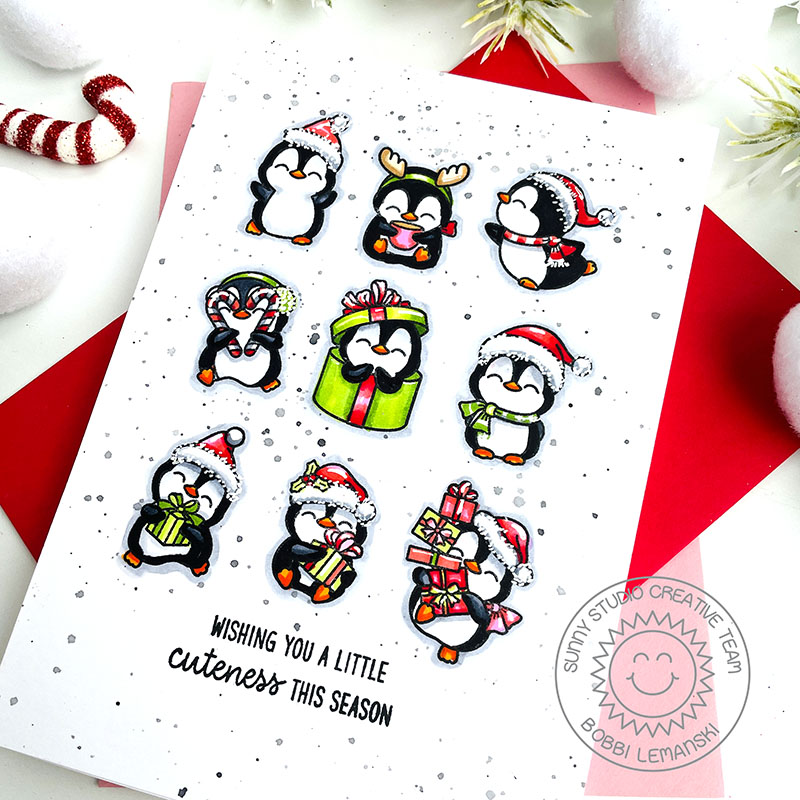
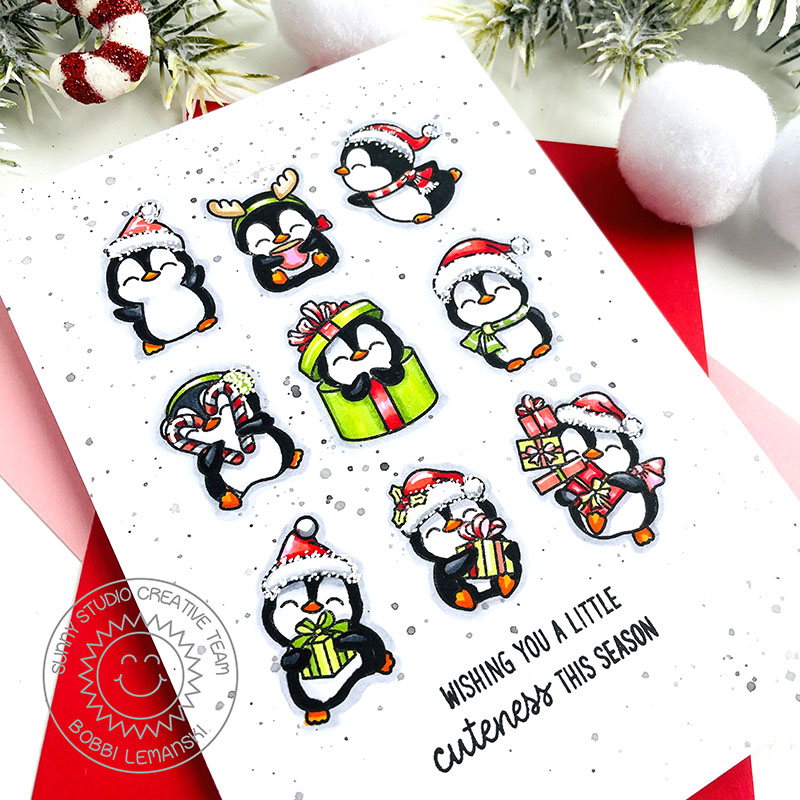
I colored the penguins on the card front in shades of red, pink and green to contrast with the penguins’ colors of black and white. To make the penguins stand out, I added shading to their bodies and around each image using cool grays to make them “pop” off the page. This is a great trick when you are creating one-layer cards. The shadowing creates the look of dimension on the flat surface. Here are the Copic Sketch Marker colors I used:
- Reds: R29, R17, R14
- Greens: YG67, YG17, YG 13, YG03
- Pinks: RV55, RV02
- Oranges: YR09, YR68, YR15 (for beaks and feet)
- Cool Grays: 100, C8, C7, C5, C3, C1, C0 (for penguin bodies and shadowing)
- Plus, a Gelly Roll White Gel pen for the fur trim on the hats and earmuffs
To finish the card front, I die cut all the penguins shapes out of scrap paper, positioned them over the penguins (no adhesive used) along with a rectangle over the sentiments and splattered the entire front with black watercolor paint, mixed with a little water, to create the random splatter background. The light splatter dries quickly. I removed the masks and attached the card front to the card base.
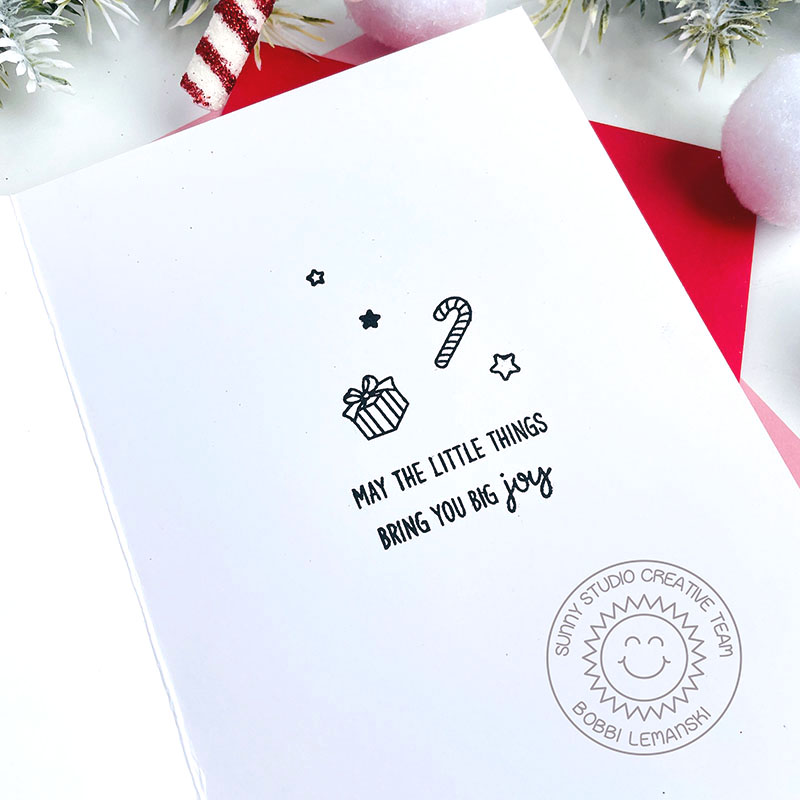
Inside the card base, I stamped more sentiments from the set along with a few little accent images/”little things” from the set to connect to the phrase. I used my MISTI tool again to position all these little images and then stamped them all at one time.
You can shop these products at Sunny Studio Stamps. Thanks for stopping by today. If you want to see more ideas and inspiration from me, subscribe to my blog, BobbiHartDesign.com. I’ll send you updates on new posts! You can also find me on Instagram as @BobbiHartDesign and on Facebook as BobbiHartDesign.


These little penguins really fill the page nicely!! So cute and I also love the inside sentiment. Would be fun to mass produce. I am not receiving any posts from this blog… could you see what the problem might be?