
Hello Bee friends! I absolutely love red, ripe strawberries. I have fond memories of going to our local strawberry fields to pick strawberries with my mom and older sisters. We would pick in the morning and take home a large box of berries before noon. Mom would make homemade jam, delicious strawberry shortcake and strawberry meringue. Those were the days!
For my card, I’m using the following Honey Bee Stamps products from the latest Happy Hearts release:
Terracotta Planters – Honey Cuts
Foil Script: Love Hot Foil Plate & Honey Cuts
Damask A2 Cover Plate Honey Cuts
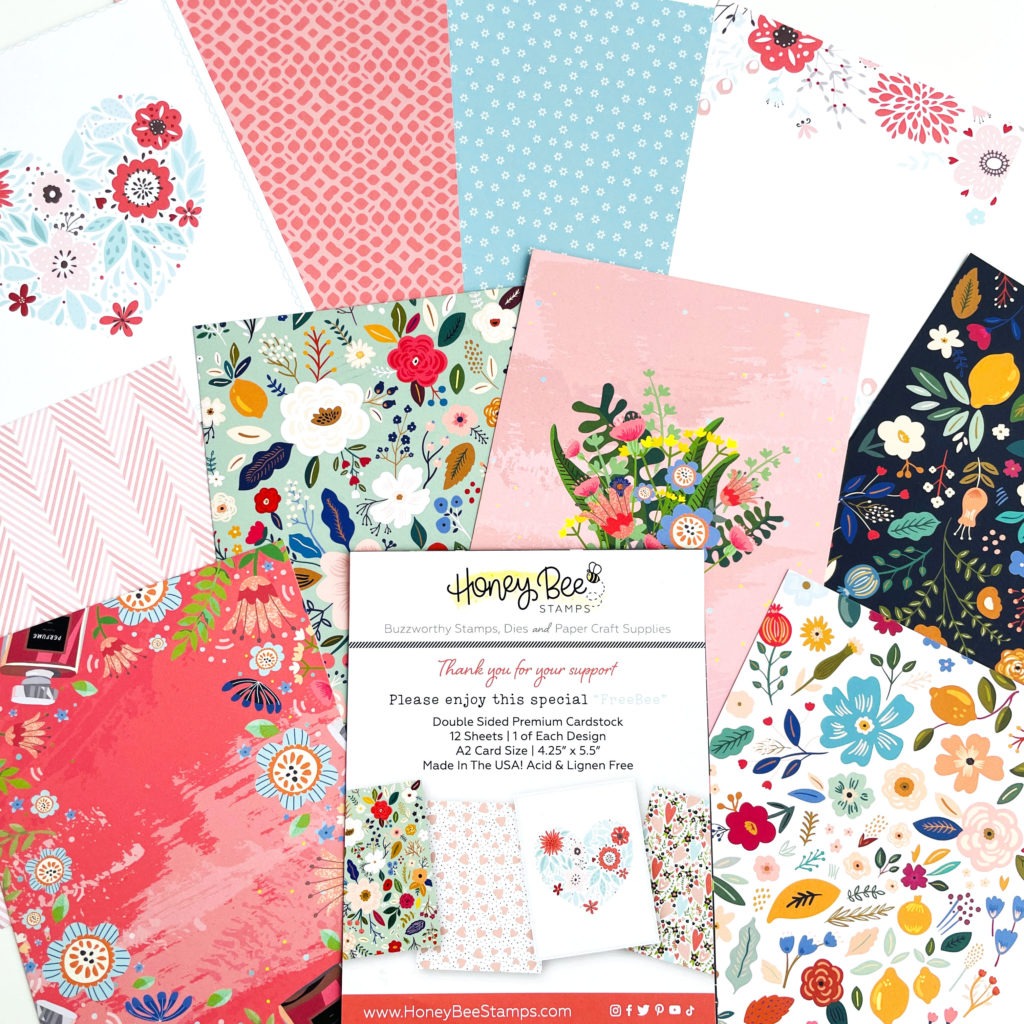
NOTE: The navy and white heart pattern paper that I used is part of the FREE BEE! It’s free with the purchase of $75 or more. No code needed! Available only while supplies last! Each paper in the FREE BEE pack has a coordinating print on the other side, offering lots of fun and colorful options.
The featured project below is made from Neenah 80lb Solar White cardstock for the card base and card front panel. All of the black ink stamping was done using Honey Bee’s Bee Creative Intense Black Ink. I use Honey Bee Stamps Bee Creative Precision Glue for adhering my elements together. My card is 5″ X 7″ in size. Now for the details…
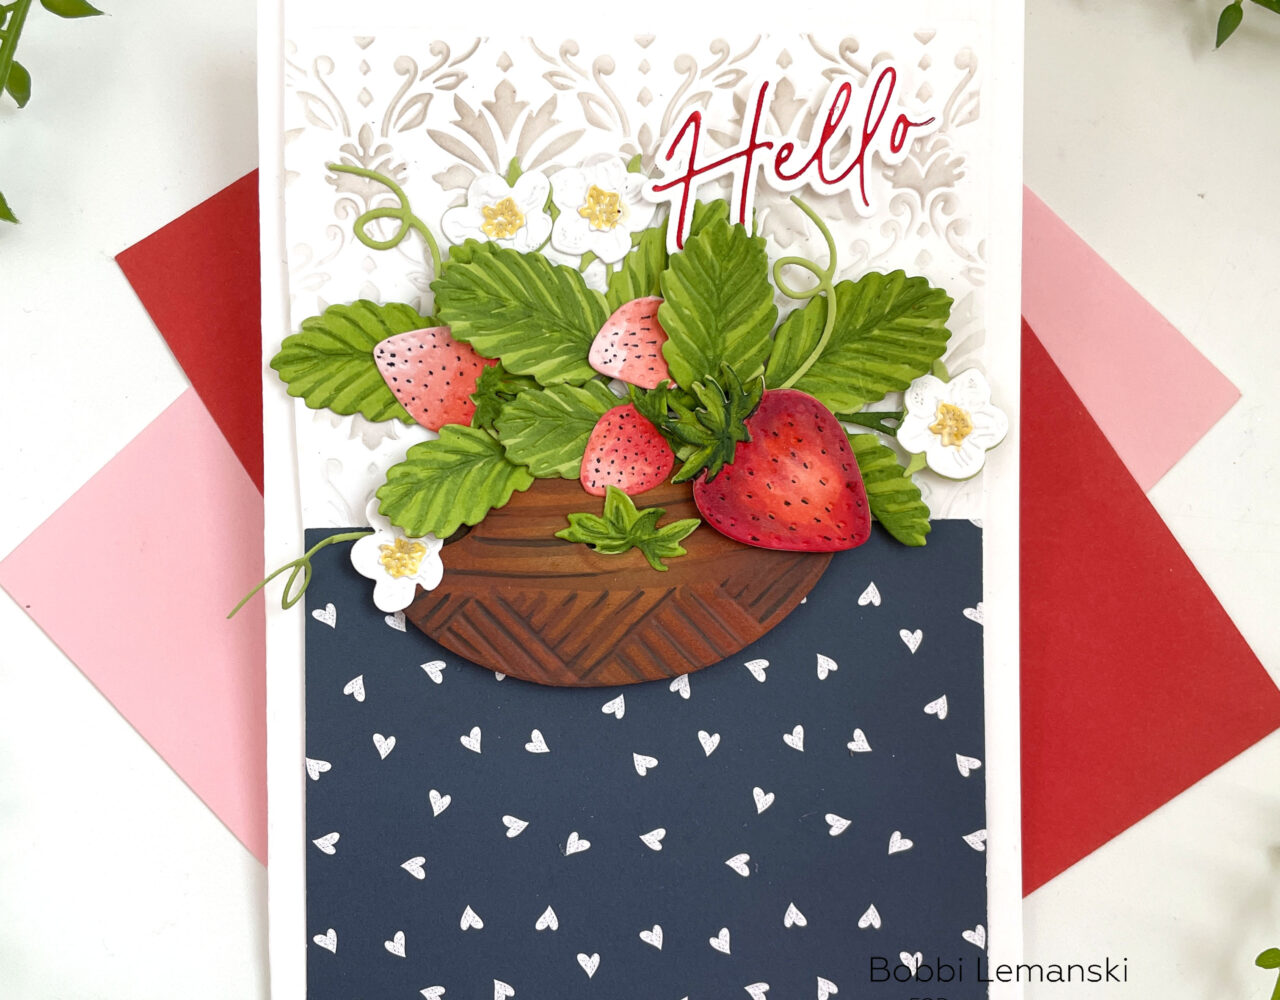
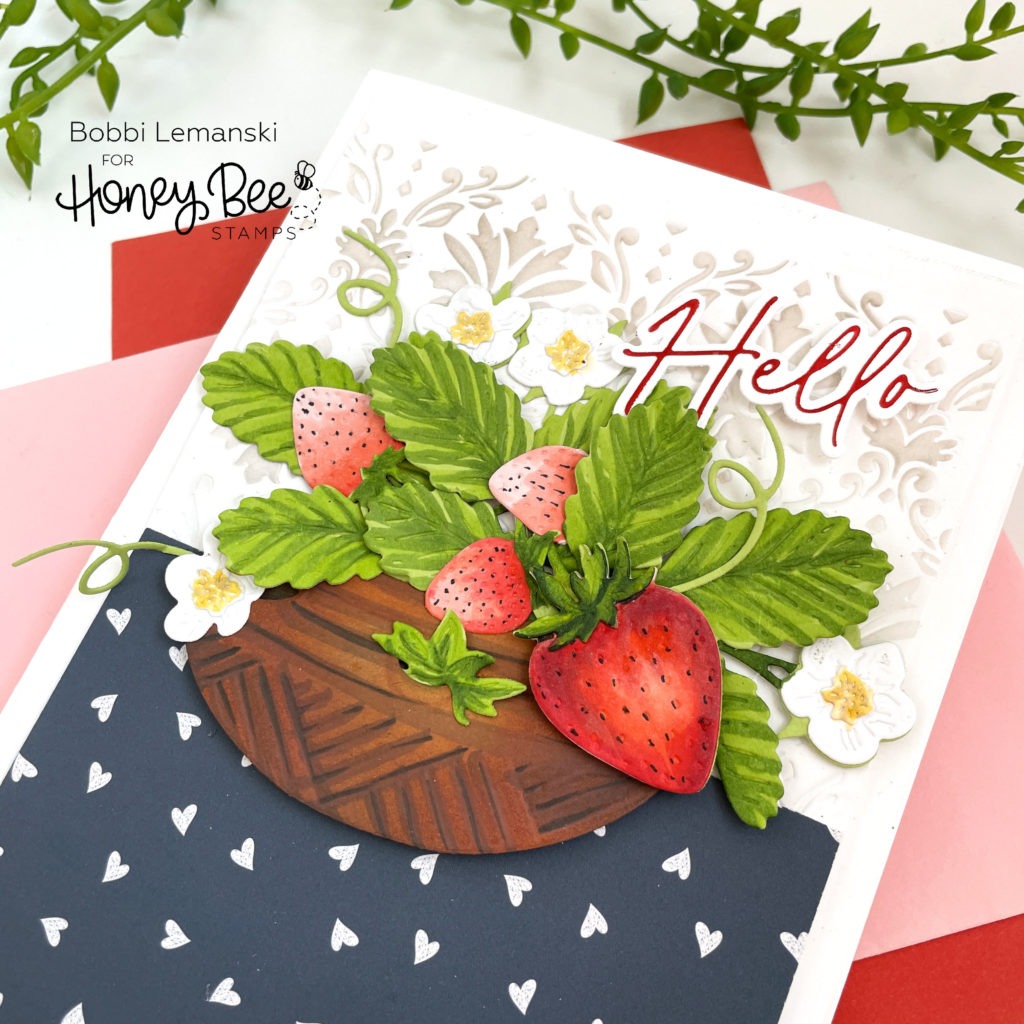
To make this 5″ x 7″ card, I started by die cutting all the elements of the strawberries from white cardstock. I colored the leaves and strawberries using the following Copic Marker colors:
- Strawberries: R46, R29, R24, R17, and R14. I used a black fine-tip black marker to add the seeds to the berries.
- Greenery: YG67, YG25, YG17 and YG03
- Flower centers: Y19, Y15, Y08
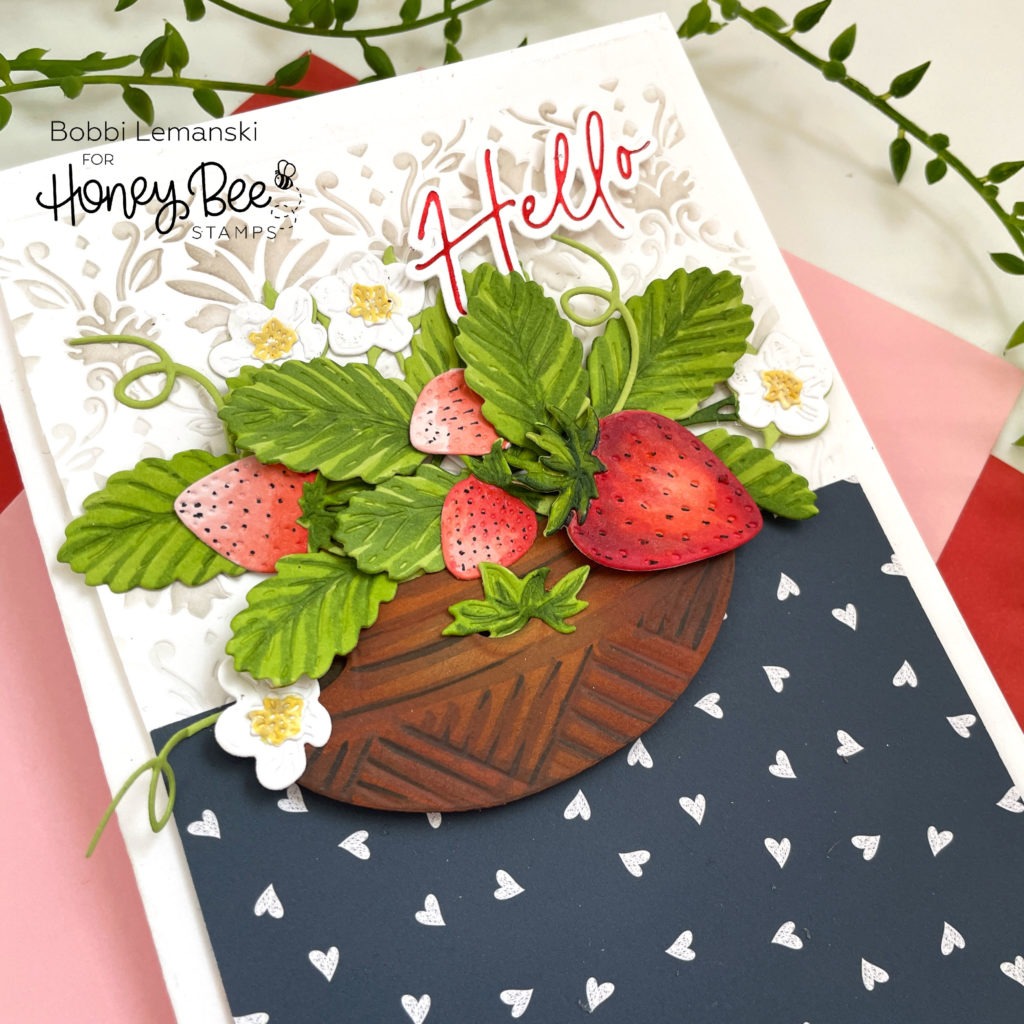
For the clay pot, I cut the image from kraft cardstock, then colored it in using YR27, YR24, E47 and E49 to give it definition. The design on it is so pretty, it deserved a little more definition using color.
Everything was assembled and glued together using Honey Bee Stamps Bee Creative Precision Glue. I added dimensional foam dots on the back to prepare it for my card front panel. The tabs will make it stand out a bit from the background.
For the card base, I ran the white front panel through the die cutting machine with the Damask A2 Cover Plate. To make the design stand out a bit more, I stenciled on top of it using the Damask Background Stencil and a light tan ink that blended with the clay pot. While subtle, I like this design for my background. I cut the panel down to cover the top only and added the navy and white heart pattern to the bottom part of the card front. Because the Damask embossed design is an A2 width (4.25″) and my card is an A7 size (5″ width), I cut my navy print down to the same width as the damask and allowed a white border around the entire front panel.
The navy and white heart pattern paper is part of the FREE BEE as explained above. If you don’t receive this pack with your purchase, consider using a gingham print from the Heart Hearts Gingham Paper Pad or a designer print from the Happy Hearts Paper Pad.
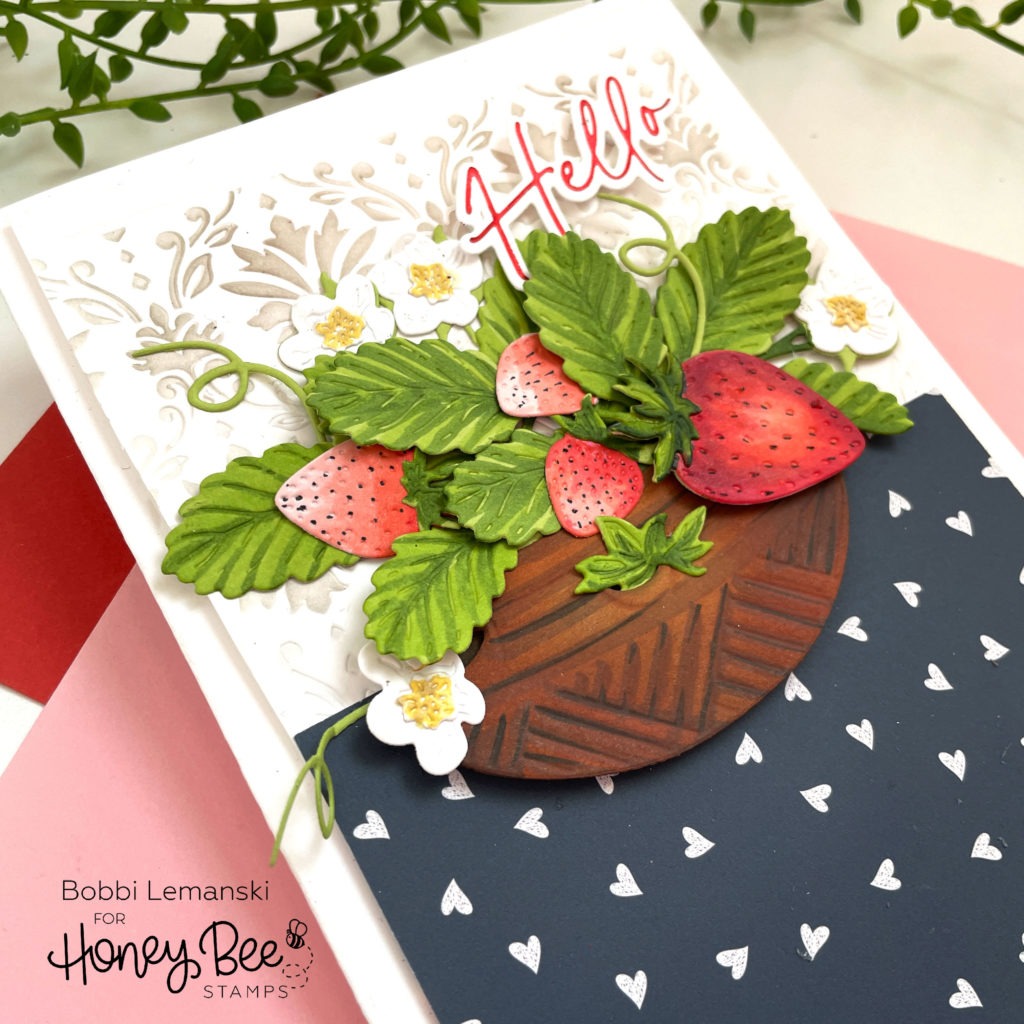
Lastly, I used the Foil Script: Love Hot Foil Plate & Honey Cuts to foil the “Hello” in red and die cut the sentiment. I foiled the sentiment using Red Foil using my Spellbinder Glimmer Hot Foil System and die cut it using the coordinating Honey Cuts dies included in the Foil Script: Love Hot Foil Plate & Honey Cuts set. The sentiment was attached to the card front using foam dots to finish the card.
You can shop the entire Honey Bee Stamps Happy Hearts release here. If you decide to place an order, please use the links in this post so that Honey Bee knows which ideas inspired you!
Thanks for stopping by today. If you want to see more ideas and inspiration from me, subscribe to my blog, BobbiHartDesign.com. I’ll send you updates on new posts! You can also find me on Instagram as @BobbiHartDesign and on Facebook as BobbiHartDesign.


