
Today, I’m participating in the Papertrey Ink September Release Instagram hop! It is “Beginning to Look a Lot Like Christmas!” This month, we are getting you ready for your Christmas and Winter themed crafty creations. Hop along with us to see all the festive inspiration designed by the Design Team and invited guests! To start from the beginning of the hop, head to @papertreyink or at my IG page here.
GIVEAWAY: Leave a comment at each stop ON INSTAGRAM for a chance to win a $10 gift card from Papertrey Ink! Winners will be chosen randomly from the comments left on each hopper’s post. All winners will be announced on the Papertrey Instagram post/feed on Monday, October 2, 2023.

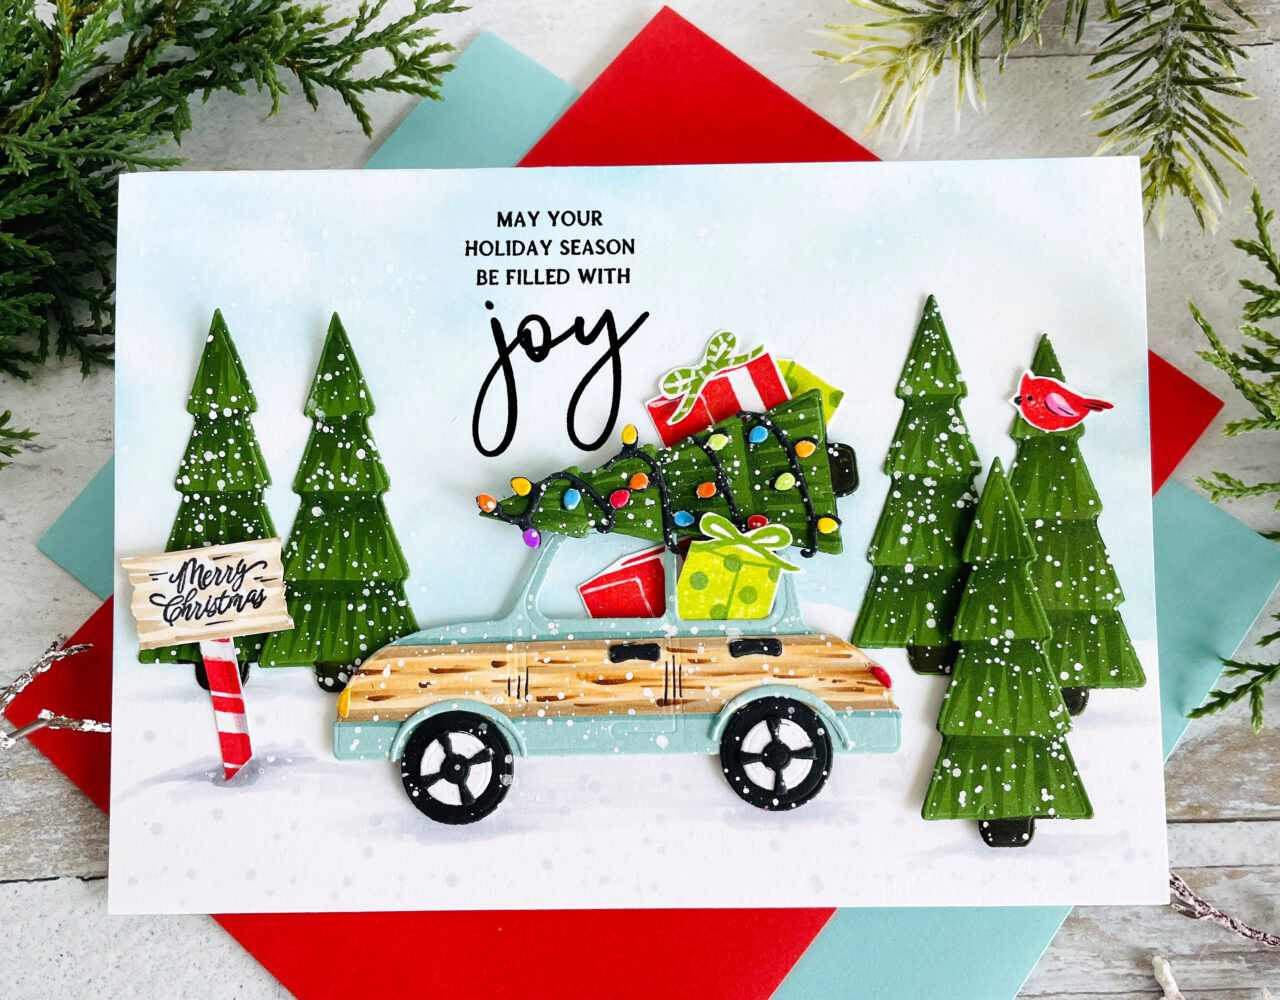
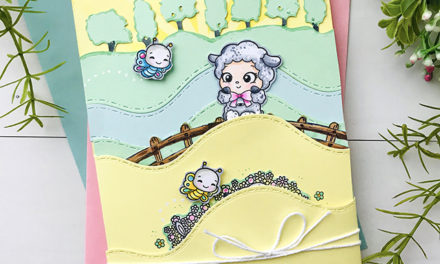
My 5″ X 7″ card features the new Holiday car dies. I added some vintage wood paneling to the side of my car for a retro look! this is super simple to do. Just take a strip of white cardstock and die cut it using the car die. Next, run the die cut through your cutter, cutting down the height to the desired size for your car. Once this is done, color it to look like wood paneling found on vintage cars. I used the following colors: E43, E42, E57, E55, E53. Simple markings will make the fun car detailing look like wood. I added all the other details to the car including the lights, tires, hubcaps, car door handles and of course the tree on top. The set comes with the lights that adorn the tree.
For more holiday fun, I added presents to the top of the tree and inside the car. I made the presents using the new Festive Mailbox stamps and dies.
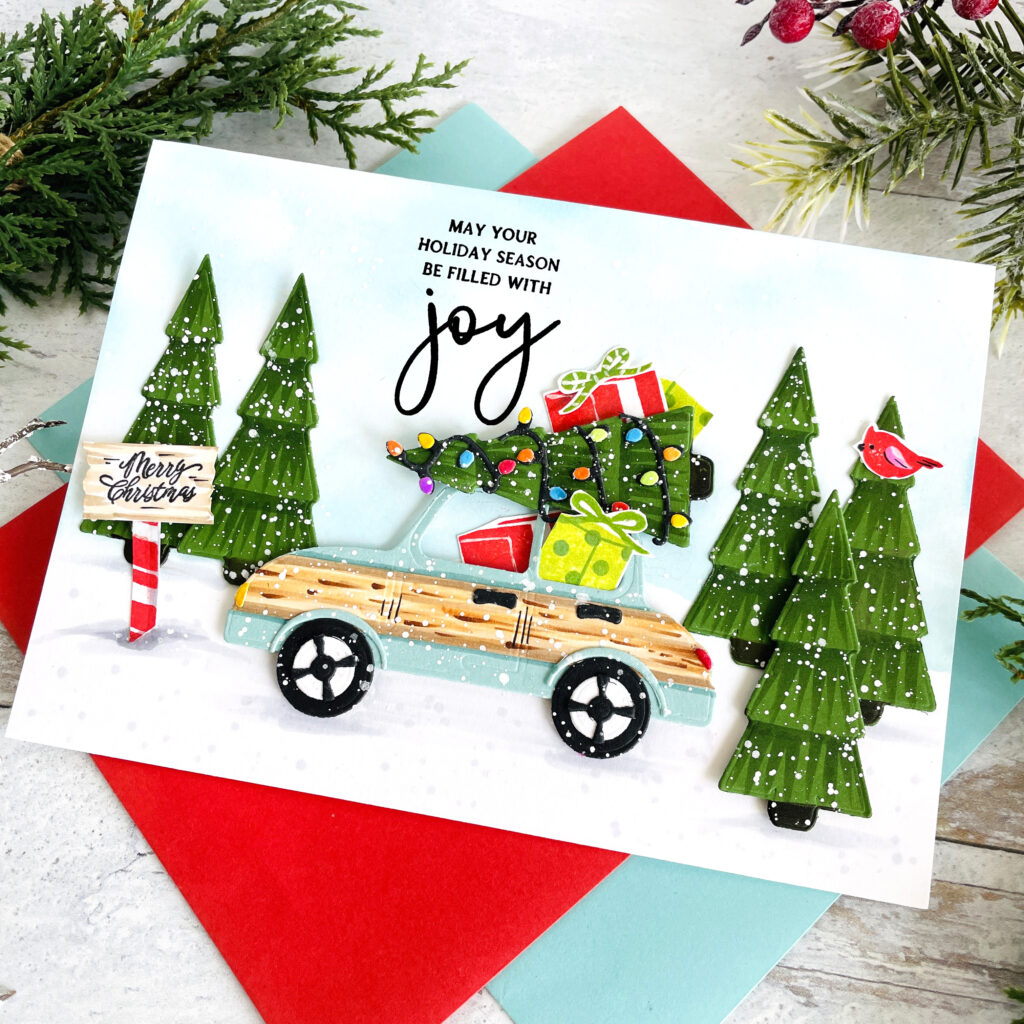
To create the scene, I used white 80lb cardstock cut to 5″ X 7″ for the front panel. I added light clouds in the background using light blue Copic Markers, B000 and B00. I just hand drew in some soft, subtle clouds in the background for sky. I also stamped the phrase from the new stamp set, “With Great Joy” over the cloudy area. I attached the car using foam tabs to make it look more dimensional, added trees around the car, cut from green cardstock, and added a red cardinal bird in one of the trees. For the sign, I hand cut a jagged edge rectangle, added some woodgraining to it and stamped the phrase on top. The bird, “Merry Christmas” sentiment on the sign and the striped sign post are stamps /dies from the Festive Mailbox stamps and dies.
To ground the elements in this scene, I used Copic Markers: C5, C3 and C1 to create a snowy landscape, Shadowing the trees, sign and car tires. Lastly, I added falling snow by splattering Dr. PH Marten’s white ink over my scene using a small fan-shaped watercolor brush. I attached the front panel to a white A7 card base to complete this 5″ X 7″ card.
Thanks for stopping by today. If you want to see more ideas and inspiration from me, subscribe to my blog, BobbiHartDesign.com. I’ll send you updates on new posts! You can also find me on Instagram as @BobbiHartDesign and on Facebook as BobbiHartDesign.


