
 Hello friends. I’m participating in an Instagram hop today to celebrate the new release, “Moments in Time” by Simon Says Stamp. My card features the following new items from the release:
Happy Duo cover die and stamp set
Banner Greetings stamps, dies and stencils
My card below measure 5″ X 7″ and fits inside an A7 envelope. I’m using 80lb Neenah Solar White cardstock for the card front and card base. Everything is stamped using Hero Arts Intense Black Ink. I use Simon Says Stamp Dot Runner Tape Adhesive to attach the elements together. I also like to use foam squares to create more dimension on my cards. My white Gelly Roll Pen is my go-to for adding any white highlights. Here’s the details.
HOP WITH US FOR PRIZES!
Leave a comment at each stop for a chance to win a $25 gift card for the Simon Says Stamp store. Winners will be chosen randomly from the comments left on each hopper’s post. All winners will be announced on Simon’s Instagram feed on Thursday, June 12.
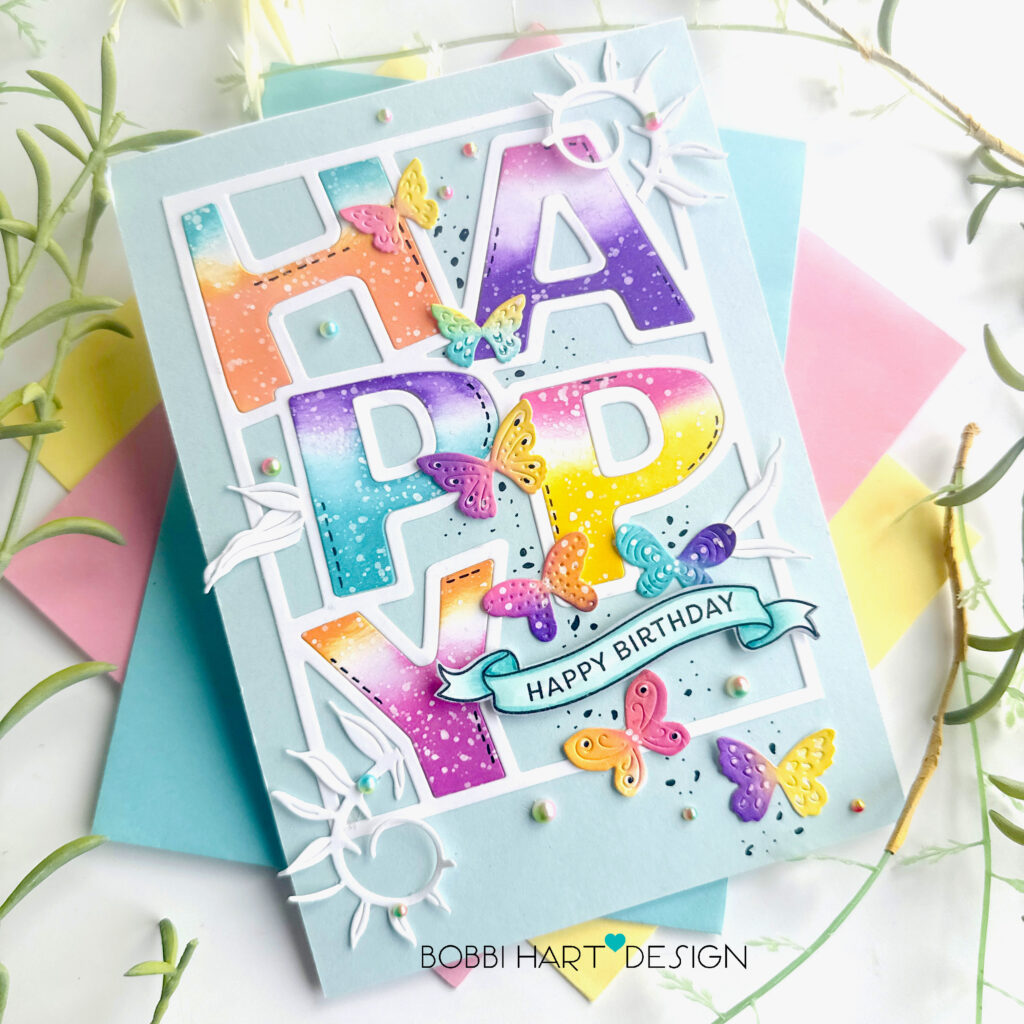
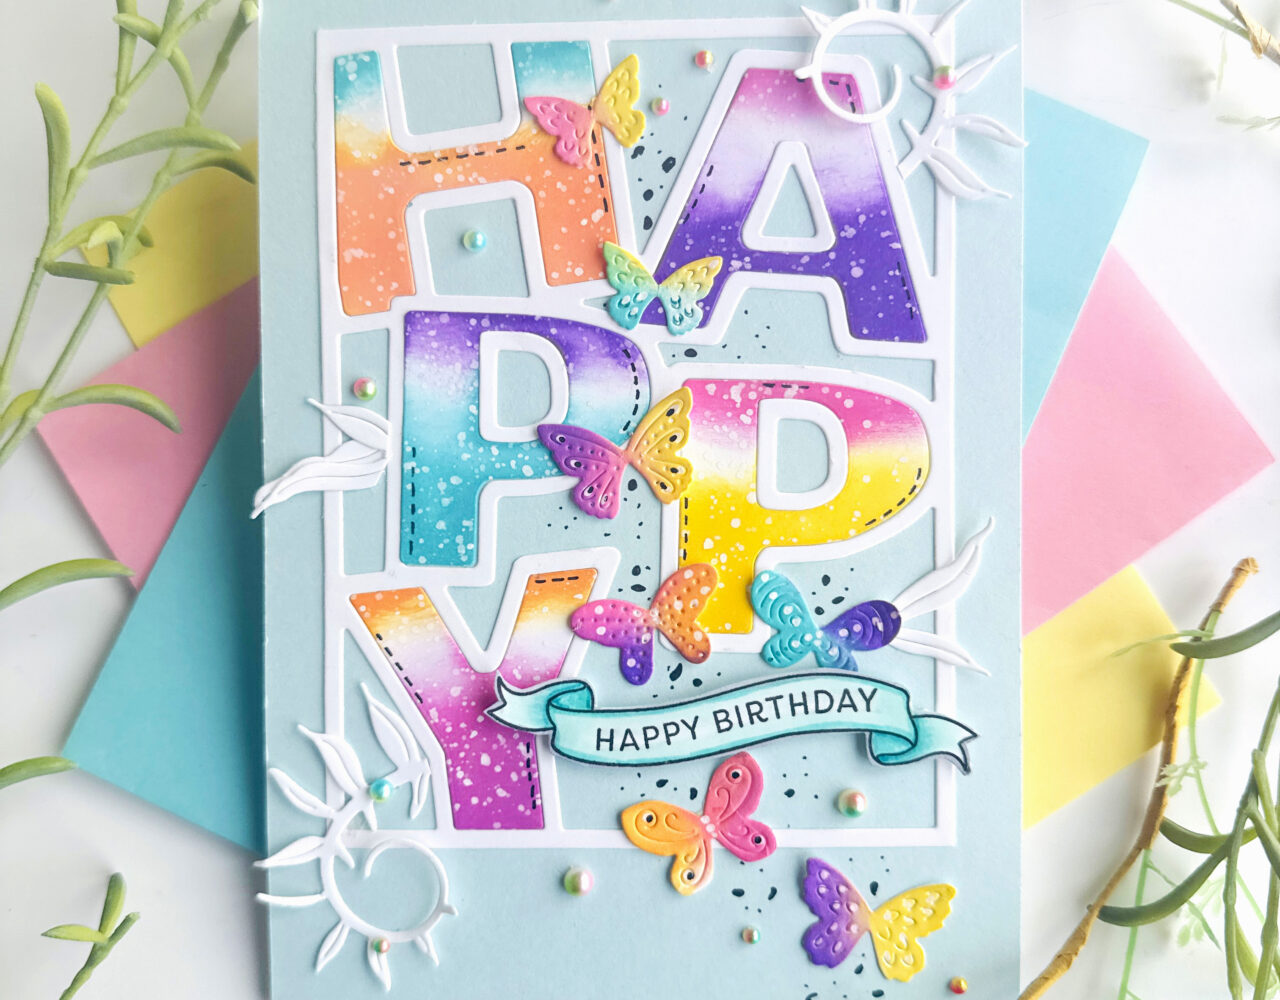
To create this 5″ X 7″ card, I die cut the “HAPPY” cover die, two curly fronds, the Bright Butterflies and banner greeting from white cardstock. I double stacked the banner to make it extra thick and strong since I will be adding foam tabs under it. I attached the cover die cut to a light aqua cardstock and attached two curly fronds to the letter outlines. I also added a few separate leaves, too.
Using Distress Oxide Ink in Picked Raspberry, Carved Pumpkin, Mermaid Lagoon, Mustard Seed, Wilted Violet, I blended color onto the letters and the butterflies using a blender brush like this one. I have one for every color I use. Simon offers lots of colors to keep your brushes reserved for a particular color. I applied color to the tops and bottoms of each letter, making the colors different with some white between the two colors. I did the same with the butterflies, using one color on one side and another color on the other side, allowing the centers to combine to create new colors.
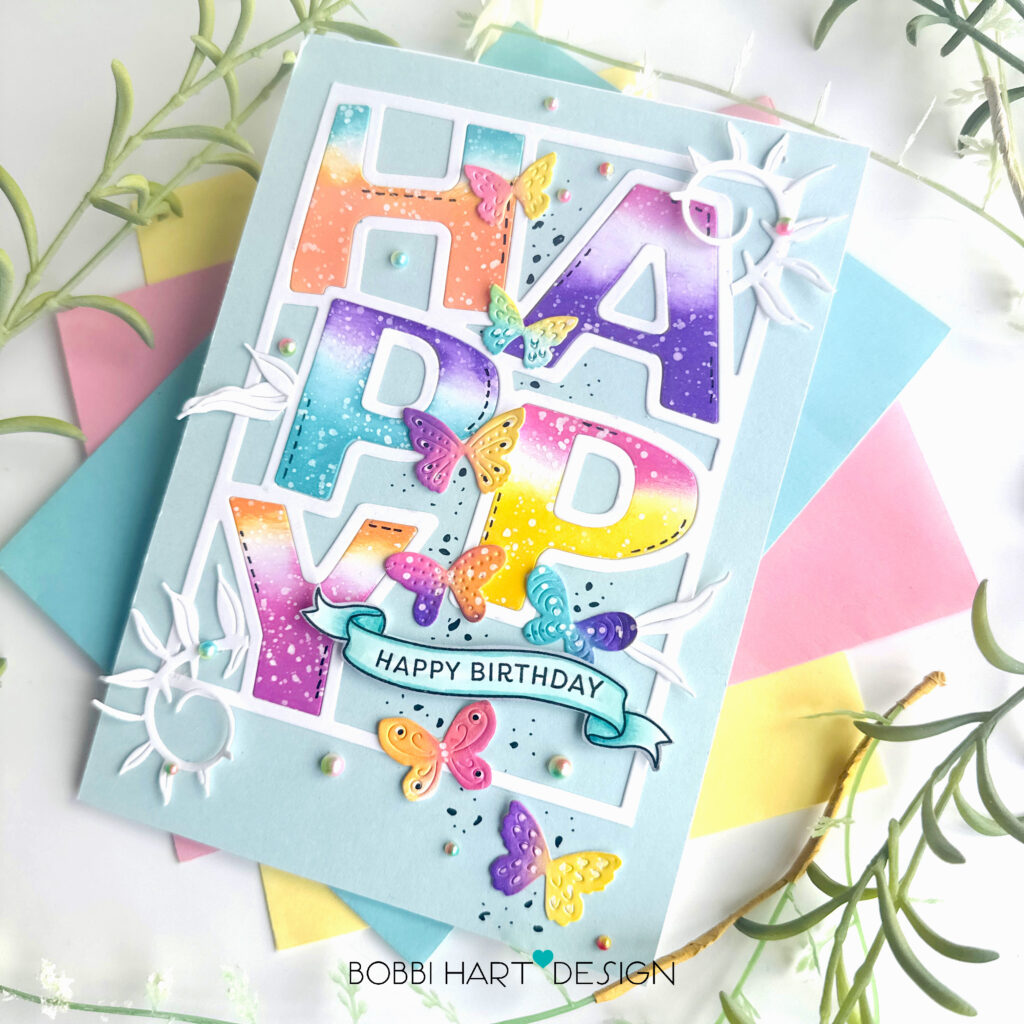
I attached the letters using glue along with the butterflies. I use Honey Bee Stamp’s Precision Tip Glue. I stamped the double thickness die cut banner with the “happy birthday” sentiment and attached the entire banner using foam squares to make it stand out. I ended up adding some color to the banner later, once I had it in place so instead of using the coordinating stencil, I used Copic Markers in BG13, BG11 colors. If I were to make it again, I would have stenciled Mermaid Lagoon ink onto the banner before attaching it.
Once everything was in place, I added some specks of black around each butterfly, using a fine-tip black marker. It adds a bit of whimsy. I also added some multi-colored Ombre pearl gem stickers by Honey Bee Stamps for extra fun.
If you decide to place an order, please use the links in this post so that Simon Says Stamp knows what inspired you. I appreciate it very much. It helps me to continue to bring more ideas to you!
Thanks for stopping by today. If you want to see more ideas and inspiration from me, subscribe to my blog, BobbiHartDesign.com. I’ll send you updates on new posts! You can also find me on Instagram as @BobbiHartDesign and on Facebook as BobbiHartDesign. Bobbi Hartmann Lemanski, Bobbi Hart♥ Design, Adding h♥art into every design


