
Hello! Happy April 1! I have no April fools jokes for you today. I’ve been too busy… My husband, the kids, our dog and I took our first car trip this Spring Break. In fact, I’m writing this post while vacationing in Florida! After we got done loading the car at home, it felt like we packed everything plus the kitchen sink in our SUV. It sort of felt like this stamp by Jane’s Doodles appropriately named, “Road Trip.”
When you drive from Wisconsin to Florida with stops to visit the University of Illinois, Champagne and Vanderbuilt in Nashville, Tennesse, you sort of feel like a pack of animals in an automobile! Let me tell you, I can relate to this scene! We were lively and tired, even silly and hangry at times! Our dog, Stella did not want to stay in her car seat so she ended up on our laps a lot!
How to make this card
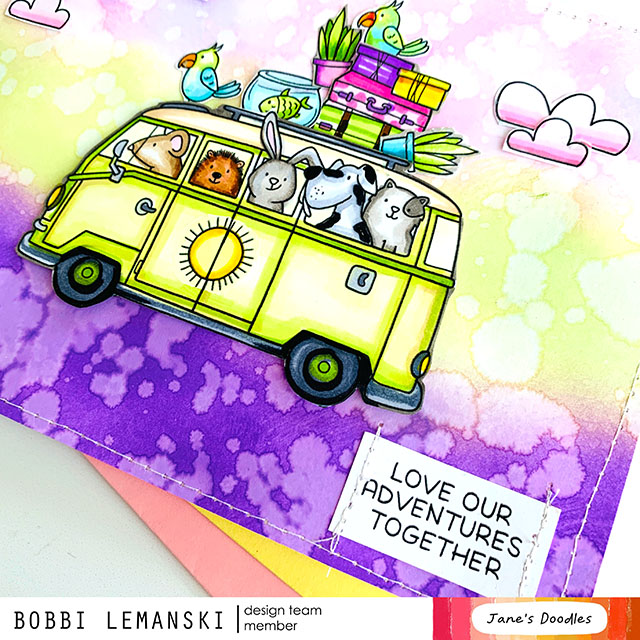
To make this lively 5″ X 7″ card, I started by ink blending Wilted Violet, Twisted Citron, and Spun Sugar at the top. I splattered water on the wet ink, blotted it with a paper towel to soak up the excess water and pull color from the paper to make the vivid background. I used 80lb Neenah Solar White cardstock for both the card front panel and the card base.
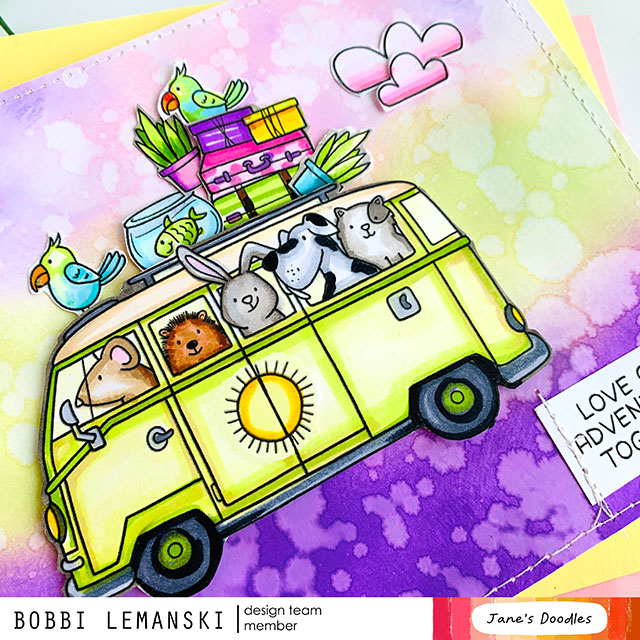
I stamped, colored with Copics and cut out the van, clouds and van accessories for the roof. I stamped the sun on the side of the van. I stamped the phrase and cut it out in a rectangular shape of white cardstock. I used the following colors for coloring in the images:
- Yellow-Greens: YG17, YG03, YG00, YG000 for van, hubcaps, plants, birds
- Cool Grays: 100, C9, C7, C5, C3 for the van chrome accessories, tires, and dog
- Yellows: Y38, Y18, Y06 for the sun and box
- Blues: BG23, B00 for the pots, fish bowl and birds
- Orange: YR68, YR04 for the beaks
- Violets: V09, V05, V04 for the luggage, pot
- Red-Violets: RV55, RV02, RV00 for the luggage and clouds
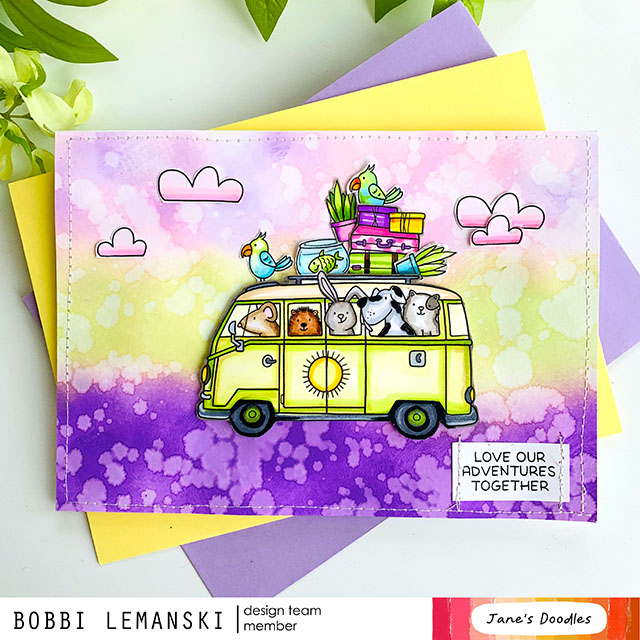
I attached the van and front cloud images using Scrapbook Adhesives White Foam Squares and the others were glued on using HBS Bee Creative Precision Glue. The card front was sewn to the card base using a sewing machine. I also stitched the phrase on the sides, too. If you don’t have a machine, add faux stitches with a marker for this look! My card is ready to send in an A7 envelope. Now back to our vacay….
If you decide to place an order, please use my links in this post so that Jane’s Doodles and Simon Says Stamp knows what inspired you. I appreciate it very much. It helps me to continue to bring more ideas to you!
Thanks for stopping by today. If you want to see more ideas and inspiration from me, subscribe to my blog, BobbiHartDesign.com. I’ll send you updates on new posts! You can also find me on Instagram as @BobbiHartDesign and on Facebook as BobbiHartDesign.
Bobbi Hartmann Lemanski, Bobbi Hart♥ Design, Adding h♥art into every design


