Hello Bee crafters. It’s Bobbi Lemanski here sharing a creative way to color your fall leaves and projects. A few weeks ago, I shared that I prefer to use watercolors when creating replicas of nature’s beauties like flowers and leaves (See the “Mum’s the Word” post here). Watercolors create more organic, imperfect looks with a wide variation of color tones. It’s more realistic looking and mimics nature beautifully. For my two autumn projects today, I’m using the following Honey Bee Stamps products:
Lovely Layers Fall Foliage Honey Cuts dies
Burlap A2 Background Honey Cuts dies
Fall For You stamp set (and a link to the coordinating dies that were not used here)
The featured project card base below is made from Neenah 80lb Solar White cardstock. I used watercolor paper for the front panel. All of the black ink stamping was done using Honey Bee’s Bee Creative Intense Black Ink. I use Honey Bee Stamps Bee Creative Precision Glue for adhering my elements together. My card is 5″ X 7″ in size.
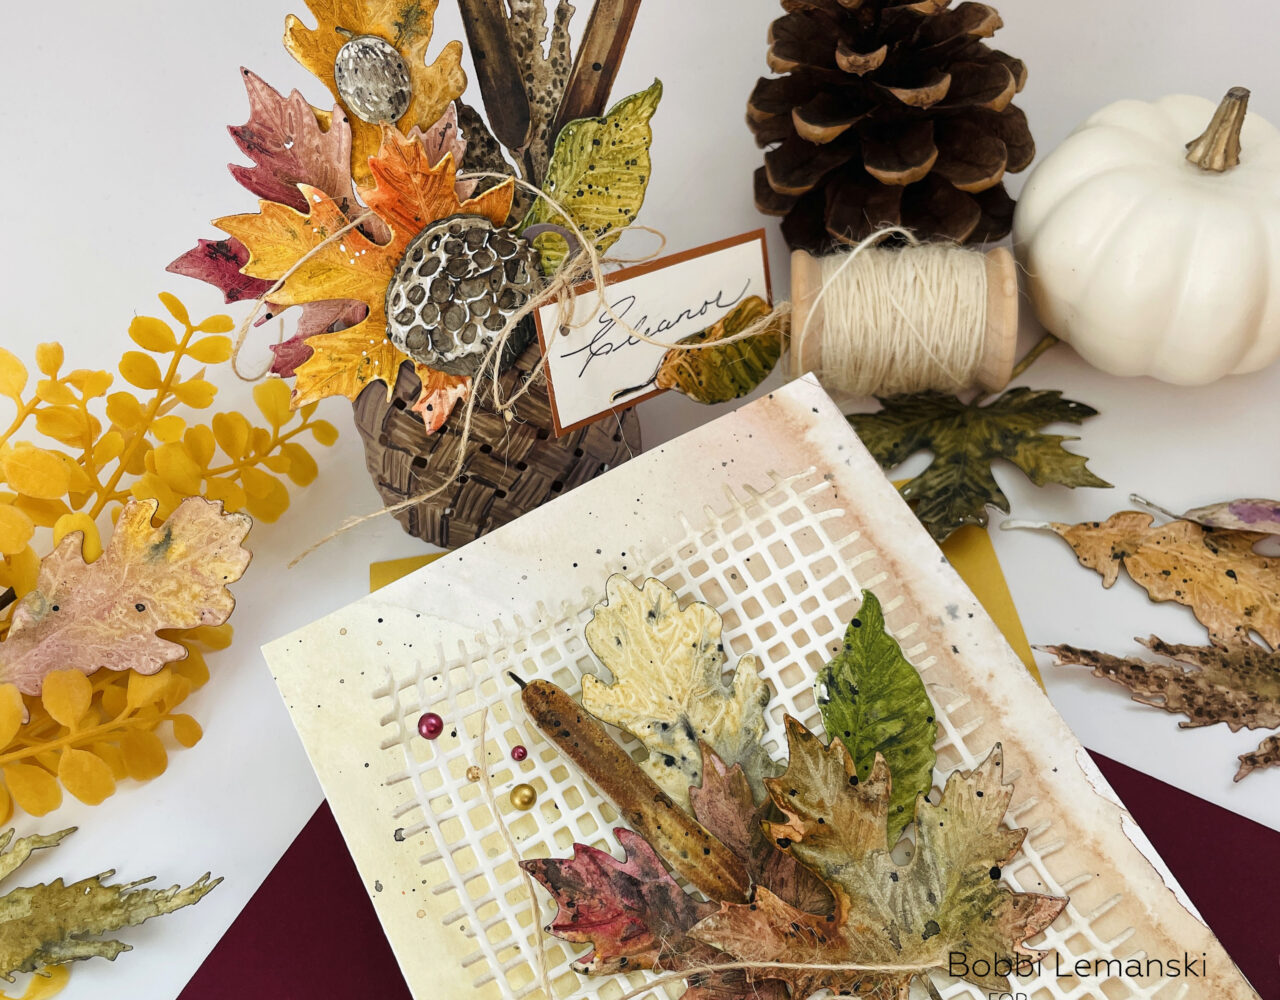
Fall Rattan Basket
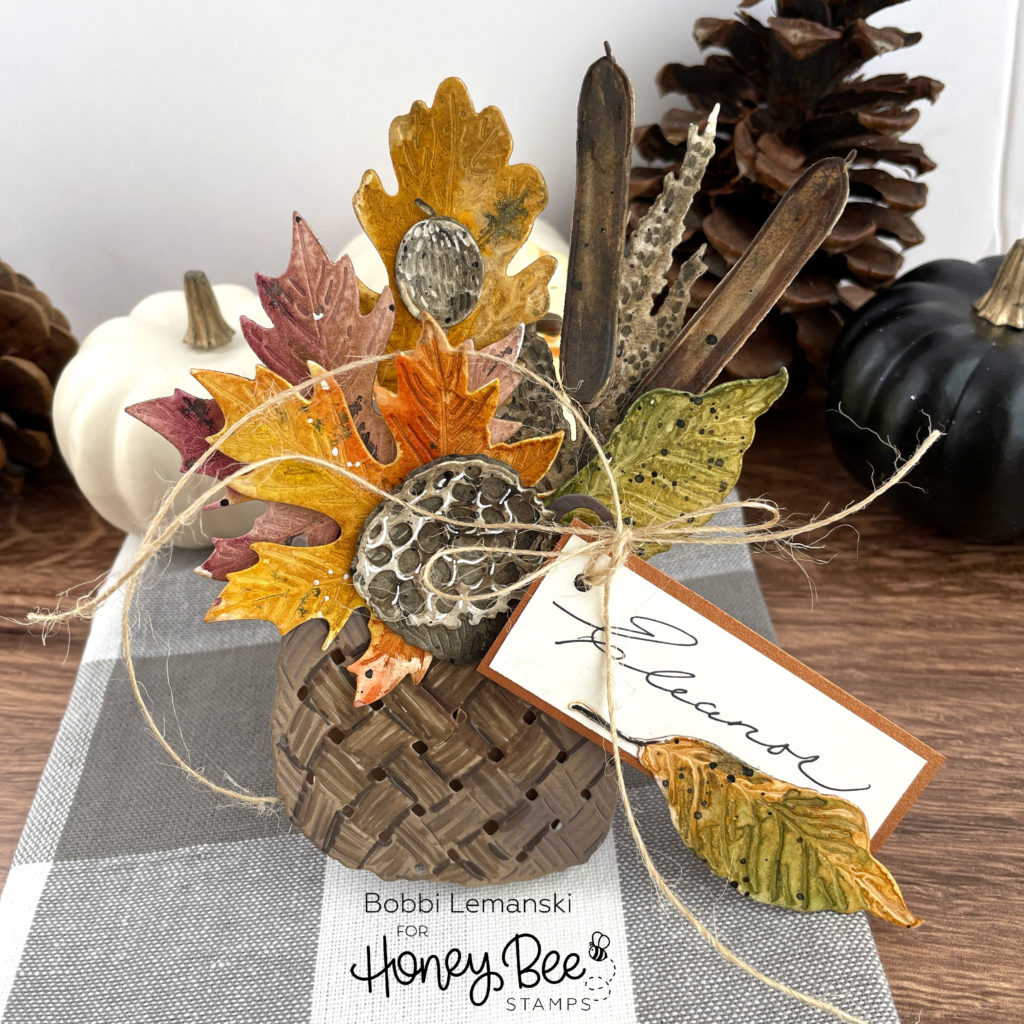
I created this three-dimensional basket of leaves for fall. I think these could be a cute next to each place setting as place cards or menu buffet cards on a Thanksgiving table or buffet. The basket could also serve as a lovely parting gift with a sweet treat attached, too. Without the stand in the back, this basket could also be added to the front of a card for a beautiful fall greeting or thanksgiving dinner invitation.

To make this arrangement, I started by making many leaves, lotus pods and cattails using the Lovely Layers Fall Foliage Honey Cuts dies. Using Canson XL Watercolor Paper (Cold Press), I die cut the leaves from the dry paper first, then painted them with watercolor paint. I always finish with a speckle of black paint and some white paint, too. Here’s a quick reel showing the process I use.
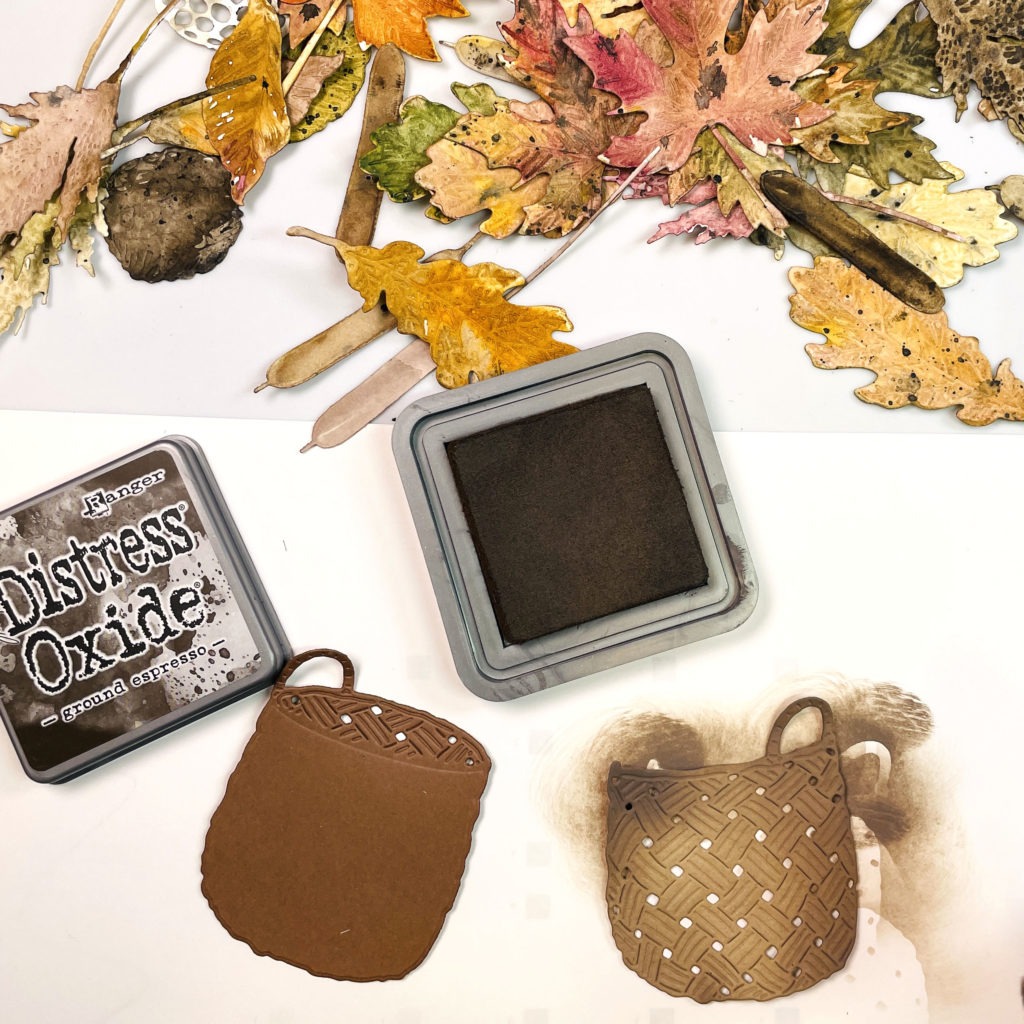
For the rattan basket, I die cut the the pieces from two colors of brown and tan cardstock. Using my blender brushes, I added Distress Oxide Ink in Ground Espresso around the edges of both of them. I also enhanced some of the basket detailing using Copic Markers in E47 and E49. I attached the two basket pieces together at the bottom and sides of the basket using black foam tabs, making sure to keep the top open to tuck in my leaves.
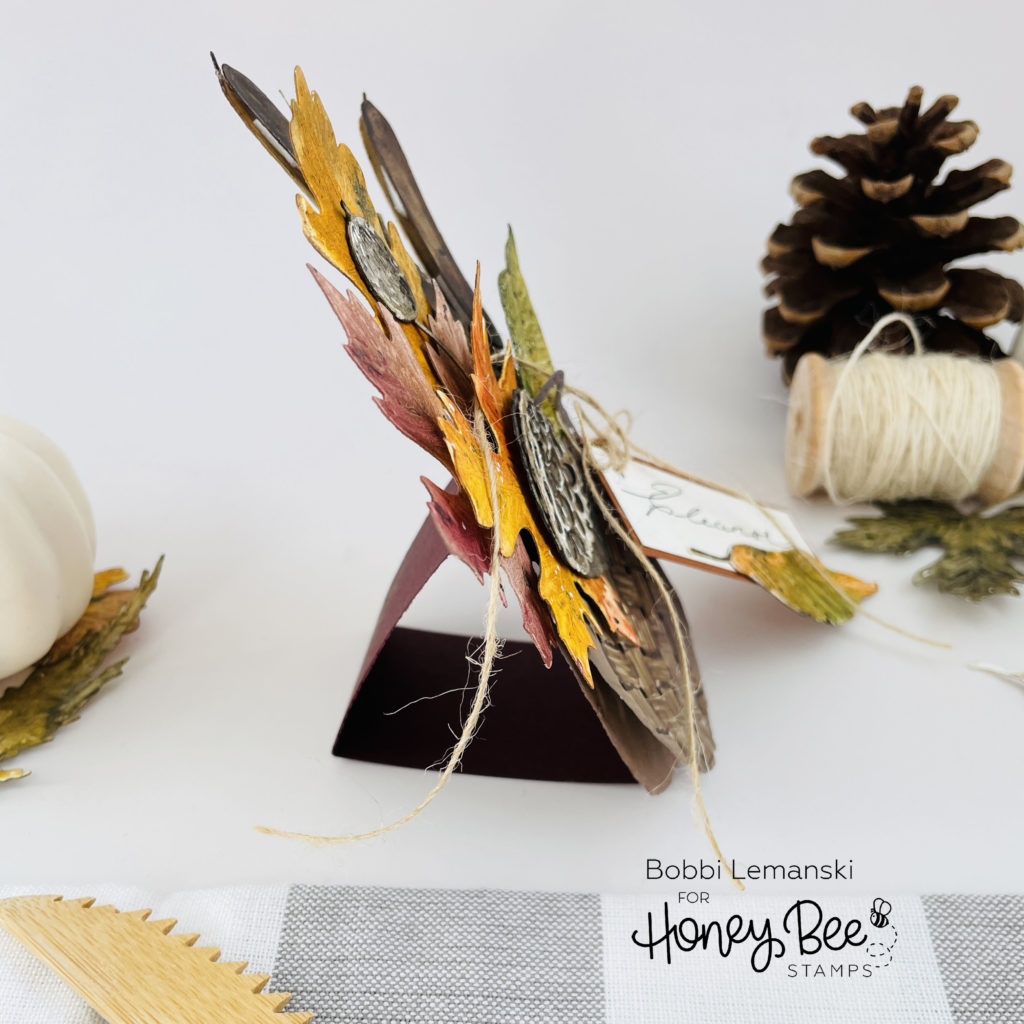
I added in the leaves, a hemp twine bow, and a stand at the back. For the stand, I cut a 8″ long X 1-1/2″ tall strip of dark cardstock and scored it into thirds with a 1/2″ overlap tab at one end. I folded it, creating a simple tripod with 2-1/2″ sides. I attached to the back of the basket. The fall basket now stands up! 🙂
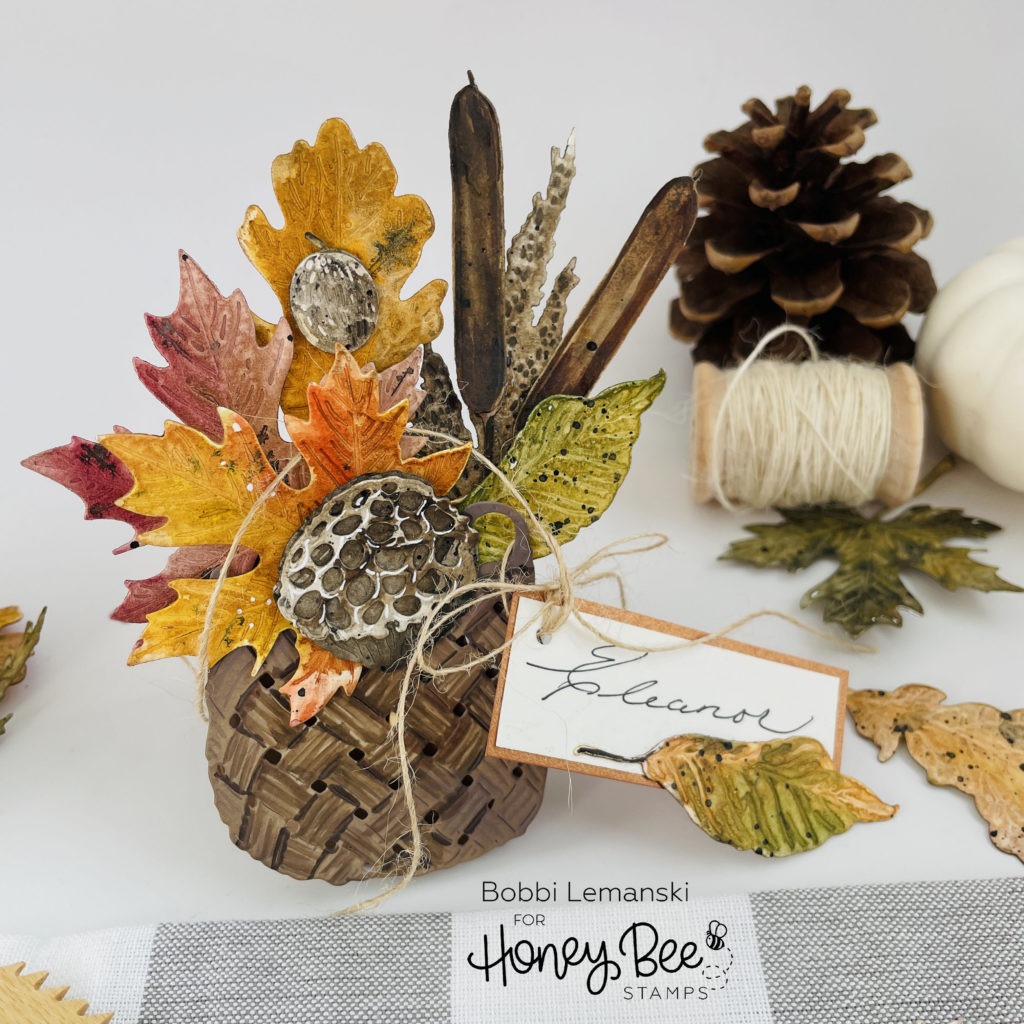
A guest name can be added by simply attaching a place card to the bow or tucking inside the bouquet of leaves. I made my name tag 2-3/4″ wide by 1″ tall. I added a copper metallic border and another water-colored leaf to the card to make it just a little more special and fancy for the table!
Fall Leaves and Burlap Card
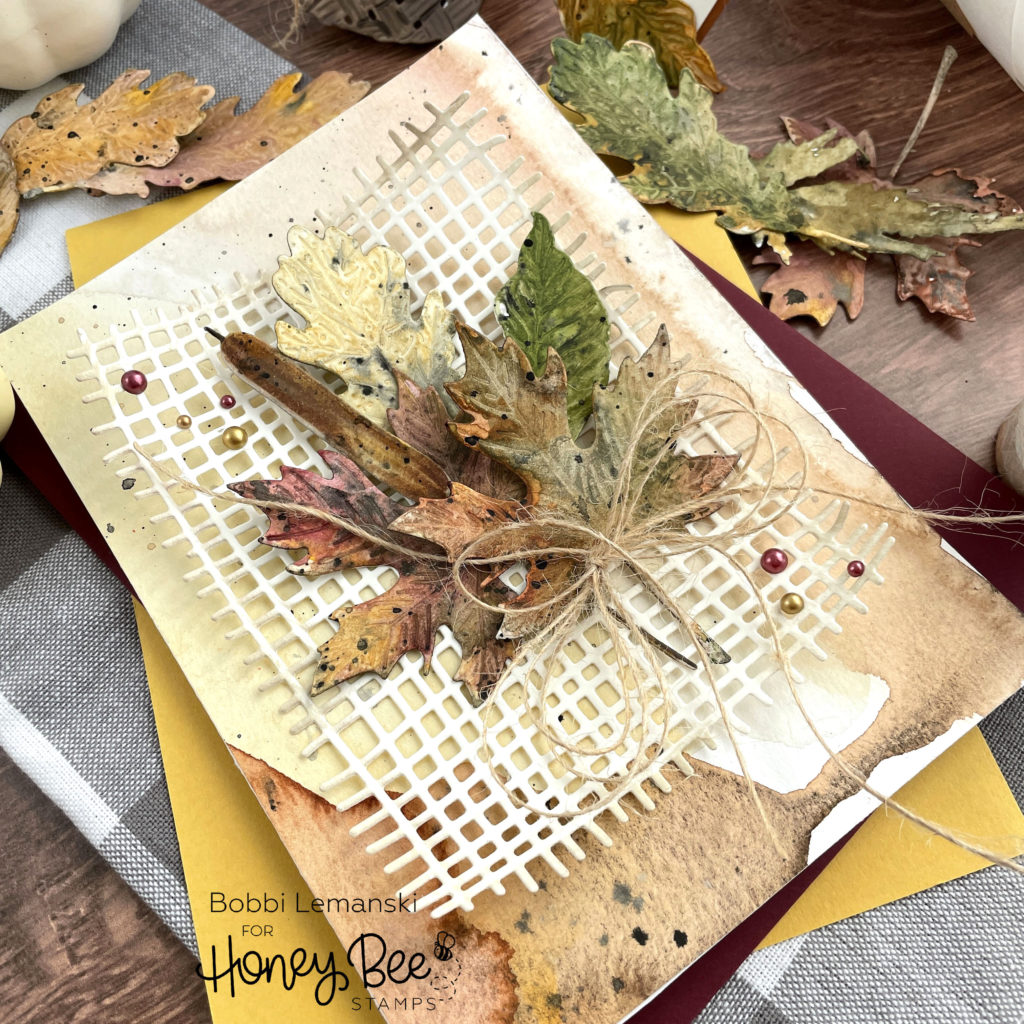
I have lots of leaves to use so I made this autumn-inspired 5″ X 7″ card. To make the card, I did a watercolor wash for the front panel background. I die cut the burlap from a light ivory cardstock and blended Distress Oxide Ink in Old Paper around the edges, using my blender brush.
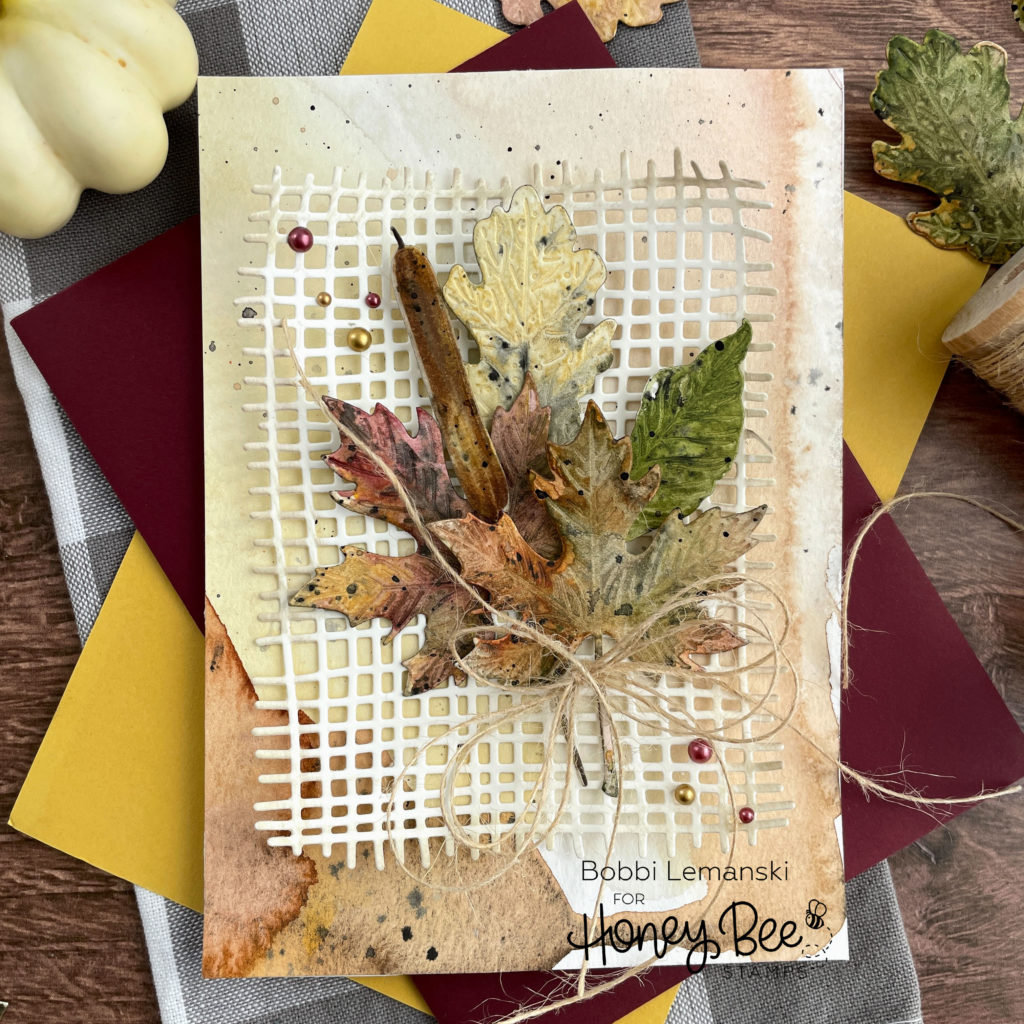
I added an assortment of leaves, a hemp twine bow, and Autumn Pearls Gem Stickers to the card to finish the front panel.
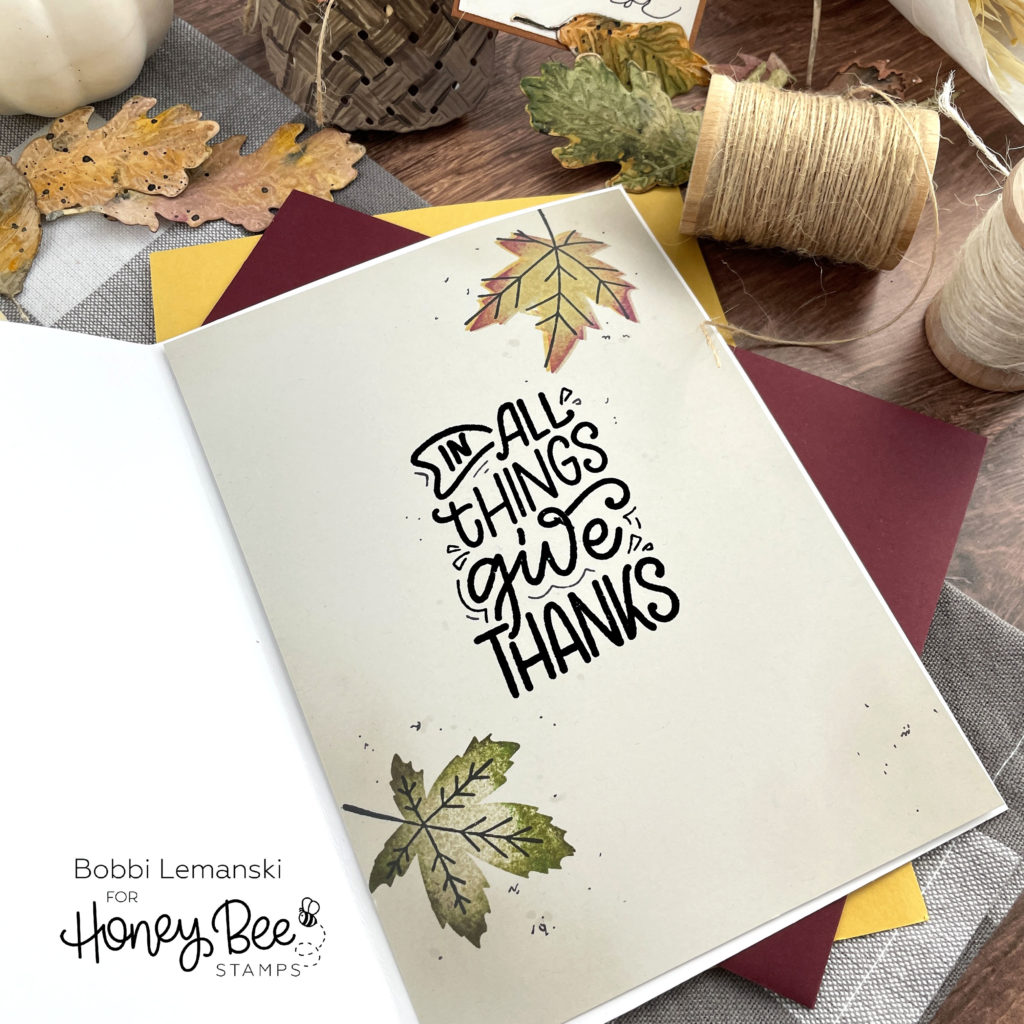
Inside the card, I stamped a phrase from the lovely stamp set, Fall For You stamp set on a light gray cardstock using Bee Creative Intense Black Ink. I also stamped two leaves from the Hello Fall stamp set. Using a fine-tip black marker, I added some black “specks” around the leaves to finish the inside.
You can shop the entire Honey Bee Stamps Spooktacular release here. If you decide to place an order, please use the links in this post so that Honey Bee knows which ideas inspired you!
Thanks for stopping by today. If you want to see more ideas and inspiration from me, subscribe to my blog, BobbiHartDesign.com. I’ll send you updates on new posts! You can also find me on Instagram as @BobbiHartDesign and on Facebook as BobbiHartDesign.

