Hello friends! I am excited to share a couple of projects for Christmas using the following new products from the Sweet Wishes release by Simon Says Stamp. These holiday items are being featured in an Instagram Hop on 10/18/2024. I am joining fifteen other designers to share ideas using the new release products. Make sure to hop with us for more inspiration from the other designers!
Win prizes! Want to win free money to shop? Leave a comment at each stop on the IG hop for a chance to win prizes! Simon is giving away a $25 gift card at every stop on the hop. This gives you 15 chances to win! Winners will be chosen from those who leave a comment on a post. Simon Says Stamp will announce the winners on its Instagram feed on Tuesday, October 22.
I’m using the following Simon Says Stamp products for my card and coordinating tag:
Heartfelt Snowflakes stamps and coordinating dies Bundle
Pawsitively Dazzling Gems Prism
Nested Domed Arches Frames dies
My card below measure 5″ X 7″ and fits inside an A7 envelope. I’m using 80lb Neenah Solar White cardstock for the card base and navy cardstock for the front panel. I use Simon Says Stamp Dot Runner Tape Adhesive to attach the elements together and Bee Creative Precision Tip Glue for die cut layering. I also use foam tabs to create dimension on my cards. My white Gelly Roll Pen is my go-to for adding any white highlights. Here’s the details.
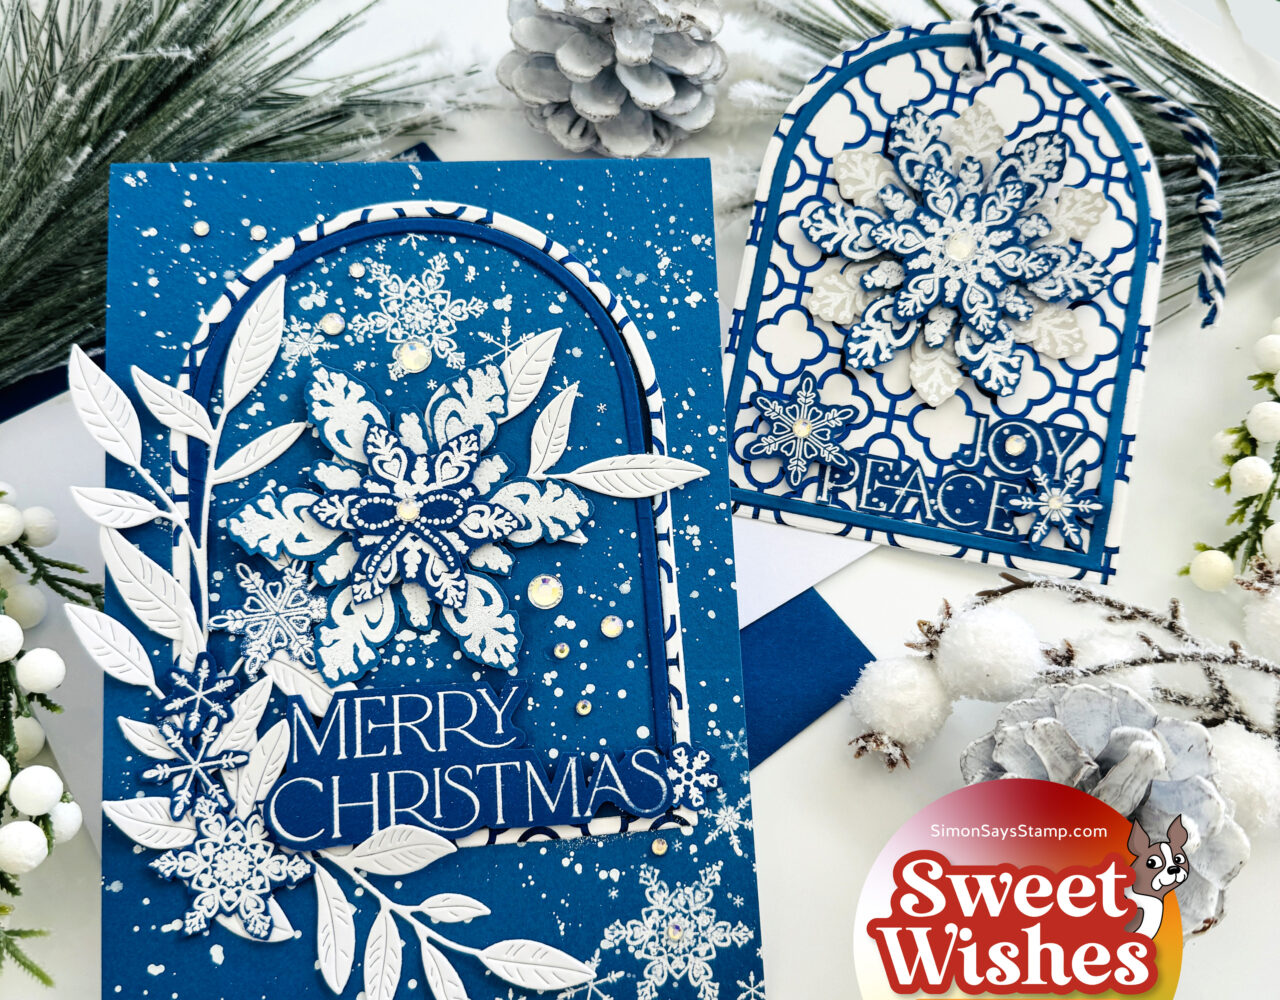
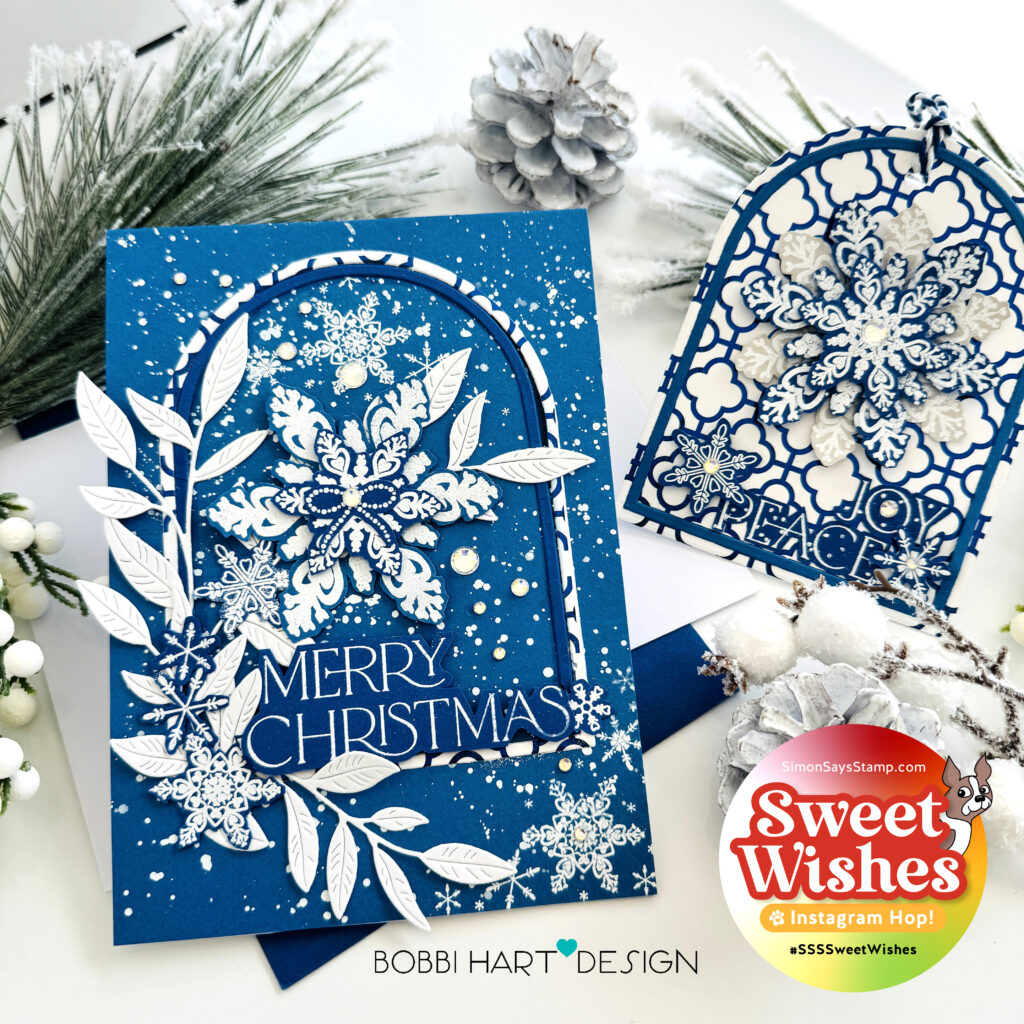
Merry Christmas Snowflake Card
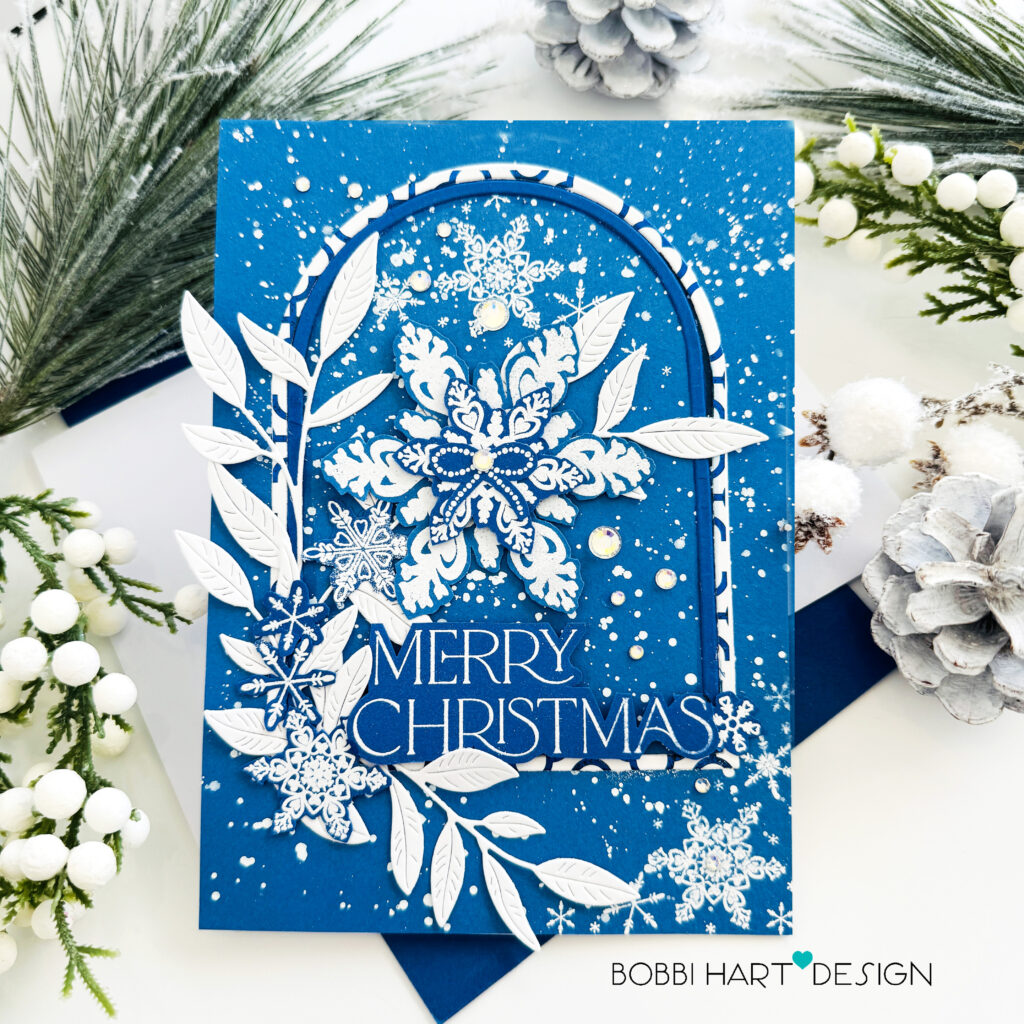
My card measures 5″ X 7″ and is filled with lovely snowflakes using the Heartfelt Snowflakes stamps and coordinating dies Bundle. I also used the Nested Domed Arches Frames dies to help frame in my feature snowflakes. I used two dies to create the double arch from a darker blue cardstock and the Tin Tile foiled cardstock. The Tin Tile arch is the outer frame that was a cutout created from the tag die cut. Why not use the by-products from your tag cuts, right?!
The Heartfelt Snowflakes were stamped with Versamark ink and embossed in white embossing powder for a high contrast look with the royal blue cardstock background. Snowflakes were stamped on the card front panel using the corner stamp in the lower right and inside the top of the dome of the arch. and the larger snowflakes were stamped and die cut using the coordinating dies from the bundle.
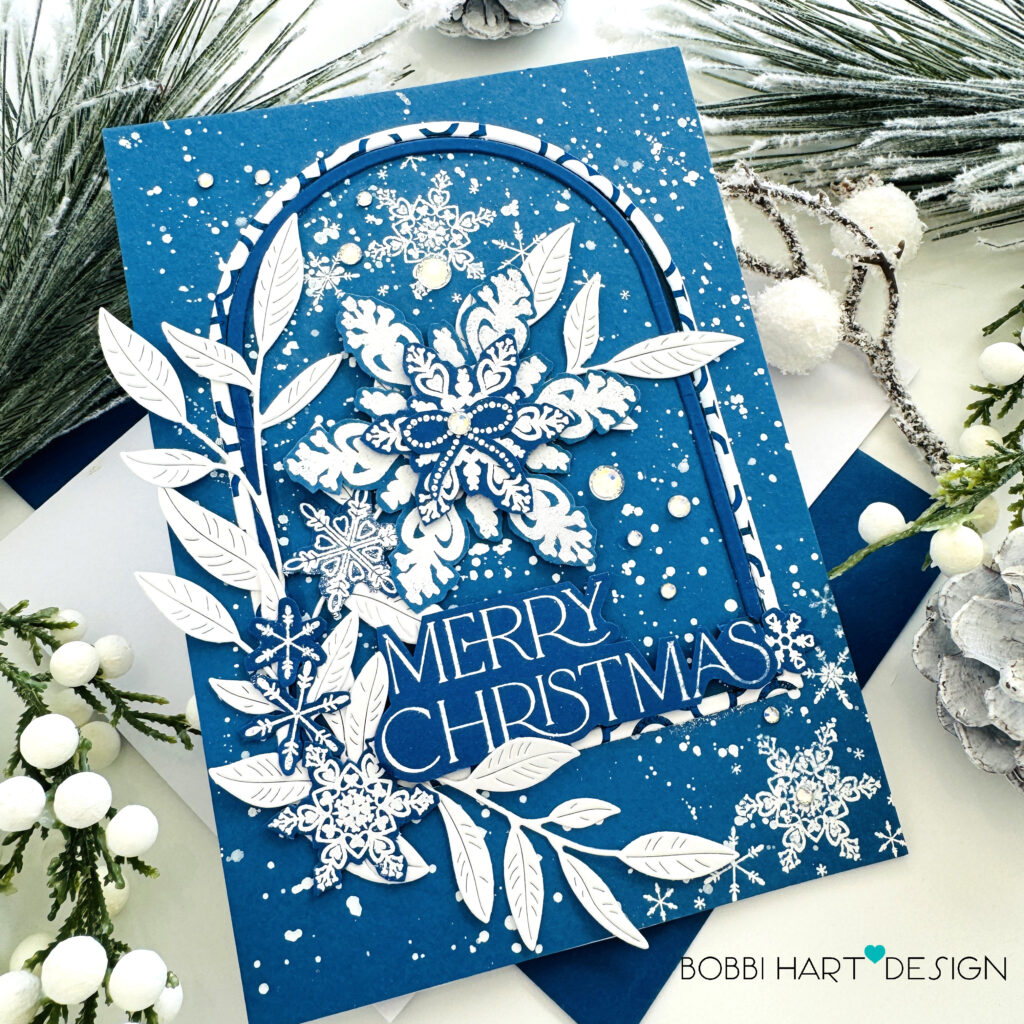
I layered the snowflakes and attached them using foam tabs on some to stand out a bit. Privet branches were cut from white cardstock and tucked around the flakes to make a swag design. I also embossed the “Merry Christmas” sentiment from the snowflake set and attached it with foam tabs. I splattered Dr. PH Marten’s white paint over the entire card front and then added an embossed bow on the feature snowflake and Pawsitively Dazzling Gems Prism to finish the card front. I attached the card front to a white card base to complete the card.
Holiday Snowflake Tag
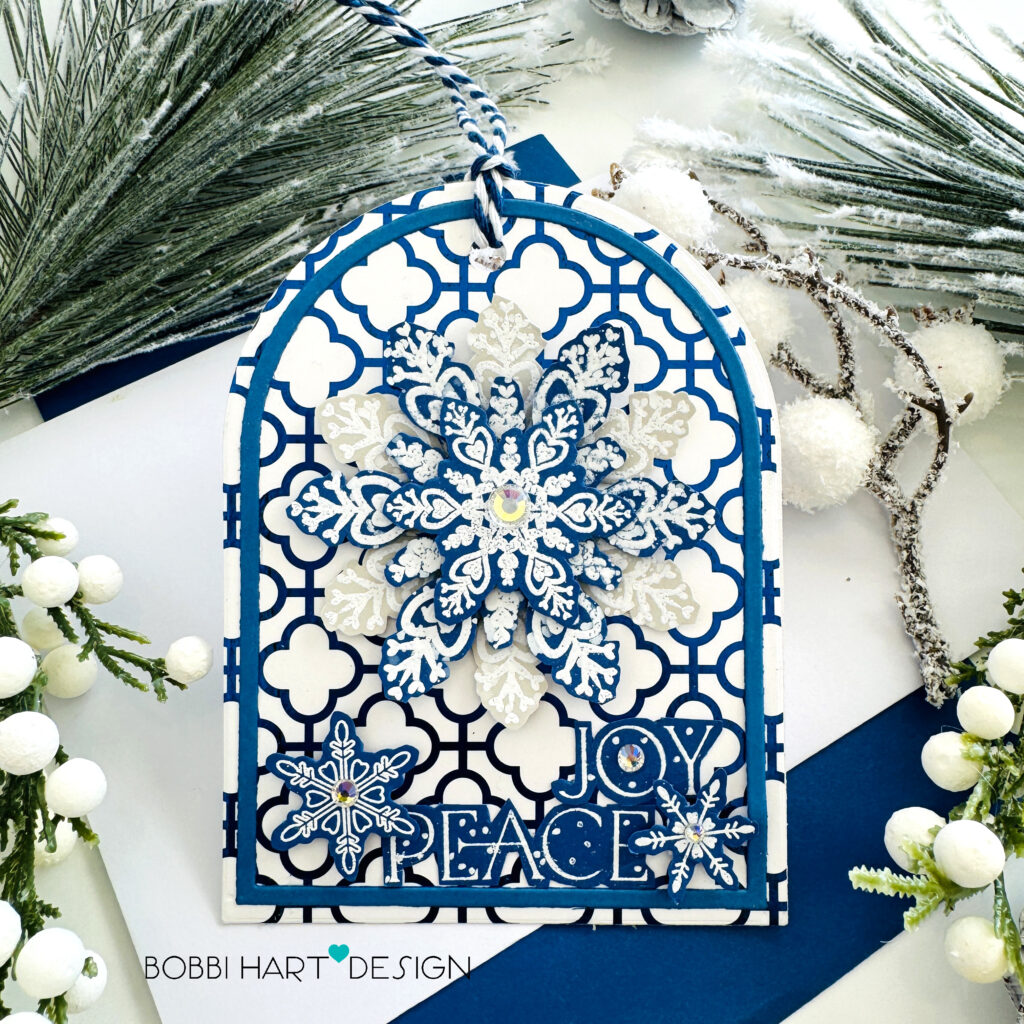
To make this coordinating tag, I used one of the cards from the Tin Tile Transfer Foil Cards and the Sapphire Blue Therm O Web Deco Foil. For this arch-shaped dome, I used the Nested Domed Arches Frames dies to create the uniquely shaped tag shape. I used a smaller arch die from the same set to create the smaller royal blue arch to frame the design.
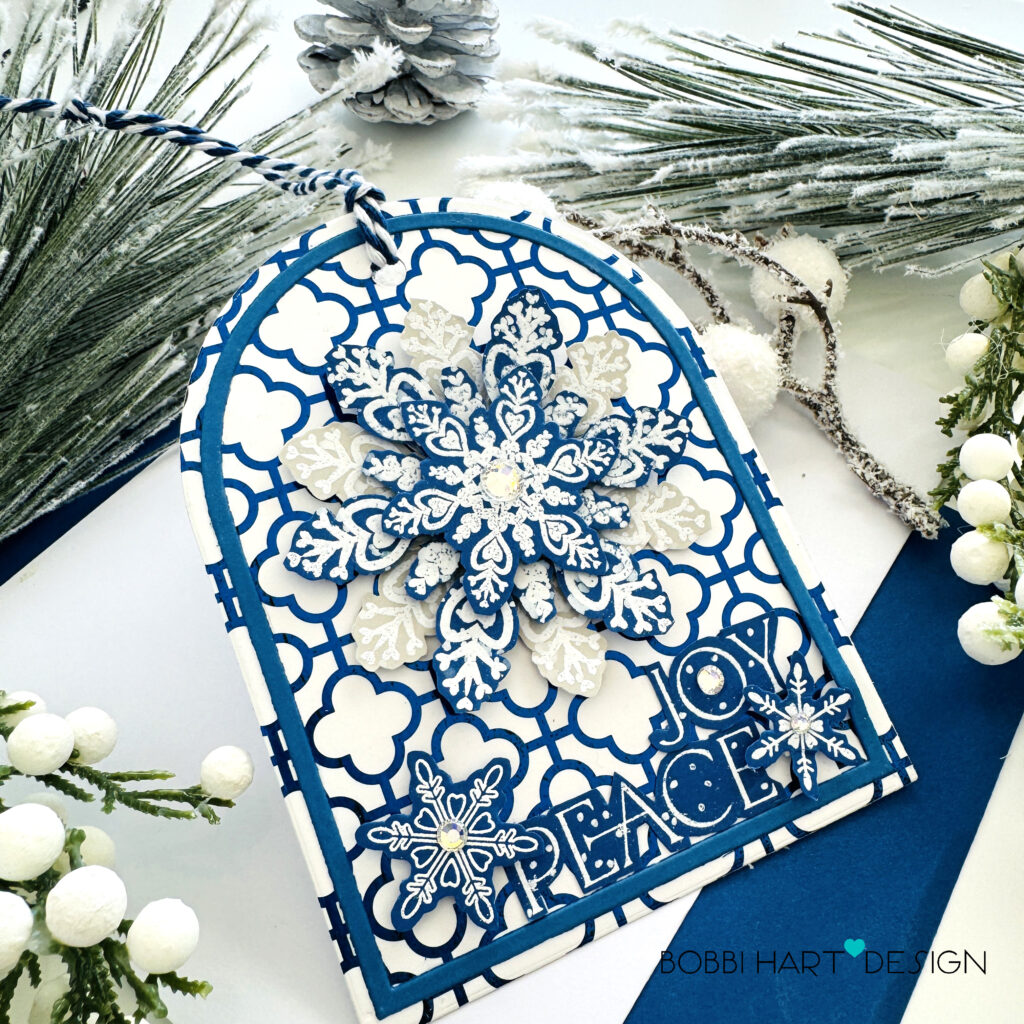
I embossed snowflakes in white on blue and a warm gray cardstock to make the feature flake. Other flakes and two sentiments were added using foam tabs on the backs of the flakes to make them stand out a bit. I also added Pawsitively Dazzling Gems Prism to the tag for a little sparkle! A blue and white baker’s twine was added to the top to finish this lovely tag.
If you decide to place an order, please use the links in this post so that the companies know what inspired you. I appreciate it very much. It helps me to continue to bring more ideas to you!
Thanks for stopping by today. If you want to see more ideas and inspiration from me, subscribe to my blog, BobbiHartDesign.com. I’ll send you updates on new posts! You can also find me on Instagram as @BobbiHartDesign and on Facebook as BobbiHartDesign. Bobbi Hartmann Lemanski, Bobbi Hart♥ Design, Adding h♥art into every design

