
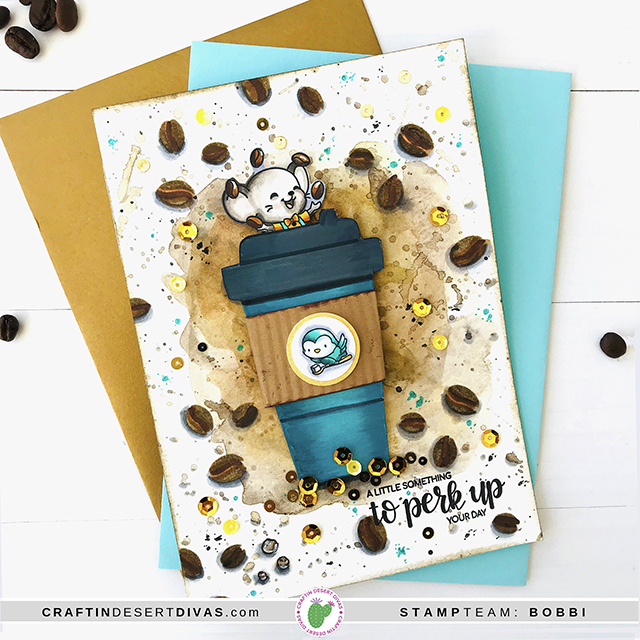
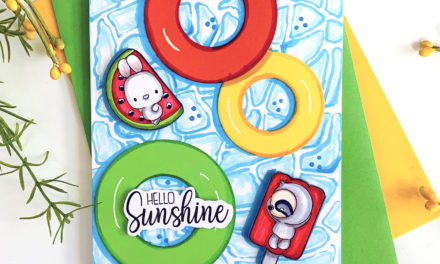
Need a cup of coffee on hump day? I’m serving up this gigantic cup that comes with a little surprise! Okay, no one really wants a mouse coming out of anything edible or drinkable, but this mouse is different. He’s adorable with his big ears and happy smile. I’m using the latest set from Craftin’ Desert Divas called “Love Your Mug.” The mice in this set are so cute and they love to play, have fun and best of all…make you coffee! If you recall, I used this set a few days ago to create the Central Perk card. If you missed that one, be sure to check it out here.
To make this “A Cup to Perk You Up” card,
- I used Canson XL watercolor paper and my watercolors to create the background. I splattered additional colors over the brown watercolor base coat after it was dry to add more depth. I used colors in aqua, black, gold and taupe/light brown. I like the messy look this offers the background. I wanted this to look like a coffee spill punched up with a little fun!
- I used the Coffee Time stencil to make the coffee cup. I used Ranger oxide inks in a light color to create the base design. Once it was dry, I colored over it with my Copics to add additional color and depth to the object. I filled in all the white spaces leftover from using the stencil to create a completely colored-in object and cut it out of the white cardstock. I added dimensional cushions to the backside so that when adhered to my card base, it will be dimensional. The mouse was colored and cut out and tucked underneath the coffee cup top, too.
- I added coffee beans using the stencil, Coffee Time to the background. I first stenciled them in a lighter brown Oxide ink. Once the ink was dry, I colored over them using my Copic Sketch markers. Notice I added gray shading around the bottoms of each one. I wanted the beans to really look real and “pop” off the page. I like the look I got with these. It adds whimsy and a sort of scattered look to the front to contrast with the large focal point.
- I pleated a piece of kraft cardstock to create the sleeve protector around the cup using my Fiskars crimper. I added a circular logo image to the front using that cute bird in the set.
- After placing the focal point on the card front, I planned out my phrase placement in the lower right corner and stamped it on my card front using my MISTI tool and black dye ink. Lastly, I assembled the card together and added the Coffee Sequins to the front randomly.
All this talk about coffee makes we want a cup myself! Time for coffee! I hope this card “perked you up” for the day! Thanks for visiting!
Create joy for the soul and shine! Bobbi


