

Hi friends! I’m sharing my very first Trinity blog post as a design team member. I have an interactive, easel card to share with you that includes a fun closet design. The idea behind this comes from something my dad used to say. He would jokingly say “you are my favorite-ty daughter” in front of my older sisters. While he loved us all, to me, it was cute and very endearing.
I’m using the following products from Trinity Stamps:
- Modern Embossed Panels die set
- Hang In There stamp and die set
- Slimline Woodsy stamp set
- Love & Stuff Sentiments stamp set
- A Latte Love (for the TEE only)
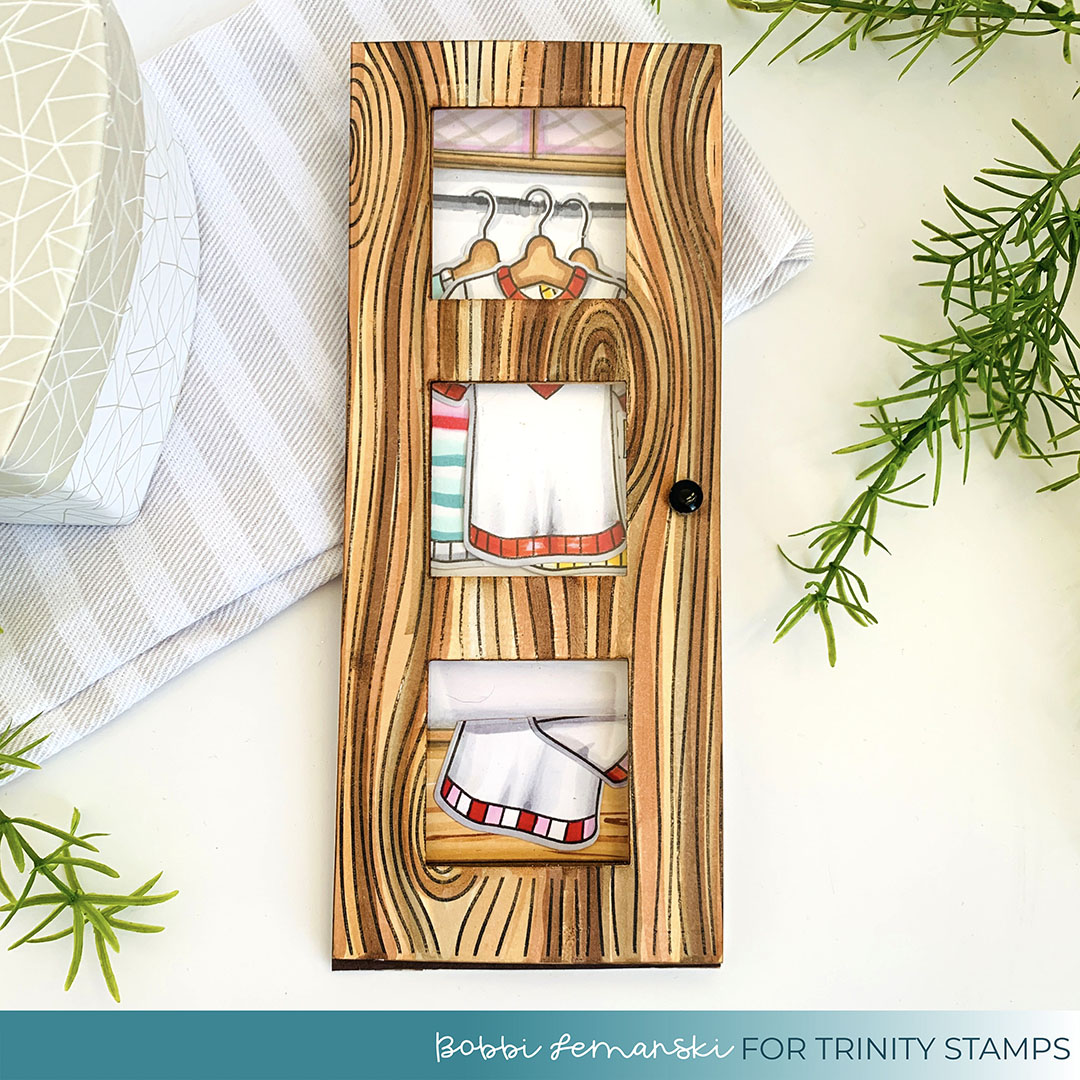
Step 1: Closet Door
To create this slimline easel card, I started by creating the glass door. I cut 2 pieces of white cardstock measuring 3-1/2″ wide X 8-1/2″ tall. I stamped both of them using the Slimline Woodsy stamp set and colored the woodgrain using E Copic shades using E17, E23, E34, E44, E47, E55, E57, and E59. (Note: I eventually needed three of these. The third one is used later on.) Once colored, I die cut the door for the glass inserts. I stacked the doors and added clear acetate in between the panels for the glass windows. I kept the hinge side unattached 1/2″ inside in order to insert the hinge in between the front and back in a later step.

Tip: Once you stamp and color both sides of the closet doors, stack the doors with the BACK sides together and die cut the window trio using the die from the Modern Embossed Panels die set. This will ensure the window openings match perfectly when you assemble the door. If you didn’t get the openings perfectly centered horizontally or vertically, it won’t matter this way!
Tip: The doors will eventually need to be slightly trimmed at the bottom to allow clearance for opening on the easel stand. I recommend trimming an 1/8″ at the bottom off at this stage.
For the inside, I stamped and die cut four tees. to add to the closet using the Hang In There stamp and die sets. I wanted to add a custom message to the front tee for Valentine’s Day. I stamped the heart from the same set and the word, “sweetheart” from the Love & Stuff Sentiments stamp set on the front tee. For the other two tees, I kept one with the “hang in there” design and left the other blank and added stripes to the front.
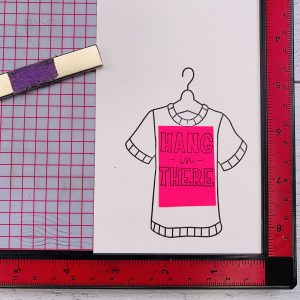
Tip: To create the custom t-shirt, I used the masking method. I simply used a sticky Post-It note to mask out the “Hang In There” design on the stamp. This works great and is much easier to do than trying to ink up only partial sections of the stamp.
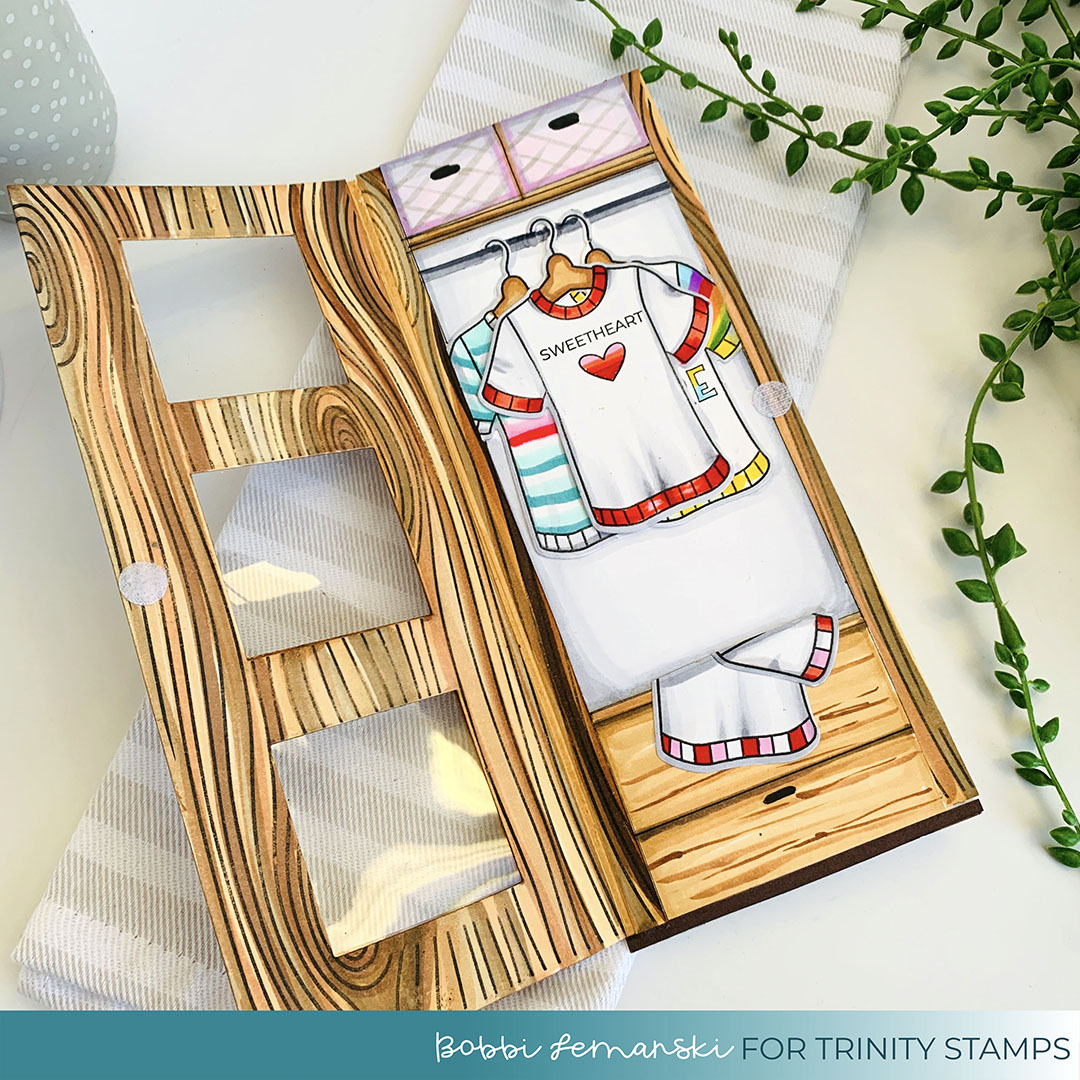
Step 2: Closet Interior

I cut the interior panel for this inside at 4″ wide X 8-1/2″ tall and scored 1/2″ in from the left tall side. The 1/2″ section is inserted in between the front and back sides of the closet door and acts as the door hinge. Because the closet door is 1/8″ shorter than the interior panel, I aligned the tops of the panels and trimmed the 1/8″ hinged section at the bottom to match the closet door length. I hand drew the closet pole, wood drawers at the bottom, trim moldings around the perimeter and a shelf with two bins at the top. The three tees were hung on the pole.
Step 3: Easel Assembly

To create the easel, I cut a panel 3-1/2″ wide X 11″ long. I scored it at 4-1/2″, 8-1/4″ from the top (See photo to the left.) The entire closet, door and inside panel are adhered to the easel from the bottom up to the 4-1/2″ score line. You can adjust this depending your desired slant of the easel.
The other two panels shown are used for the easel base and measure 3-1/2″ wide X 8-1/2″ tall.

Here’s a quick look at the easel attached to the front. You can see the three sections of the 11″ long panel. The middle section acts as the easel support in the back. The third section of the easel panel is connected to one of the white easel base panels. I added a faux parquet wood floor to the base in the next step.

Here’s a quick look of the easel in the upright position from the front. Using the Slimline Woodsy stamp set and the second easel base panel I cut earlier, I stamped, colored and cut the woodgrain into squares for a faux parquet floor-look. I wanted it to be different from the closet doors when opened so that the doors didn’t just flow right into the floor. By adding the parquet layer on top of the easel base panel, I created a stopper for the closet to rest on when in the upright position. It rests nicely right at the edge where the parquet floor begins. Note: I added a dark brown strip to the bottom 1/8″ lip on the closet interior panel for a clean finish. I also added brown to the easel base, behind the stopper, but this could have been left white, too. It really doesn’t show from the front.
Tip: In order for the door to swing open when in its resting place, the door needs to be slightly trimmed – about an 1/8″ – to open over the parquet floor.
Step 4: Custom Phrase
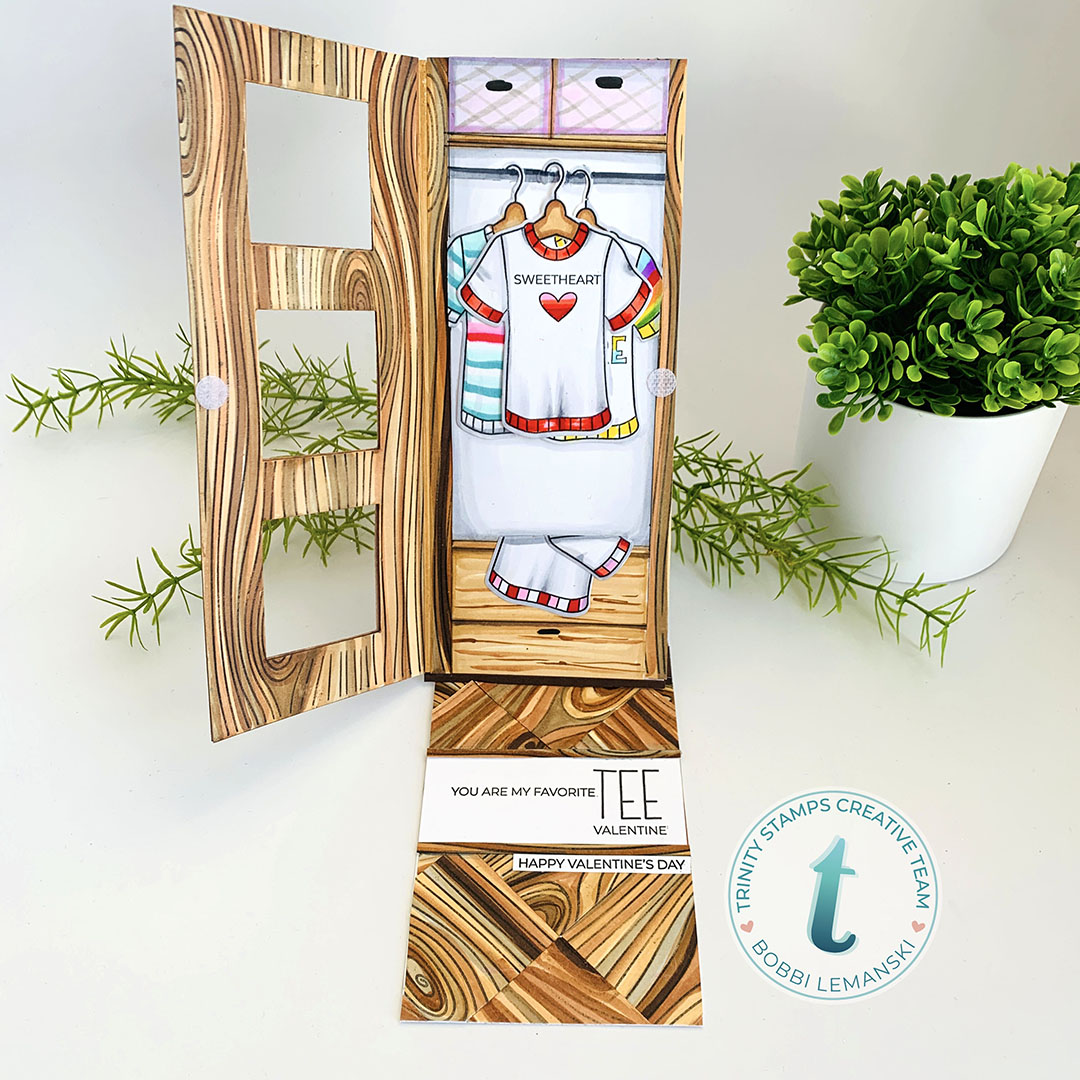
Lastly, I added the phrases using the Love & Stuff Sentiments stamp set. I added the custom “TEE” phrase using the “EST” from the A Latte Love stamp set. I simply stamped and masked the letters to make the custom word. A brad was used for the door knob and I also added a sticky Velcro closure to keep the door tightly closed. The card folds flat and fits nicely inside a business-sized envelope for mailing. This card would be cute for a girlfriend who loves tees, too. Just swap out the valentine phrase for the “Happy Galentine’s Day” phrase in the same set!
Thanks for stopping by today. If you want to see more ideas and inspiration from me, subscribe to my blog, BobbiHartDesign.com. You can also find me on Instagram as @BobbiHartDesign and on Facebook as BobbiHartDesign. Bobbi Hartmann Lemanski, Bobbi Hart♥ Design, Adding h♥art into every design


