
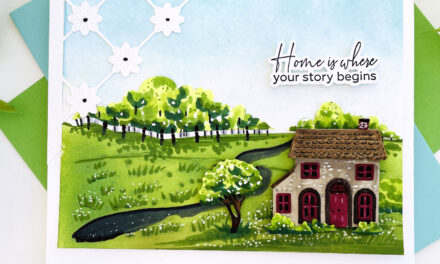
Hello Bee friends! It’s Bobbi Lemanski here with a little bite of somethin’ somethin’! I’ve been busy making special valentines for my family members for next month. My daughter, Olivia loves eggs. In fact, I got her a Dash Egg Cooker for Christmas this year and she’s been using it weekly while home from college for winter break. She loves the low calorie, high protein characteristics that eggs offer. I totally agree. They are EGG-cellent for you. 
I’m using the following Honey Bee Stamps products for this fresh, homegrown Valentine:
To My Butter Half stamp set and coordinating die set
Circle Thin Frames Honey Cuts die (Retiring product! Save $6.95 on this die today!)
Hello Sweetheart stamp set and coordinating die set
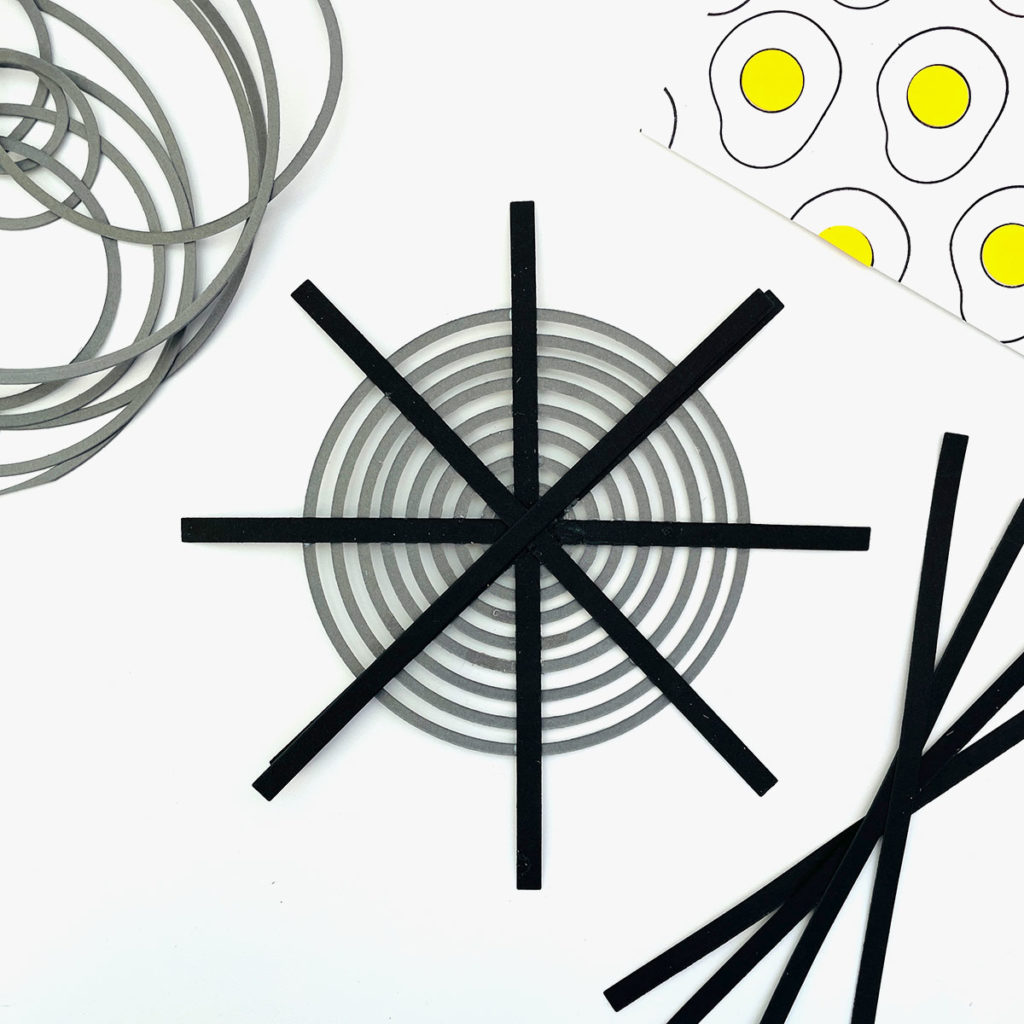
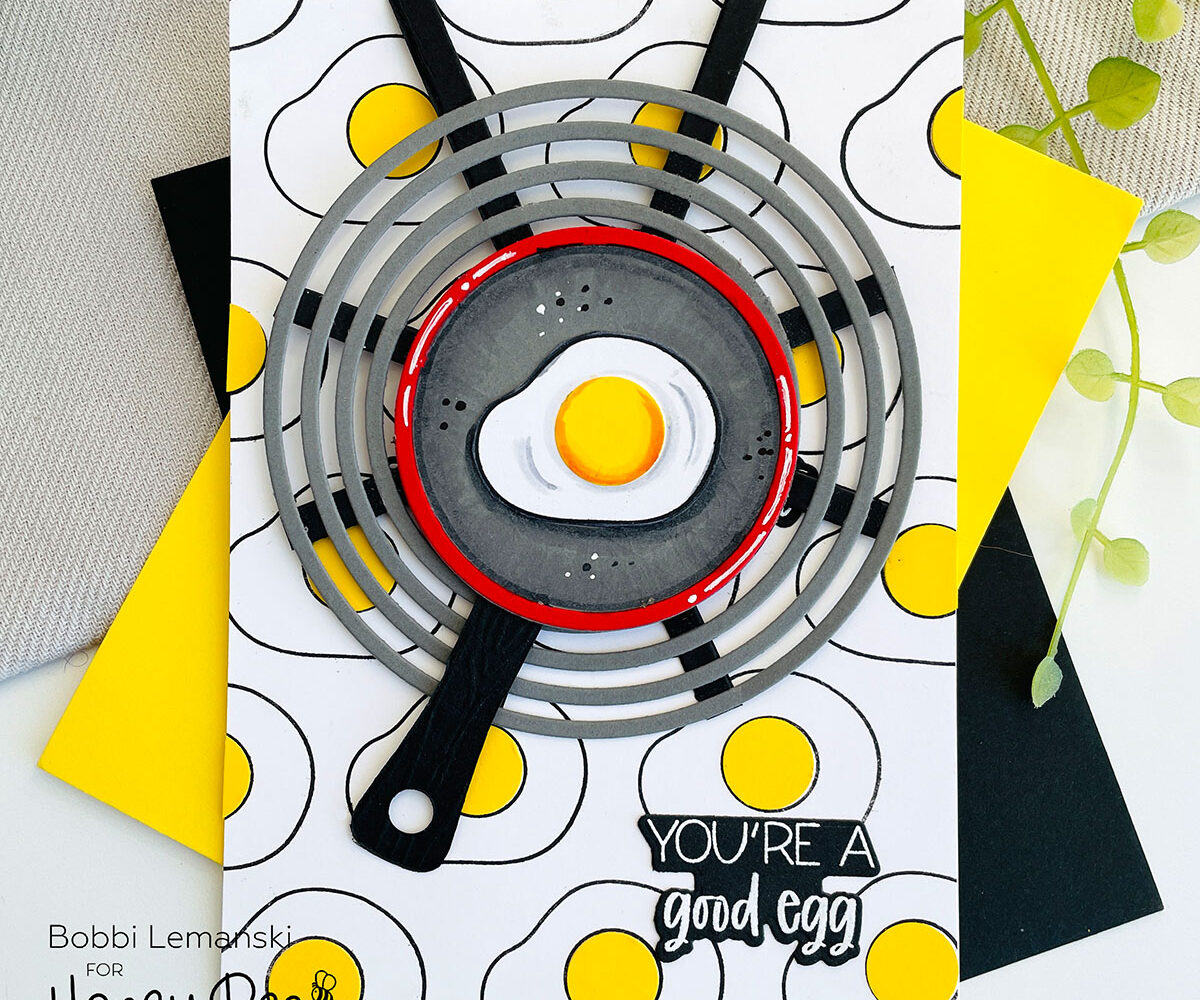
To make this 5″ X 7″ card, I started by making a stove burner to cook the egg. I used the Circle Thin Frames Honey Cuts die to cut the gray cardstock coils (it cuts them all at once) and 1/4″ strips of black cardstock for the underneath grid that holds the coils in place. I used Bee Creative Precision Tip Glue to glue everything in place. Once dry, I added another set of strips to the back side for extra sturdiness and to cover any glue spots for a clean back when the card is flipped open. All but the top two black strips were trimmed off at the edge of the largest coil.
For the card base, I cut two 5″ X 7″ pieces of Neenah 80lb Solar White cardstock. I stamped the egg image from the To My Butter Half stamp set using a MISTI stamping tool and Bee Creative Black Intense Ink on one of the A7 pieces. I punched out 5/8″ yolk centers from yellow cardstock and glued them in place on each egg.
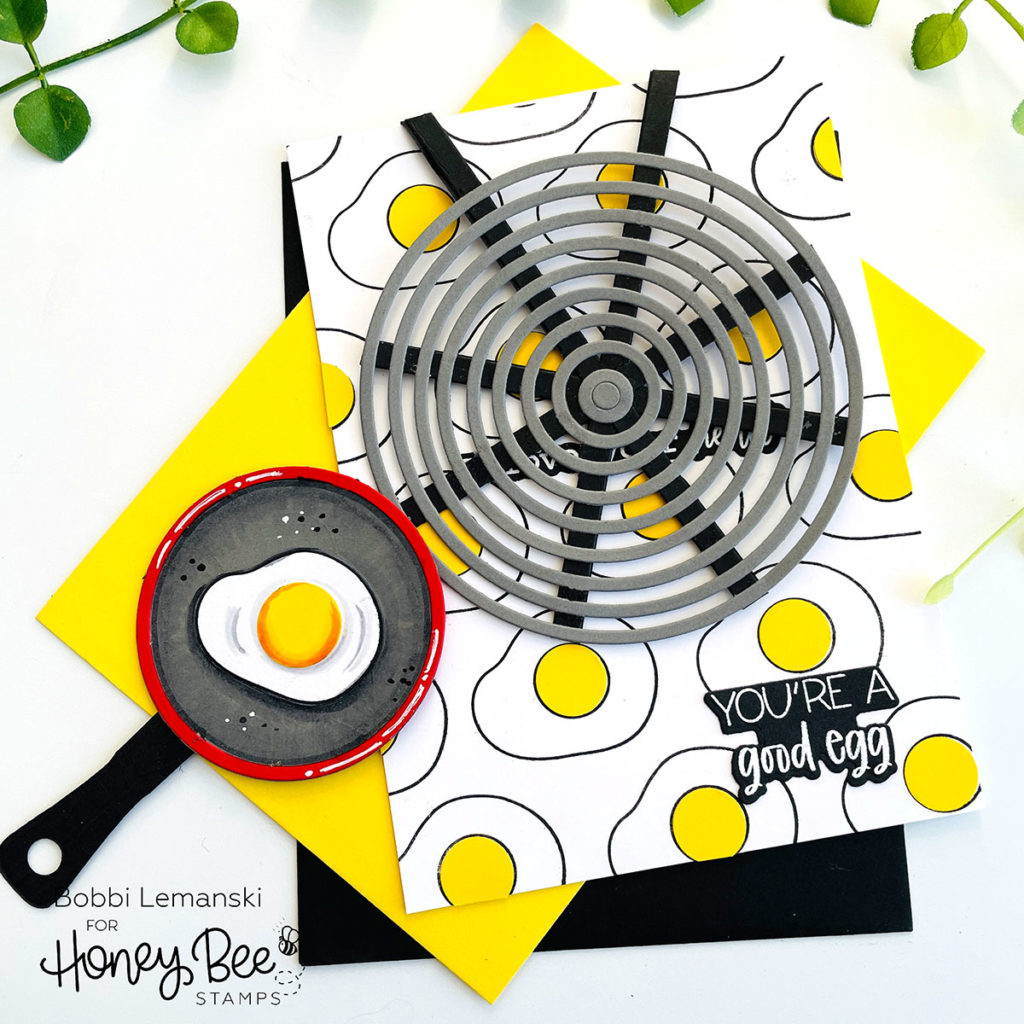
I positioned the burner on the card front and folded the two untrimmed black strips over the top of the stamped cardstock and attached the flaps to the back of the piece. These flaps create the hinge mechanism for the burner. I adhered the remaining A7 piece of white cardstock to the back to conceal the black strip hinges.
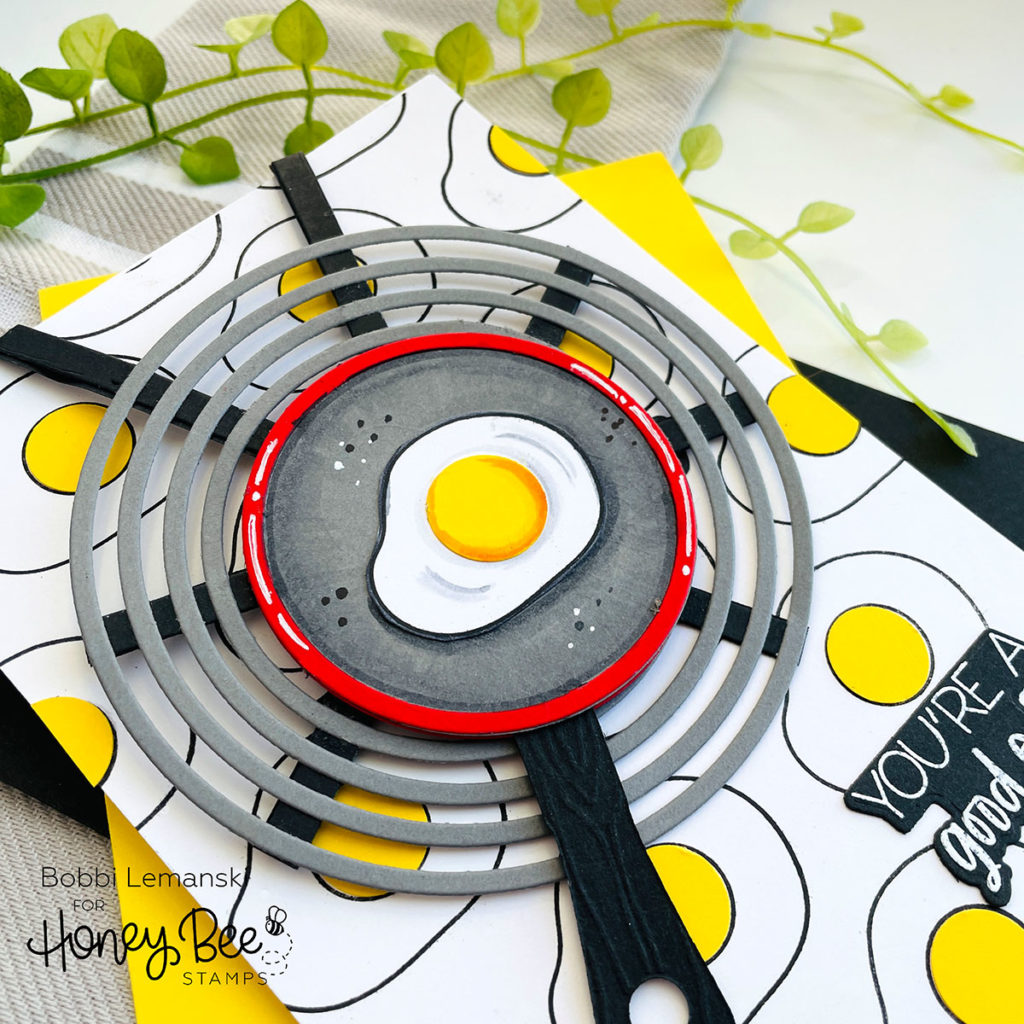
To make the red frying pan, I used the Circle Thin Frames Honey Cut die again to create the pan’s red top edge around the diameter of the pan. I glued it to a 2-3/4″ gray circle. I die cut the handle of the Cutting Board Honey Cuts from black cardstock and attached it behind the gray circle and finally backed the pan with another 2-3/4″ circle cut from red cardstock. (You can see the bottom of the pan in a photo below.) I added white highlight marks around the pan’s edge.
Fry Pan Layers
- Layer 1: Red circle ring (top edge of fry pan)
- Layer 2: Gray 2-3/4″ circle
- Layer 3: Black handle with raw edge concealed between layers 2 and 4.
- Layer 4: Red 2-3/4″ circle (bottom of fry pan)
Finally, I stamped an individual egg, die cut it and attached it to the inside of the pan. I added Copic colors, Y38, Y19 and Y15 and Y06 to the yellow cardstock yoke for shading. Copics in C5 and C3 were used for shading in the pan, too.
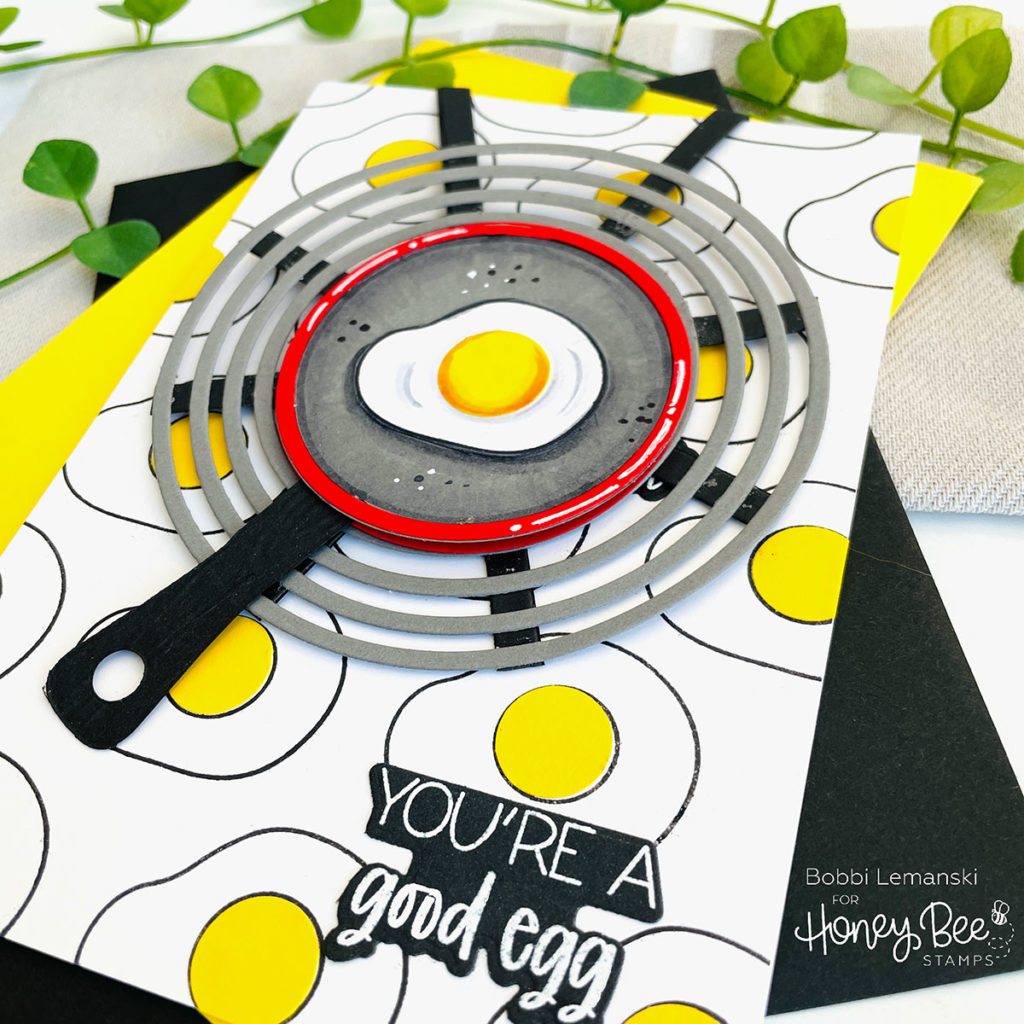
I stamped the “You’re a good egg” phrase on black cardstock using Bee Creative Clear Embossing and Watermark pad and White Opaque Embossing Powder. The phrase was die cut and attached to the lower right corner.
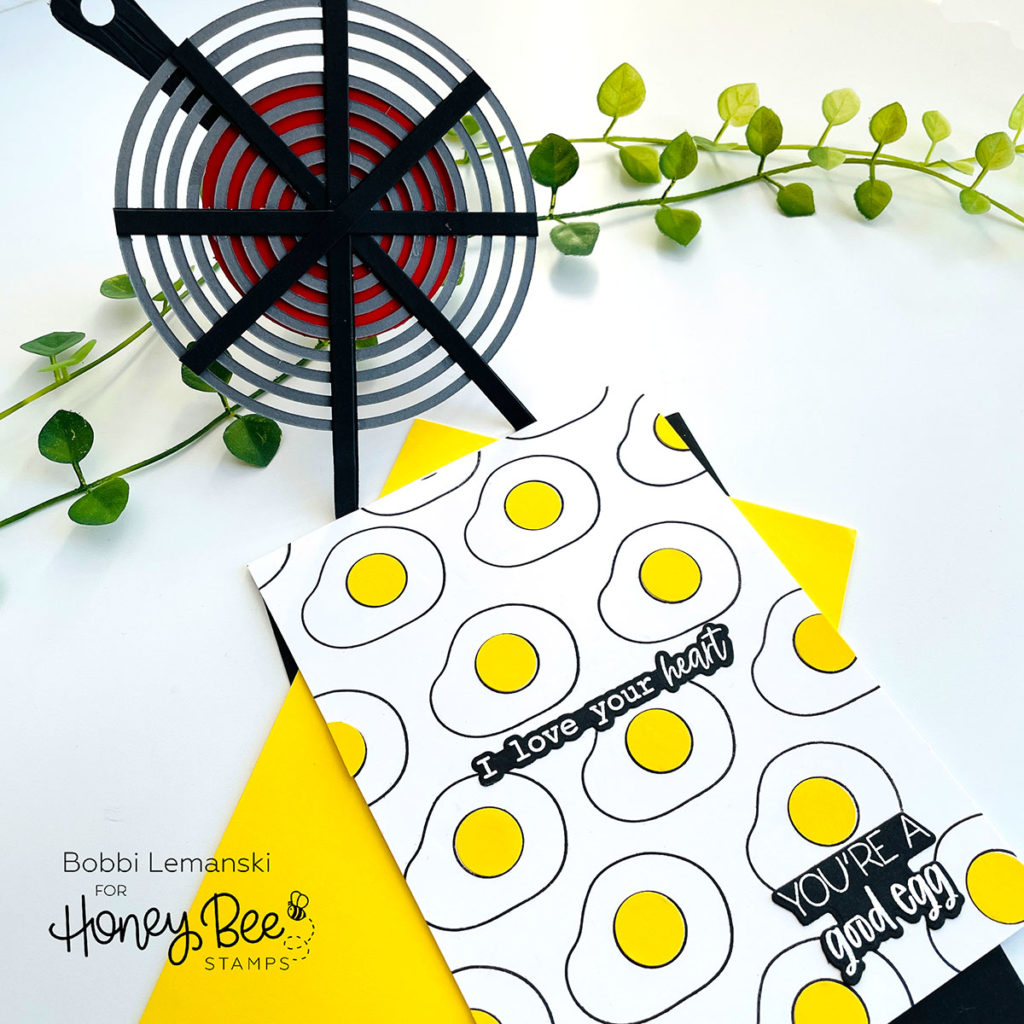
Inside the card, I added another die cut, embossed phrase from the stamp set, Hello Sweetheart stamp set and coordinating die set and attached it right underneath the burner to hide it from the front.
You can shop Honey Bee Stamps here. If you decide to place an order, please use the links in this post so that Honey Bee knows what inspired you, today.
Thanks for stopping by today. If you want to see more ideas and inspiration from me, subscribe to my blog, BobbiHartDesign.com. I’ll send you updates on new posts! You can also find me on Instagram as @BobbiHartDesign and on Facebook as BobbiHartDesign.
Bobbi Hartmann Lemanski, Bobbi Hart♥ Design, Adding h♥art into every design


