
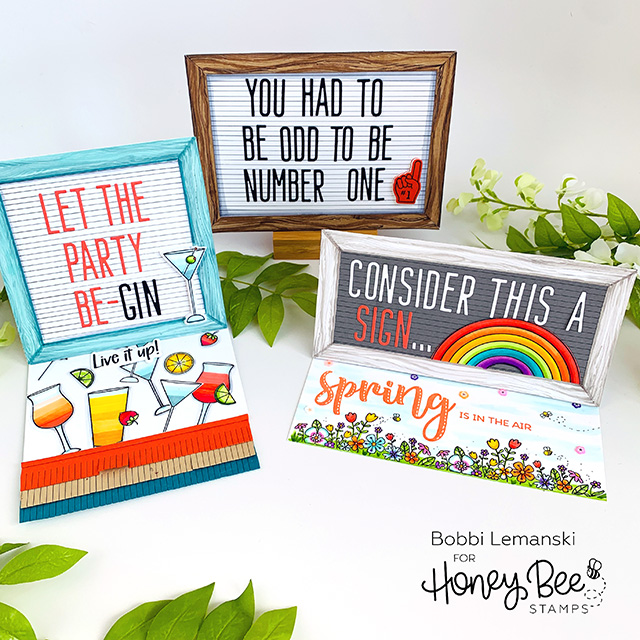
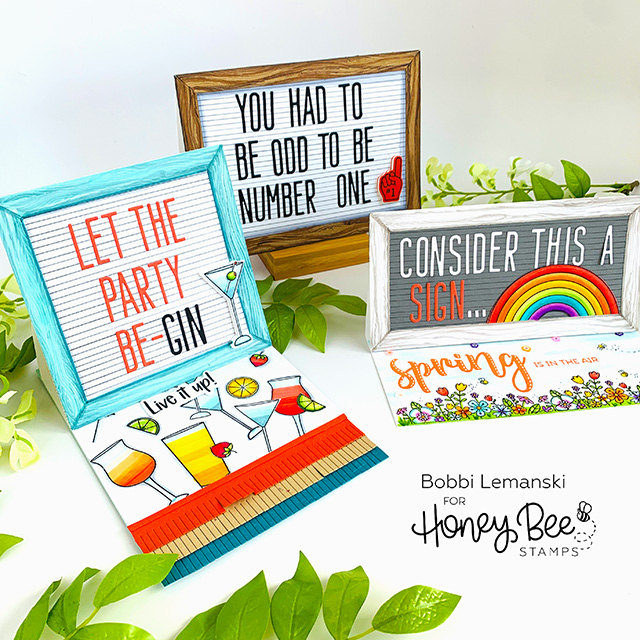
Hi Bee Friends! It’s Bobbi Lemanski here (@BobbiHartDesign) with a fun idea for cardmaking. Message and/or Letterboards are all the rage in home decor. I am sharing three cards where I’ve used this idea on my handmade greetings. It’s a great way to personalize your cards with a fun saying or phrase to match the personality of the recipient. You can be snarky, sassy, sweet, funny… whatever fits the situation and person.
I’m using the following Honey Bee Stamps products on all three cards:
Tailgate Alphabet die set – It’s the perfect alphabet die set for this look.
Wood Frame Builder die set to create the wood frames around the sign board. This set comes with many options for frame sizes. I’m using three different sizes here alone: 5″ X 7″, 5″ square, 3-1/2″ X 7″ signs. Frame sides come in 3 1/2″, 4 1/2″, 5, 5 1/2″, 7″ lengths.
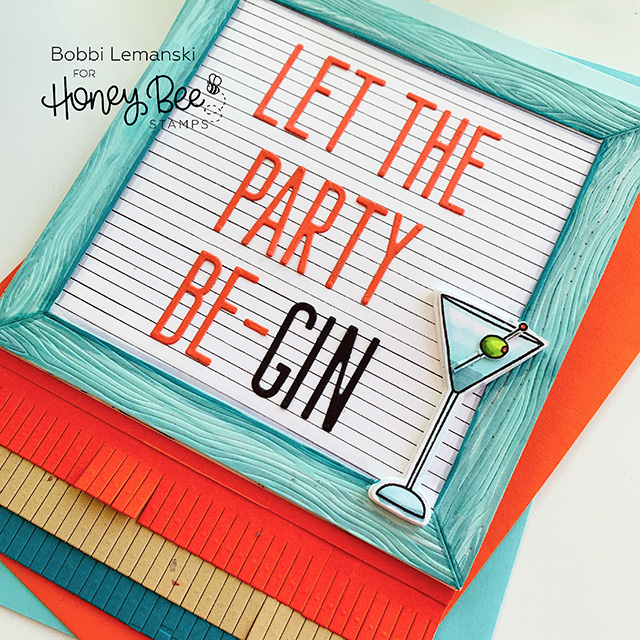
Let the Party Be-Gin Card
For my first 5″ X 7″ card, I used the two sets listed above as well as these two:
Raise A Glass stamp and coordinating die set
Sip, Sip, Hooray stamp and coordinating die set
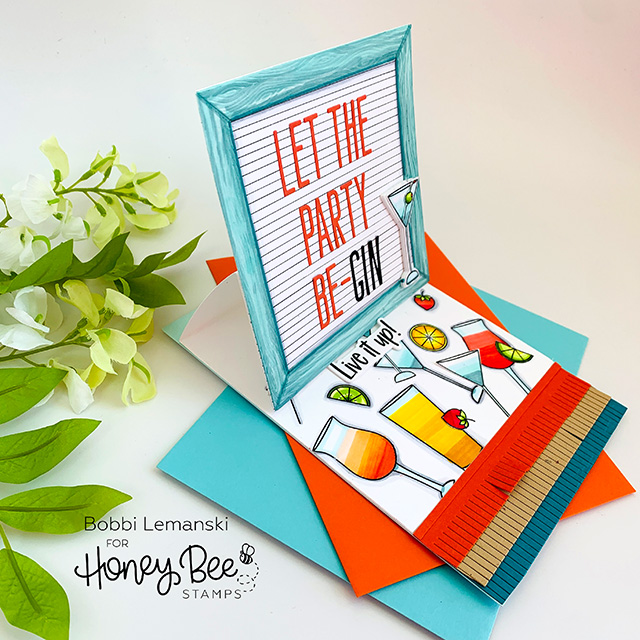
This card is an easel card, allowing the inside and outside to show at the same time. The framed sign is 5″ square. I added fun party fringe right below it. The fringe is made by creating even cuts along 1″ X 5″ strips.
To create the easel, you simply create the card base with the front panel matching the size of the sign. For this card, it is 5″ square. The front panel is scored in half and the sign is attached below the score line, matching up the bottom edges as seen in the photo above. The letterboard background was created using a My Sweet Petunia ruler and .05 fine-tip felt marker. I drew a line every 1/4″ inch, lining up the previous line with the lines on the see-through ruler. The 1/4″ scale fits the letters in the Tailgate Alphabet die set perfectly!

On the inside panel, I stamped the fun drinks and garnishments from Raise A Glass stamp set, making sure I had plenty of martinis for the gin reference. 🙂 I stamped “Live it Up” and backed it with a couple cardstock die cut layers to create a “lip” for the easel to rest on when in its upright position.
Consider This a Sign Card
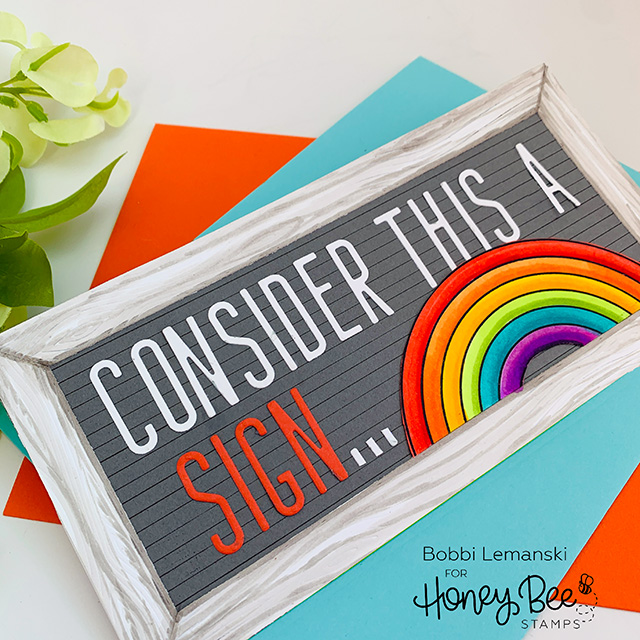
This message board card measures 7″ wide X 3-1/2″ tall. It fits inside a 5″ X 7″ envelope or a business-sized envelope. I used the following additional sets:
Rainbow Wishes stamp and coordinating die set
Loads of Spring stamp and coordinating die set
These sets create the rainbow and floral scene inside. The inside sentiment is from the Spring stamp set.
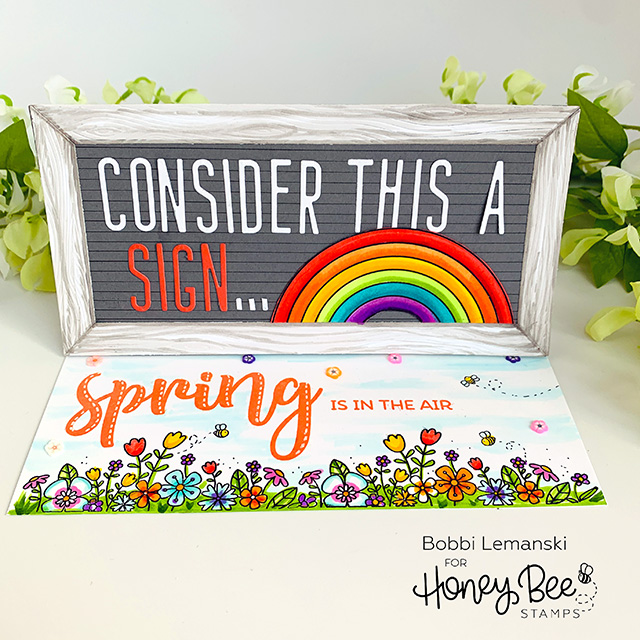
To create the easel, I applied the same steps as noted in the first card.

To keep the easel in its upright position, I glued small floral Blooms from Paradise clay embellishments along the top in the sky to hold the sign in place. I use Honey Bee’s Bee Creative Precision Glue to adhere them in place.
You Had to Be Odd Card
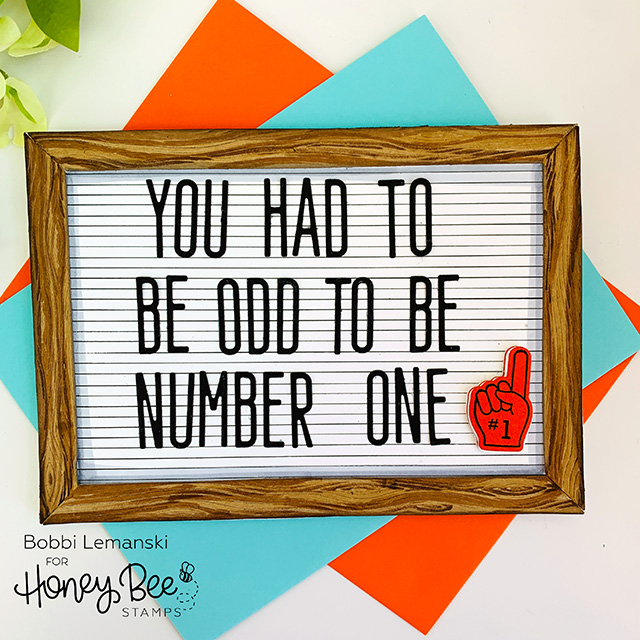
For this 5″ X 7″ card, I created the sign on the front, drawing lines for the board every 1/4″. I used Hope the Hedgehog stamp and coordinating die set to embellish the card.
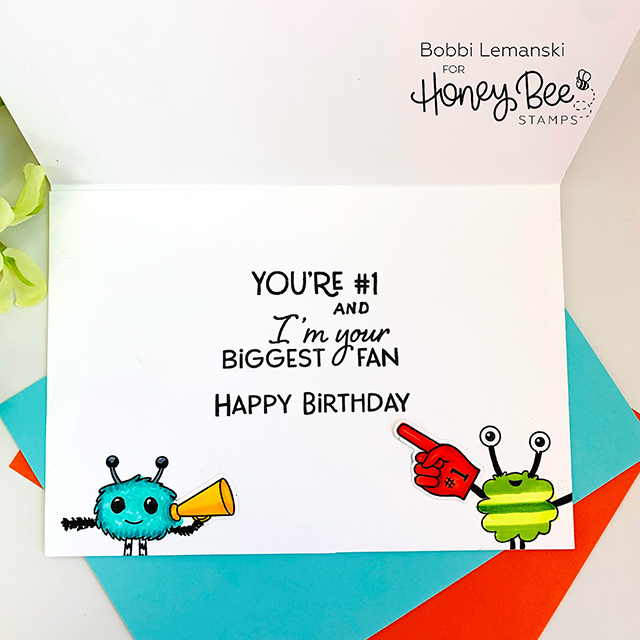
Phrases from the Cheering For You stamp set were stamped inside the card. These “odd” characters are from the Far Out Friends stamp set. Note: Due to Copic bleeding, the inside panel was created and then attached inside the card base.
You can shop the entire Spring Bliss release here. If you decide to place an order, please use the links in this post so that Honey Bee knows which ideas inspired you!
Thanks for stopping by today. If you want to see more ideas and inspiration from me, subscribe to my blog, BobbiHartDesign.com. I’ll send you updates on new posts! You can also find me on Instagram as @BobbiHartDesign and on Facebook as BobbiHartDesign.


