
 Hi Bee Friends. It’s an Instagram Hop today to celebrate the Honey Bee Stamp’s Let’s Celebrate release! You can hop on here, from my IG page. Honey Bee is giving away two $25 gift cards as a giveaway, drawn from comments on the hop!
Now if you have already hopped and now want more details including links to products used for my Celebrate card, you’re in the right place! I used the following Honey Bee Stamp’s products for my card:
Birthday Bundle includes all the products I used (except for the Quilted Cover Plate die) and is the best value for all the birthday sets used and listed below.
Fancy Frosting stamp set and coordinating die set
Cake Banner Sentiment Stamp set
Inside Birthday Sentiments stamp set and coordinating die set
Inside: Snarky Birthday Sentiments stamp set
Bee Creative No-Line Coloring Ink pad
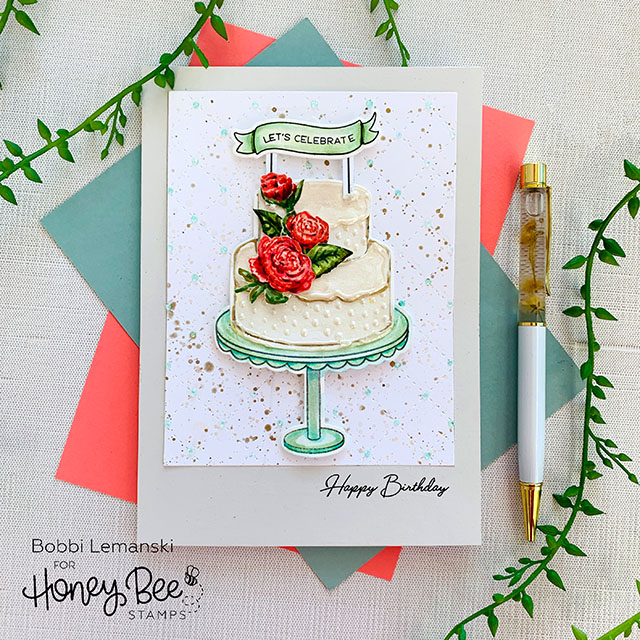
Birthday Cake Card
My card measures 5″ X 7″ and fits inside an A7 envelope. To make this card, I stamped the elements from the Fancy Frosting stamp set – cake, banner, florals, leaves, frosting layers, and cake stand using the new Bee Creative N-Line Coloring ink pad. I die cut the elements using the coordinating die set. The cake layering images were colored using iridescent white watercolor from the Kuretake Gansai Tambi watercolors (48) watercolor set. The frosting just shimmers! It’s gorgeous in person. I set them aside to dry. With the cake and frosting colored, I moved on to the florals and leaves. I used Copics in R89, R29, R20, R17, R14, R11, R00, YG99, YG67, YG63, YG61, and YG00 to color the flowers and leaves. Because I used the no-line ink, there are not black outlines on my flowers which makes them look much more realistic!
Once my watercolor paint was dry, I added Pearl Pen drops in Pearl Cream to the cake and the frosted edges. It gives it a lot of realistic dimension. Nuvo Drops in a cream color would work, too. Once the Pearl Pen was dry, the frosting layers were added to the cake and the floral spray was glued to the frosting using Bee Creative Precision Glue. I also added the banner with the sentiment stamped on it and attached it using “sticks” at the top of the cake. A little more frosting was added around the stick base, too.
For the background on the front panel, I die cut a centered rectangle out of the 5″ X 7″ warm gray cardstock piece (to be used for the front panel) using the Quilted Cover Plate die set. I splattered gold metallic and more of the iridescent white watercolor inks on the background. I took the A2 die cut and the frame and adhered both to the front of a card base made from 80lb Neenah Classic Crest Solar White cardstock. I used a mint green glitter pen to add dots on the quilt design at the intersection points and stamped the “happy birthday” phrase from the stamp set, Inside: Snarky Birthday Sentiments at the bottom right corner. I chose this phrase because it is in a scripty font and I felt it looked a little more elegant to match the fancy cake!
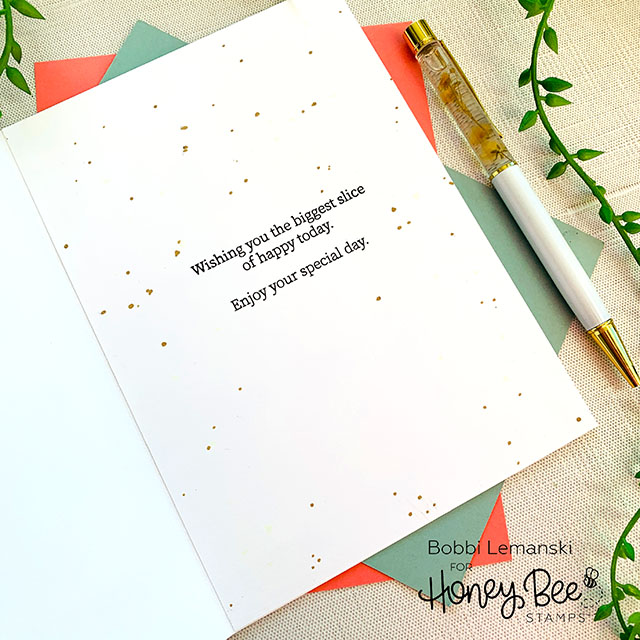
Inside the card, I stamped two verses from the Inside Birthday Sentiments stamp set and added specks of gold and mint green color around the words to complete the inside.
If you decide to place an order, please use my links in this post so that Honey Bee Stamps knows what inspired you. I appreciate it very much. It helps me to continue to bring more ideas to you!
Thanks for stopping by today. If you want to see more ideas and inspiration from me, subscribe to my blog, BobbiHartDesign.com. I’ll send you updates on new posts! You can also find me on Instagram as @BobbiHartDesign and on Facebook as BobbiHartDesign.
Bobbi Hartmann Lemanski, Bobbi Hart♥ Design, Adding h♥art into every design


