
Layering Holiday Bells – Honey Cuts
Jingle All the Way stamp set and coordinating die set
Lovely Layers: Winter Greenery – Honey Cuts
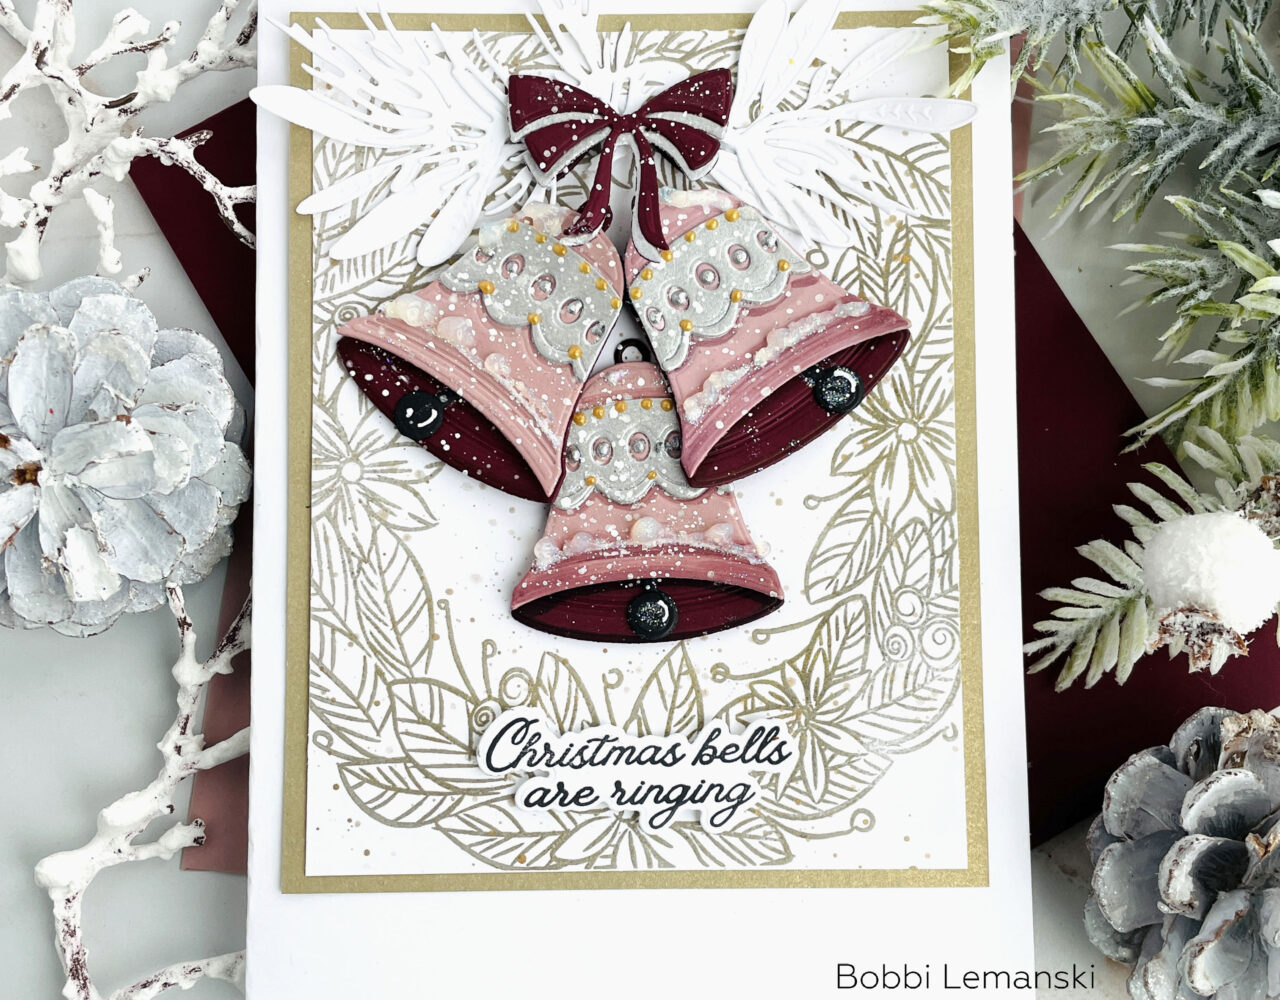
The featured project below is made from Neenah 80lb Solar White cardstock for the card base and card front panel. All of the black ink stamping was done using Honey Bee’s Bee Creative Intense Black Ink. I use Honey Bee Stamps Bee Creative Precision Glue for adhering my elements together. My card is 5″ X 7″ in size. Now for the details…
This card is all about layers. I layered the bells and the front panel it include a metallic gold cardstock frame around the gold stamped wreath. I used the Bee Creative Metallic Gold Pigment Ink pad to stamp the background wreath that frames the bells. It’s much quicker than heat embossing and turns out great. This is really awesome ink and comes in silver and white, too!
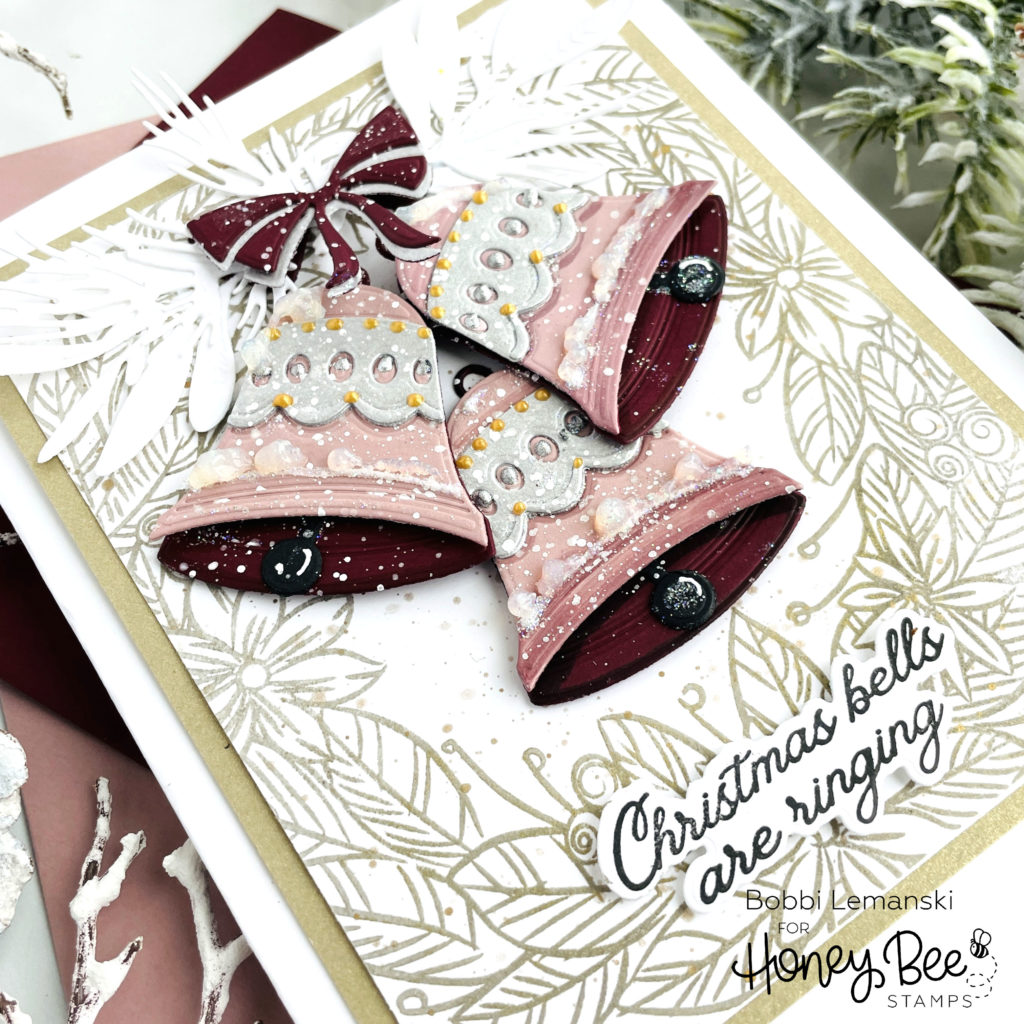
I cut the bell parts and layered the holiday bells using cardstock colors – maroon, mauve and silver. I used silver and maroon for the bow. The bell’s clapper was done in black. I added a white highlight mark to the ball. Once I assembled the bells, I glued them together using Bee Creative Precision Glue. Silver gold and glitter accents were added using Nuvo Drops.
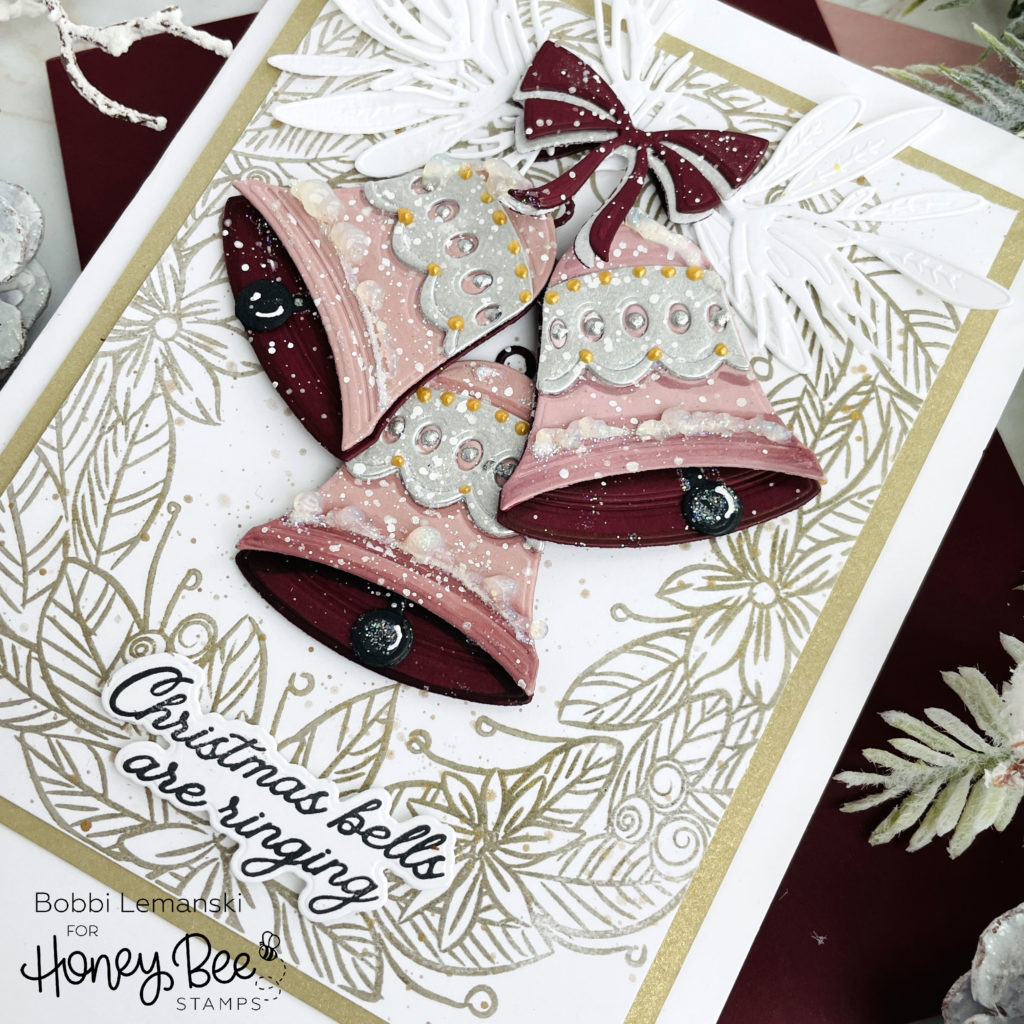
To finish this card on the front, I added a swag using Lovely Layers: Winter Greenery – Honey Cuts cut from white cardstock around the top of the bells and behind the bow. I added a sentiment using the Jingle All the Way stamp set and coordinating die set. Once everything was in place, I splattered white paint over the top to mimic a fresh snowfall. This reminds me of bells on a front door or at a church.
Thanks for stopping by today. If you want to see more ideas and inspiration from me, subscribe to my blog, BobbiHartDesign.com. I’ll send you updates on new posts! You can also find me on Instagram as @BobbiHartDesign and on Facebook as BobbiHartDesign.


I’d like to thank you for the efforts you’ve put in writing this site.
I really hope to view the same high-grade content by you later on as well.
In truth, your creative writing abilities has motivated
me to get my own, personal blog now 😉