
Hello crafty friends! I’m participating in the Simon Says Stamp Instagram Hop today to celebrate the December DieCember release. This release is focused on many fun new dies released on December 1 and available for purchase now. Today, I’m using the new Snowflake Medallion die along with a number of other new products recently released from the Holiday Sparkle release.
Leave a comment on Instagram for a chance to win!
GIVEAWAY: Leave a comment at each stop on the Instagram hop for a chance to win a $25 gift card for the Simon Says Stamp store. Winners will be chosen randomly from the comments left on each hopper’s post. All winners will be announced on Simon’s Instagram feed on Tuesday, December 13. You can start here, on my Instagram page. You have a chance to win at EACH STOP. Good luck!
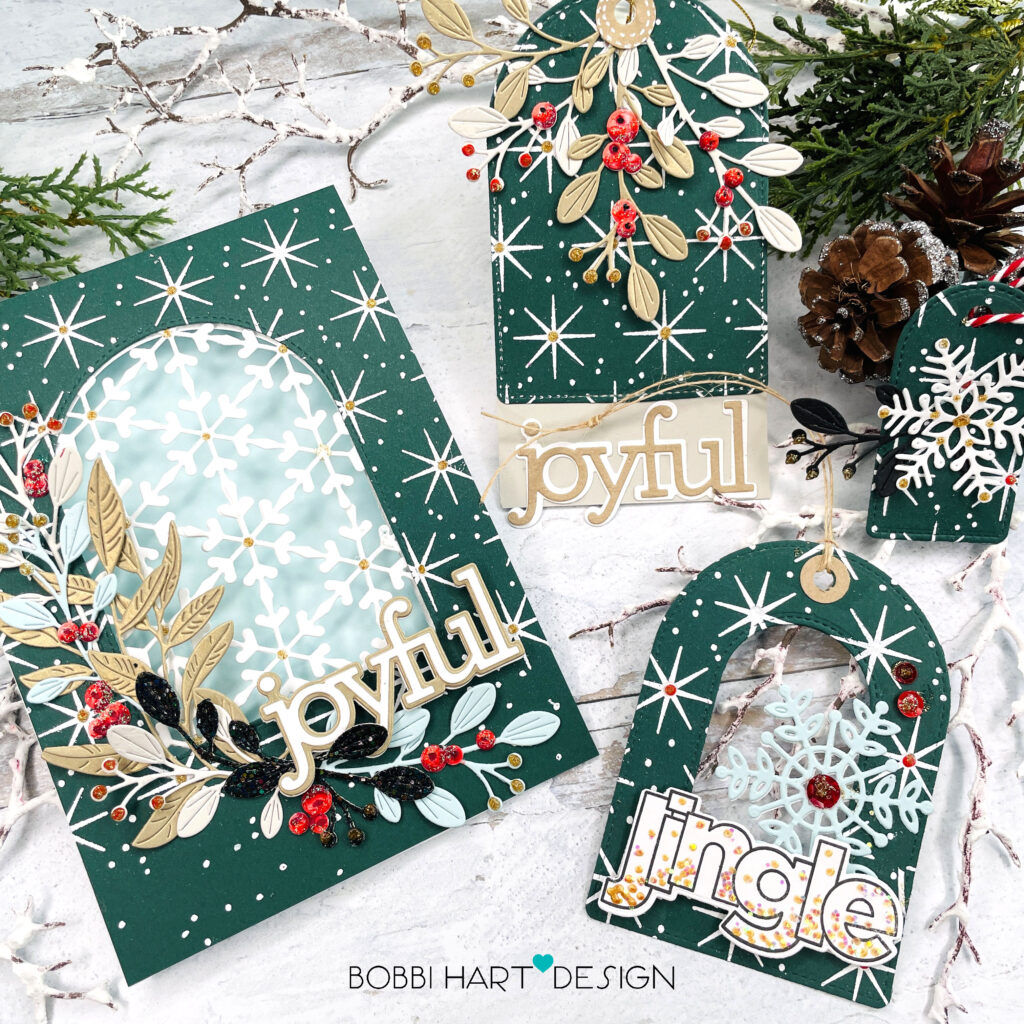
Check out below for details on how I made each project in this collection. Here’s a fun idea, I used the arch from the card to make the largest tag, then continued to use the arches from the prior project or similar to make all three tags! It’s so fun. Let’s get started!
I’m using the following Simon Says Stamp products:
Luxe Black Glitter cardstock NEW
CZ Design Clean Line Christmas
CZ Design Good Cheer stamp set and coordinating die set
Sunny Studio Stamps Stitched Arch Dies or the Simon Says Stamp Arch Dies
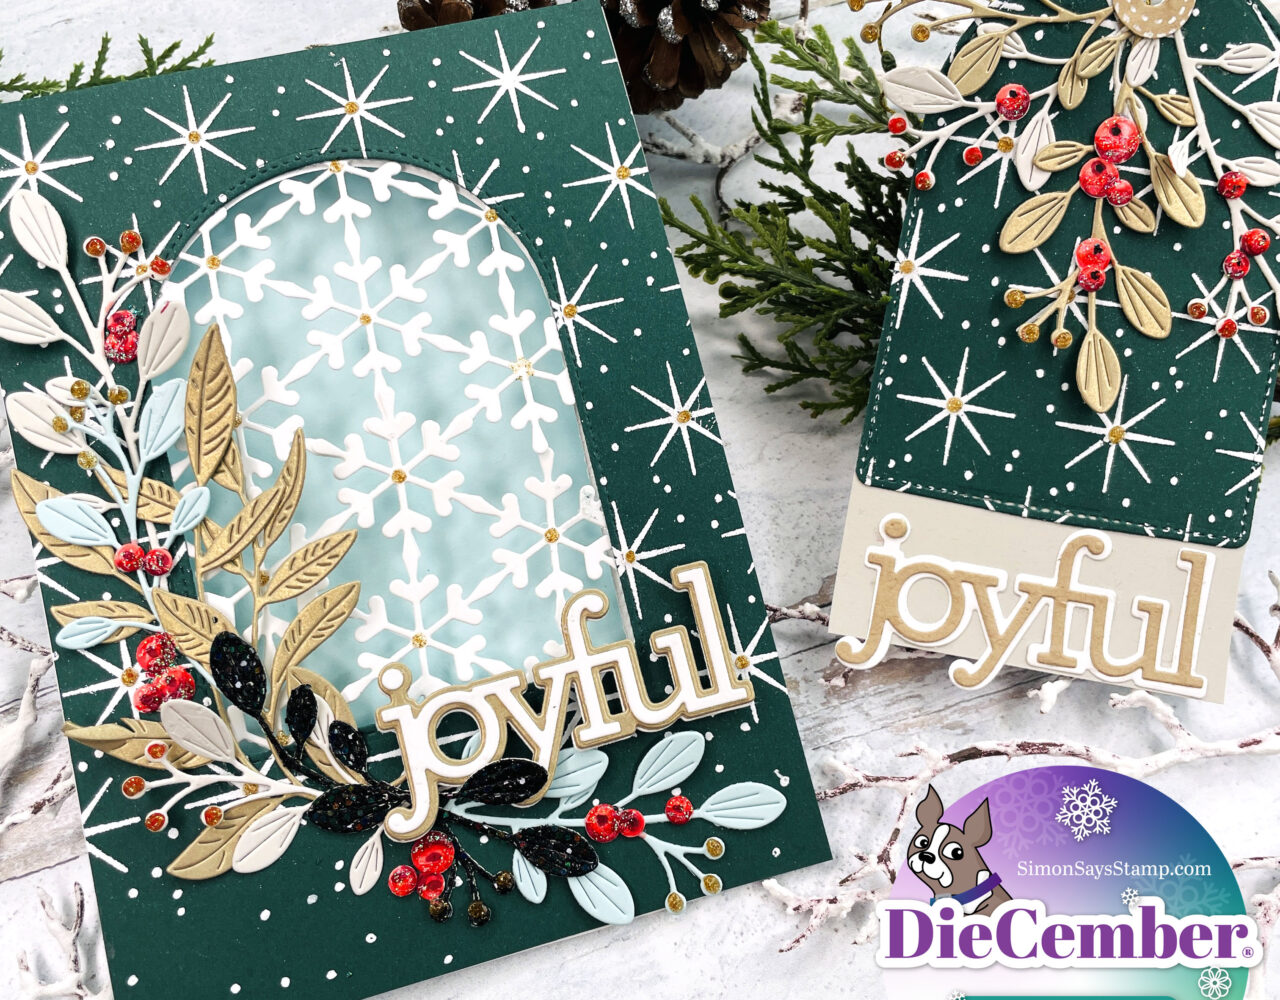
Joyful Arch Window Card
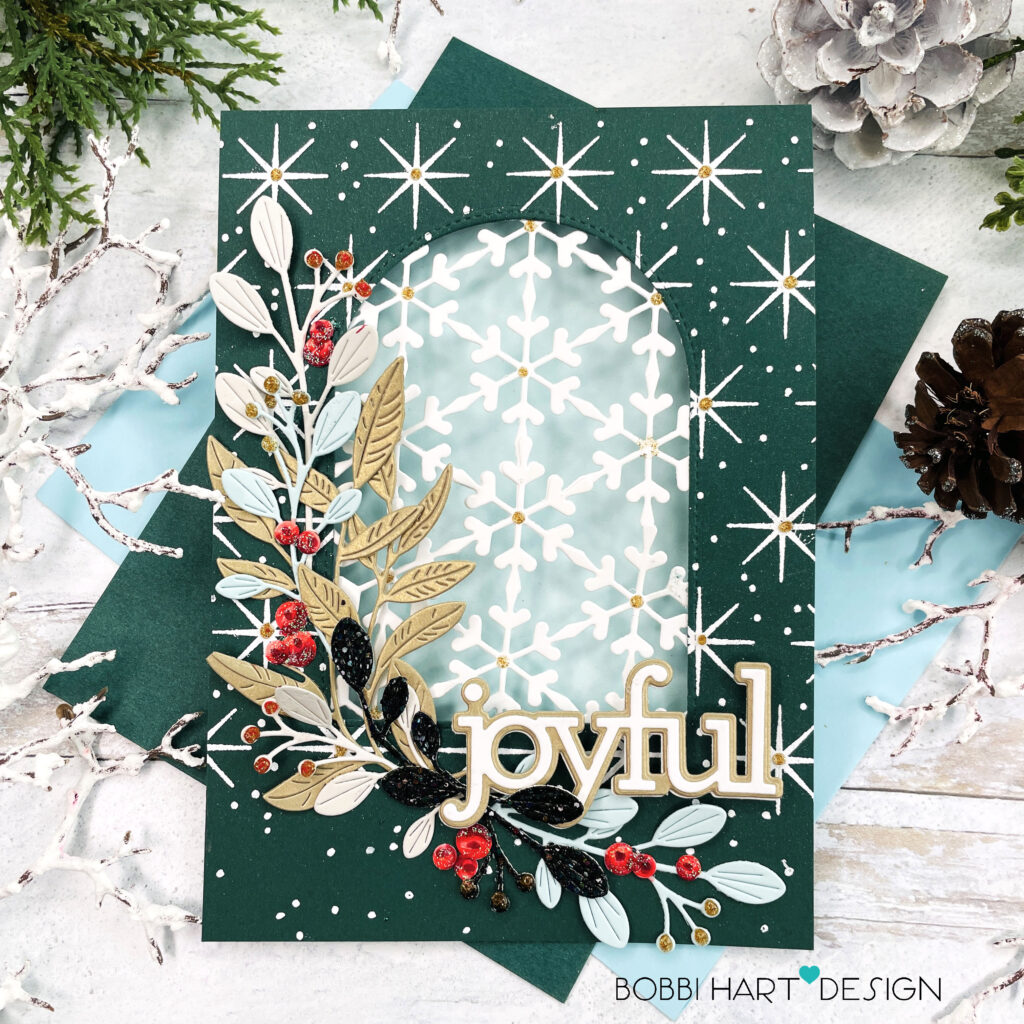
My 5″ X 7″ card features an open stitched arch window in the center. I embossed the front panel using the Christmas Star Background and white embossing powder. I “filled” the arch with a filigree pattern using two Snowflake Medallion die cuts. Yes, snowflakes! I overlapped one snowflake in the middle to create a continuous open design. Who would ever know that it’s just a snowflake?! I added the “joyful” stacked word die at the base of the arch. The shadow is cut from metallic gold cardstock and the top die from Neenah 80lb Solar White cardstock.
I added foliage using the Budding Branches die and the Privet Branch die. I cut them from warm gray cardstock, light aqua cardstock, Luxe Black Glitter cardstock and metallic gold cardstock. I created red berries using the berry dies from the Lovely Layers: Winter Greenery Dies by Honey Bee Stamps. I colored them using Copics: R89, R29, R24, R14 and R22. A little glitter glue on the berries and branches complete this wintery look.
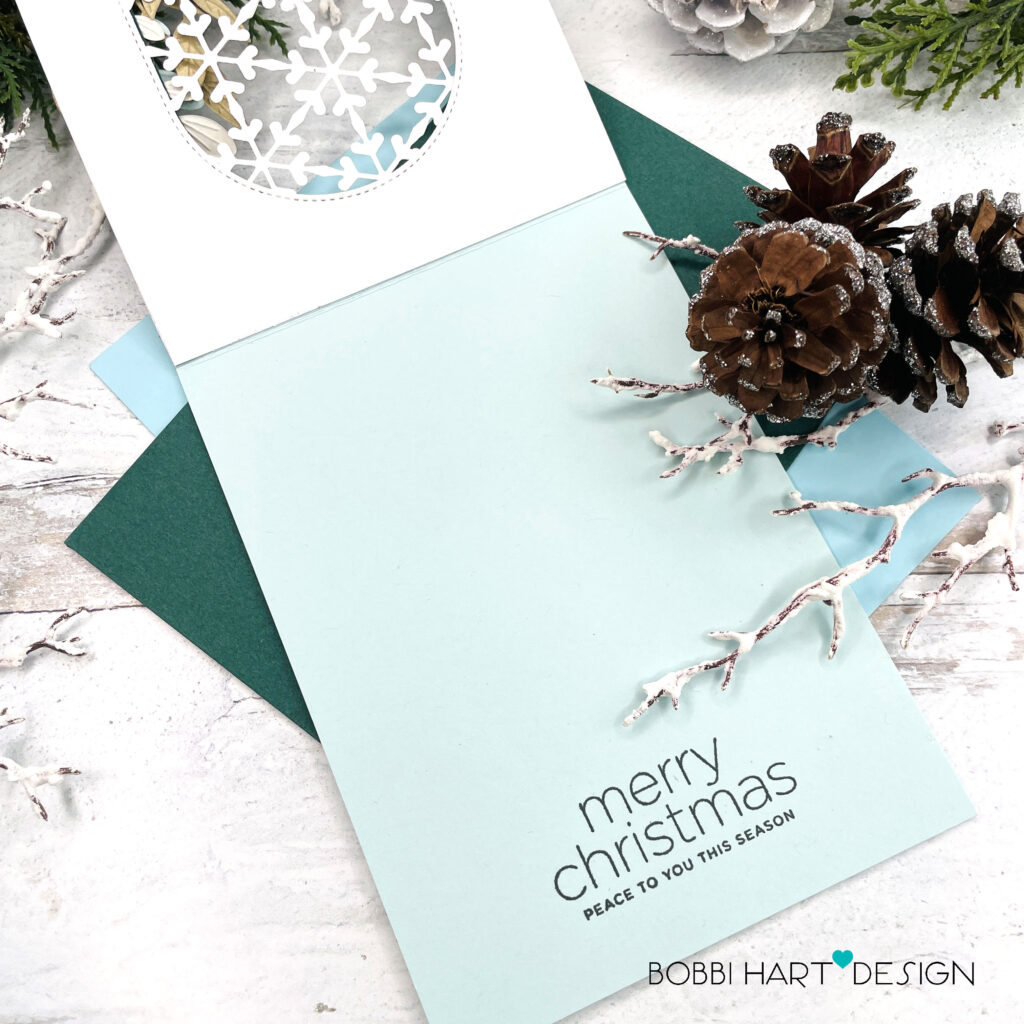
Inside, I stamped in a hunter green ink, the sentiments from the CZ Design Clean Line Christmas stamp set. Notice that I also cut another Arch window panel in white to cover the blue flap sandwiched between the white and hunter green panels of the front. Because my card is an A7 size, I need 14″ length (2 panels X 7″ vertical length) which is longer than my letter size cardstock of 11″. To make it work, I create a hinge flap that gets sandwiched between the green and white arch panels.
Joyful Branches Gift Tag
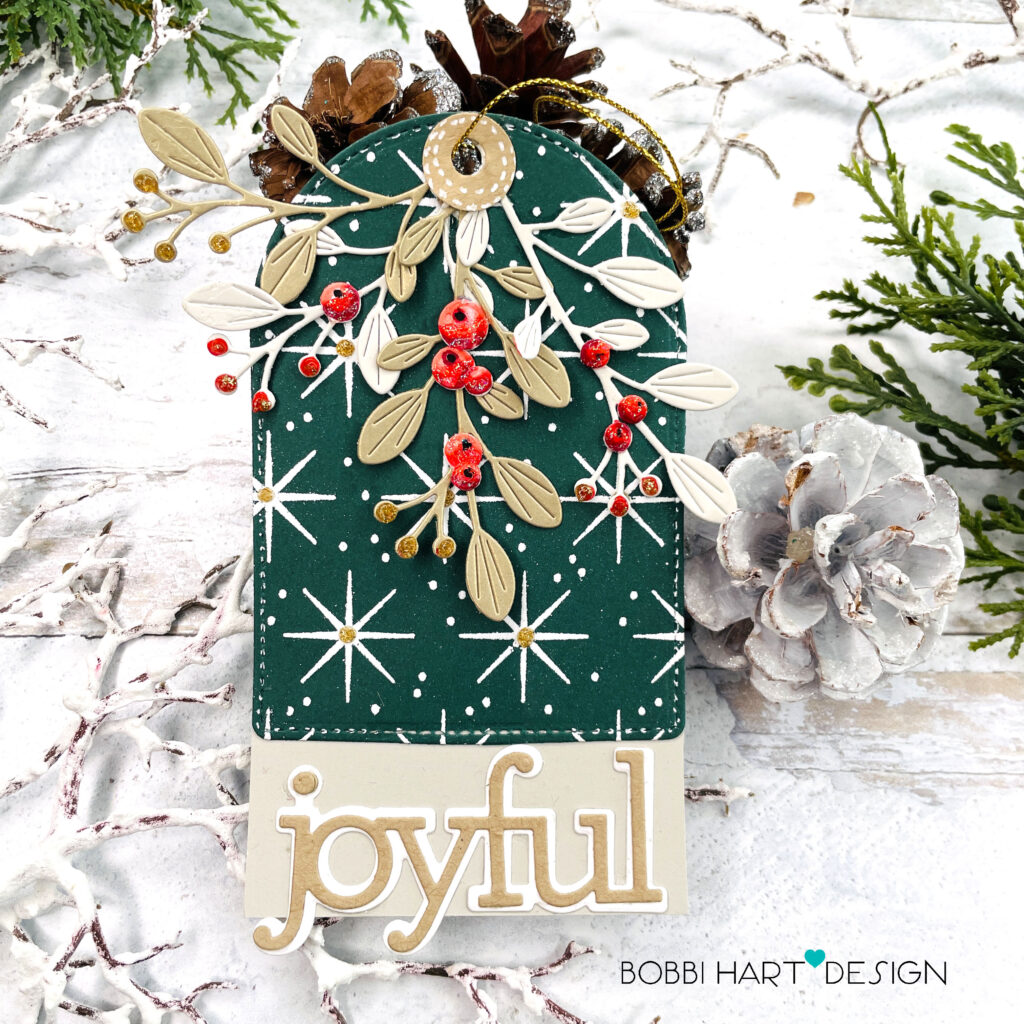
Using extra die cuts from the card above, I created this coordinating tag. I added many of the same elements including the foliage using the Budding Branches die and the Privet Branch dies and more red berry dies.
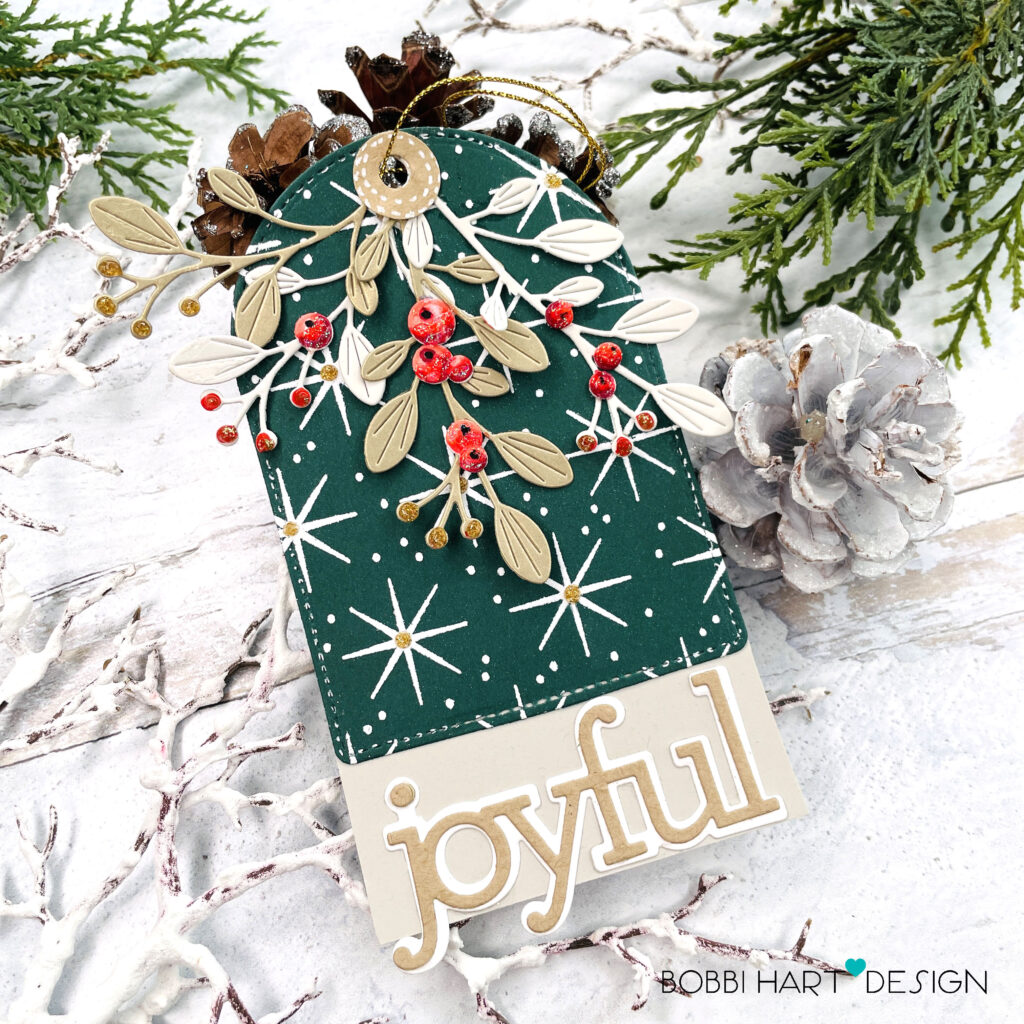
Instead of metallic gold cardstock, I used a Kraft cardstock for the CZ Design Joyful die. I also added some sparkly gold glitter glue to the centers of the background stars for a little sparkle!
Jingle Arch Window Tag
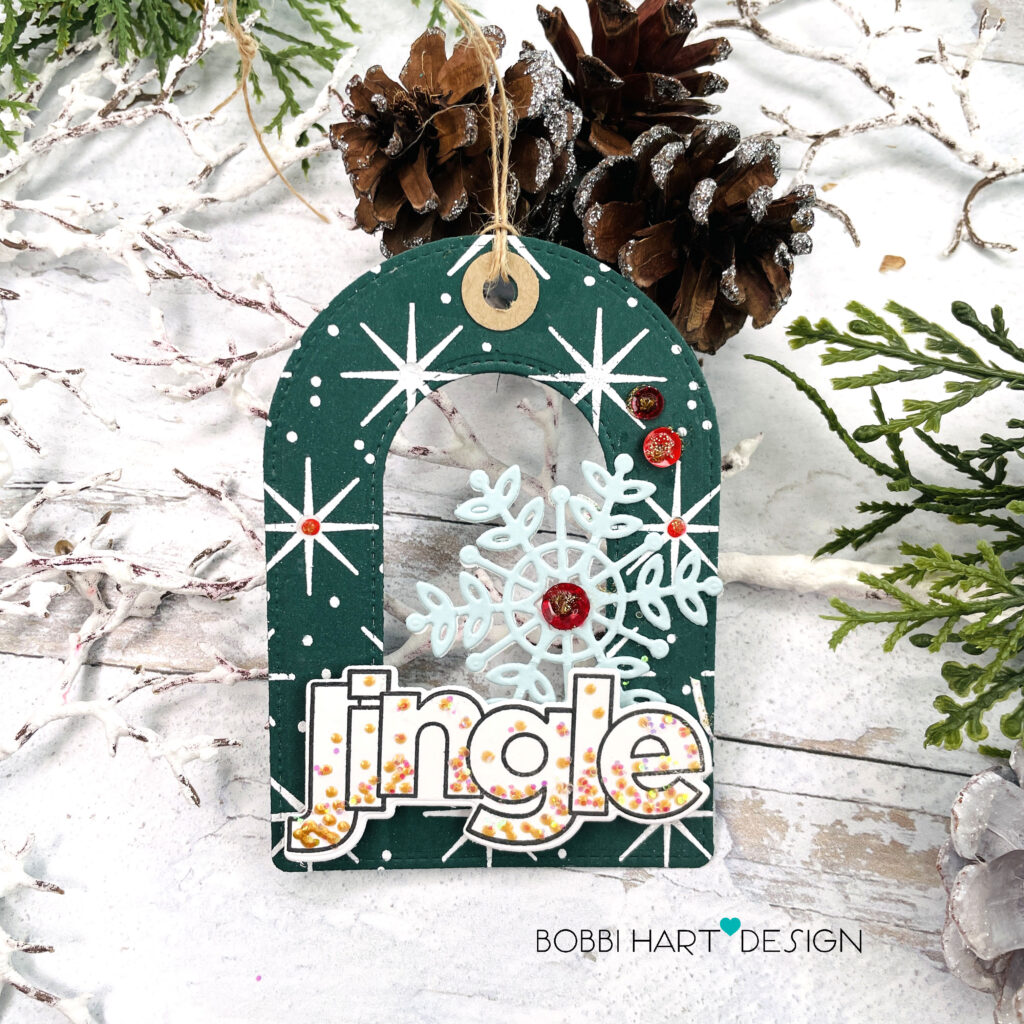
For the Jingle tag, I die cut another arch window in the middle and used that cutout for the next tag below. The “jingle” word is from the Simon Says Stamp, CZ Design Good Cheer stamp set and coordinating die set. I added gold Pearl Pen and sprinkled iridescent glitter over the top for a fun and sparkly effect. The snow flake was made using the Lea Snowflake die. I backed it in white for extra support.
Mini Snowflake Tag
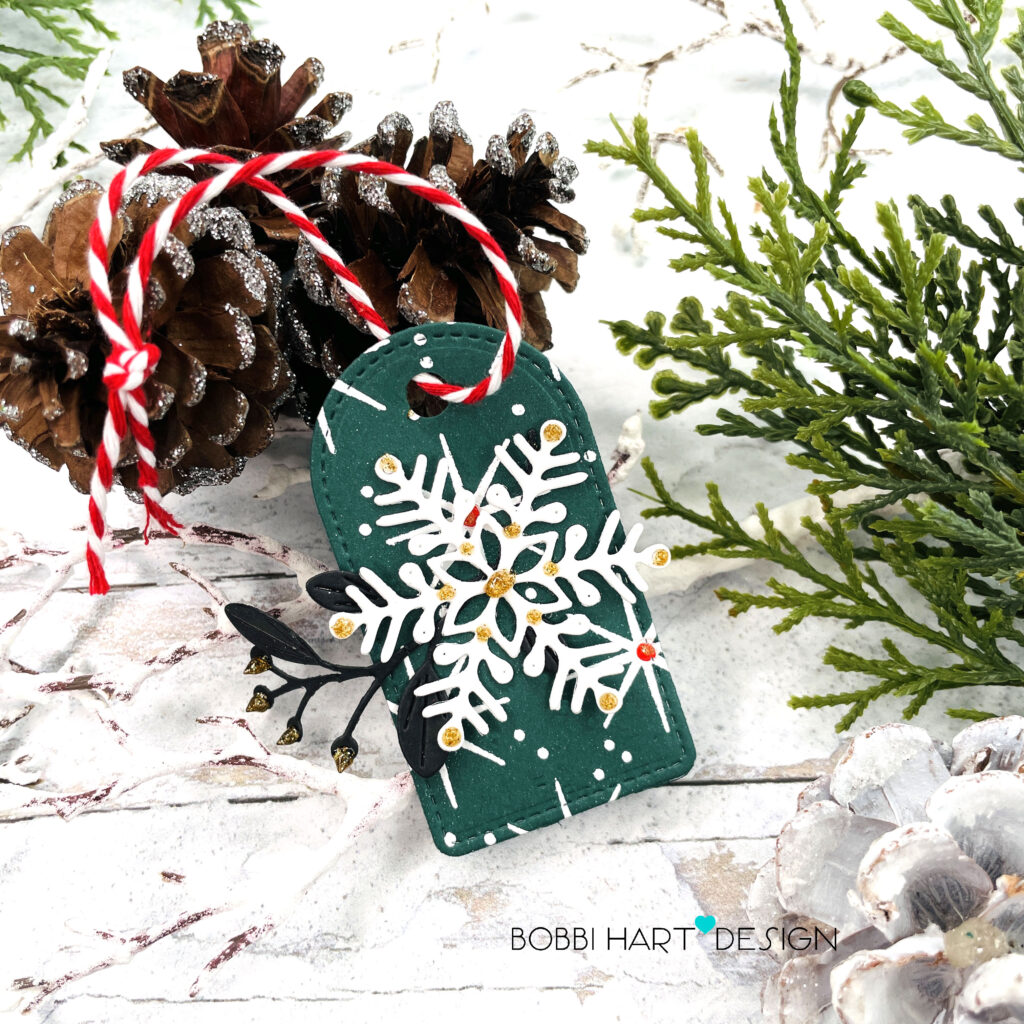
This last mini tag was made from the center cutout of tag 2 above. I added the Rina Snowflake in the center and added some glitter glue in metallic gold and red. Baker’s twine in red and white finish off this cute little tag.
If you decide to place an order, please use the links in this post so that the Simon Says Stamp knows what inspired you. I appreciate it very much. It helps me to continue to bring more ideas to you!

Thanks for stopping by today. If you want to see more ideas and inspiration from me, subscribe to my blog, BobbiHartDesign.com. I’ll send you updates on new posts! You can also find me on Instagram as @BobbiHartDesign and on Facebook as BobbiHartDesign. Bobbi Hartmann Lemanski, Bobbi Hart♥ Design, Adding h♥art into every design


