
Hello, Bee friends! The Honey Bee Stamps, Simply Spring release includes this beautiful new set called, Garden Gate. While I’ve made this card into an Easter card, it does not have to be. The set is made up of a number of images to create the most beautiful garden scenes. Two bunnies are included in the set, but you can leave them in or out since they are all separate images which is awesome. I’m using the following Honey Bee Stamp products for this card:
Garden Gate stamp set and coordinating dies
Garden Bouquet stamp set and coordinating dies (for the “Happy Easter” sentiment only)
Spring Meadow stamp set and coordinating dies (for the butterfly only)
Clover Petals 3D Embossing Folder or Daisy Field 3D Embossing Folder
Sweet Stacks Circles – Honey Cuts
The featured project below is made from Neenah 80lb Solar White cardstock for the card base and card front panel. All of the black ink stamping was done using Honey Bee’s Bee Creative Intense Black Ink. I use Honey Bee Stamps Bee Creative Precision Glue for adhering my elements together. My card is 5″ X 7″ in size and fits inside an A7 envelope. Now for the details…
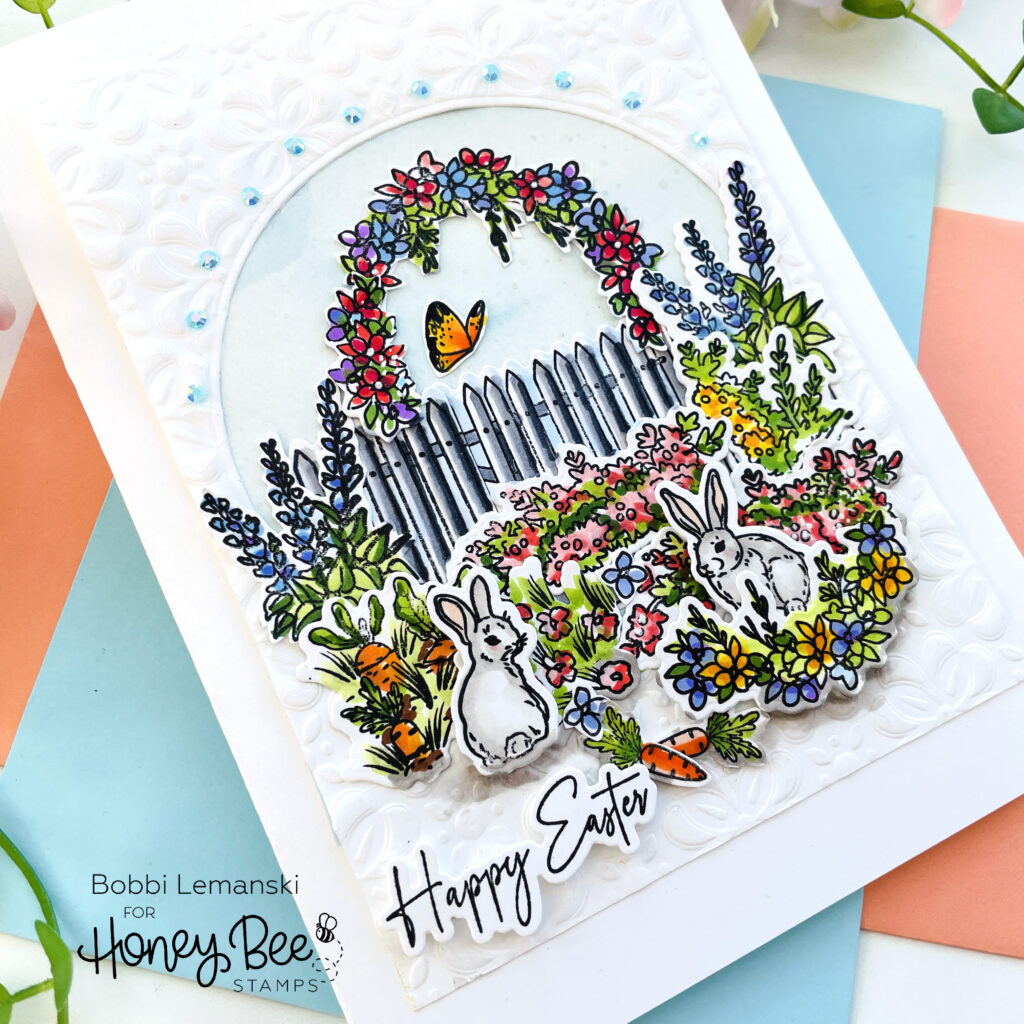
I stamped all of the floral group images and colored them using Copic markers. I made two of each to begin. I didn’t use them all, but most of them for this scene. I used all my favorite floral colors. For greens, I like to use the yellow greens including YG67, YG25, YG23, YG17, YG03 and YG00. For the rest of the colors, I use any colors that I like to see in a garden. I used E43 and E42 on the white bunnies for shadowing effects. For the gate, I used the cool grays, shadowing the right side of each board.
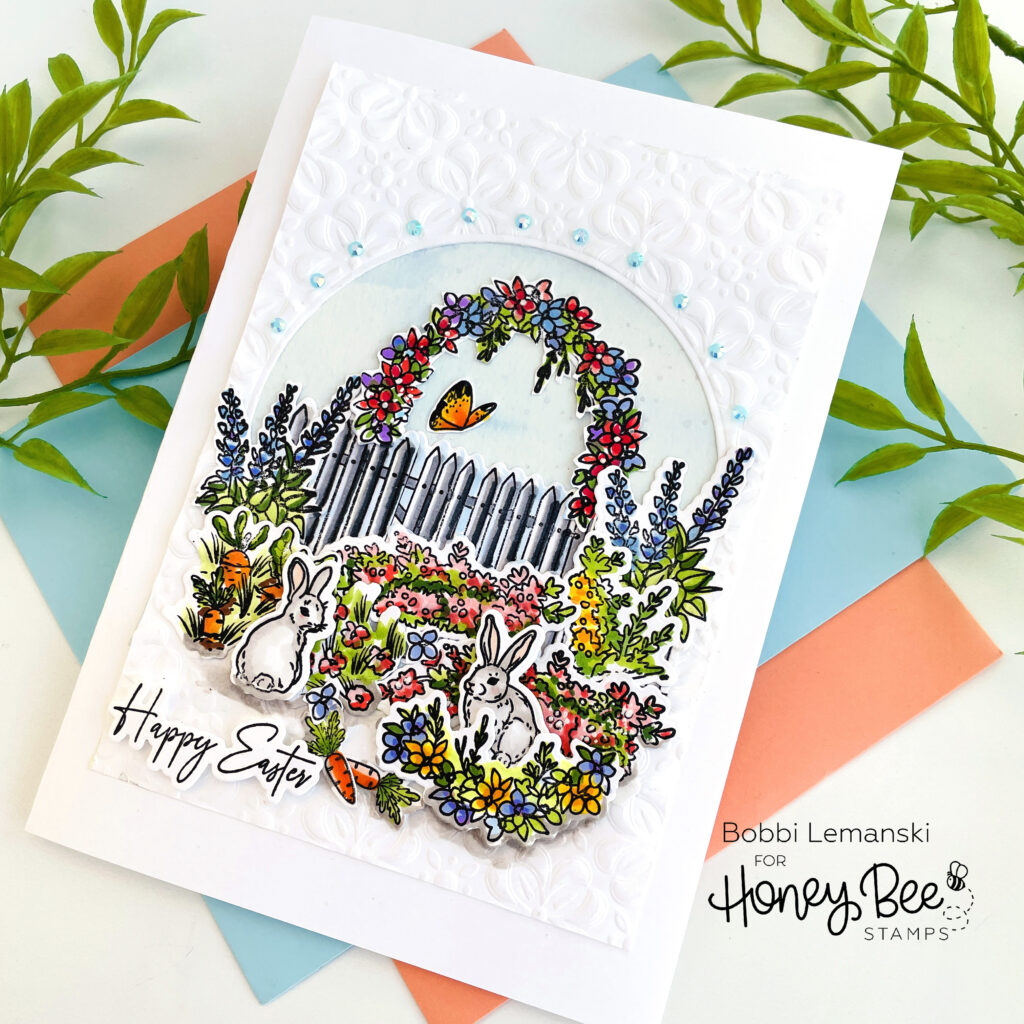
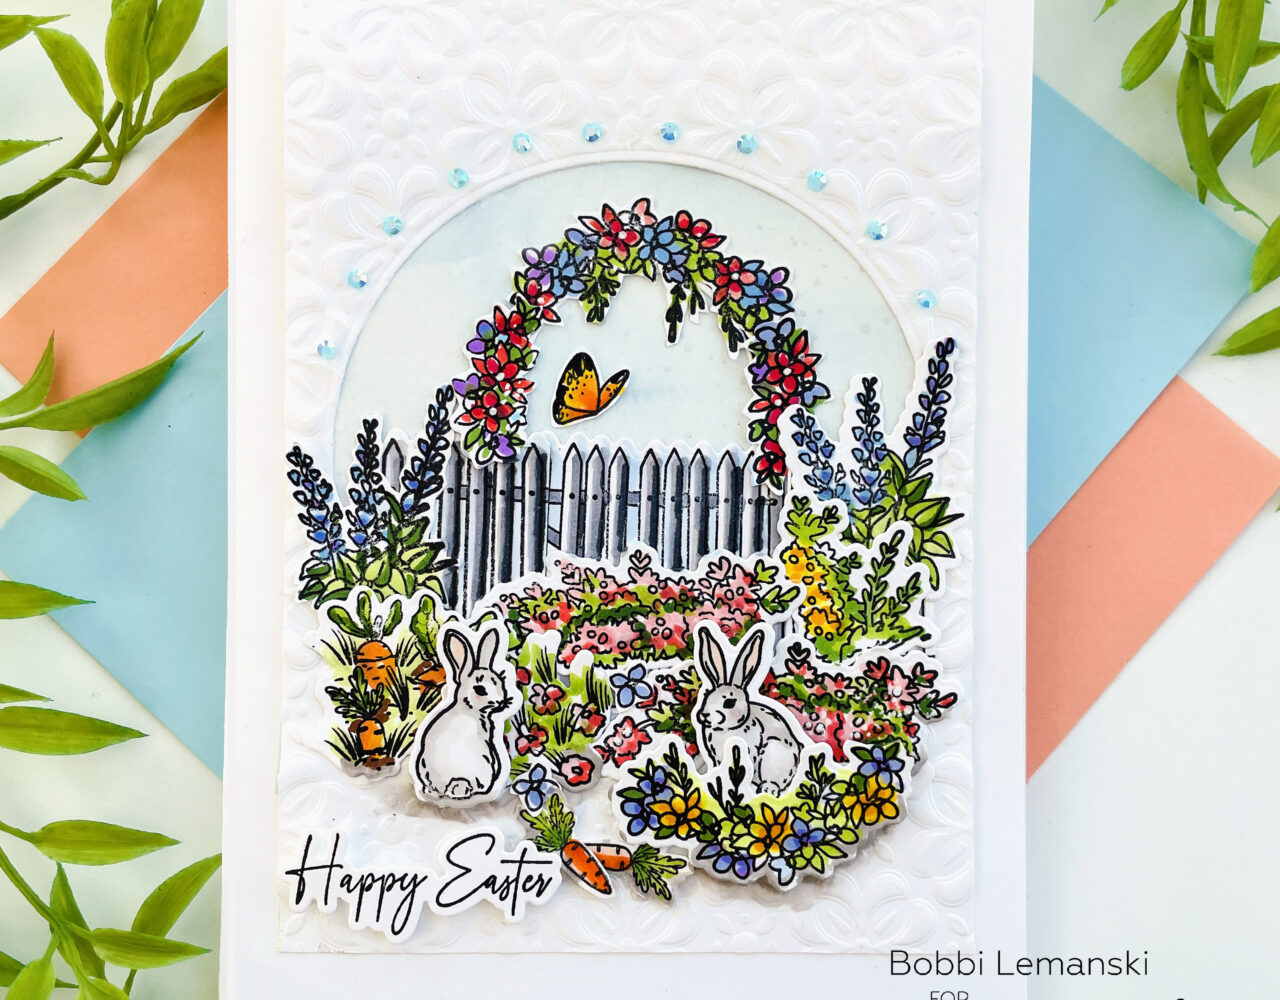
For the background, I embossed an A2 sized piece of white cardstock using the Clover Petals 3D Embossing Folder (I used this one before receiving the new Daisy Field folder). I think the Daisy Field 3D Embossing Folder would look amazing. I cut a circle out of the front panel using a 3-3/4″ diameter circle die from the Sweet Stacks Circles – Honey Cuts. I backed the opening with a scrap piece of watercolor paper painted in light blue shades of watercolor paint. A solid sheet of light aqua or blue cardstock would also work as quick background. It just needs to look like sky.
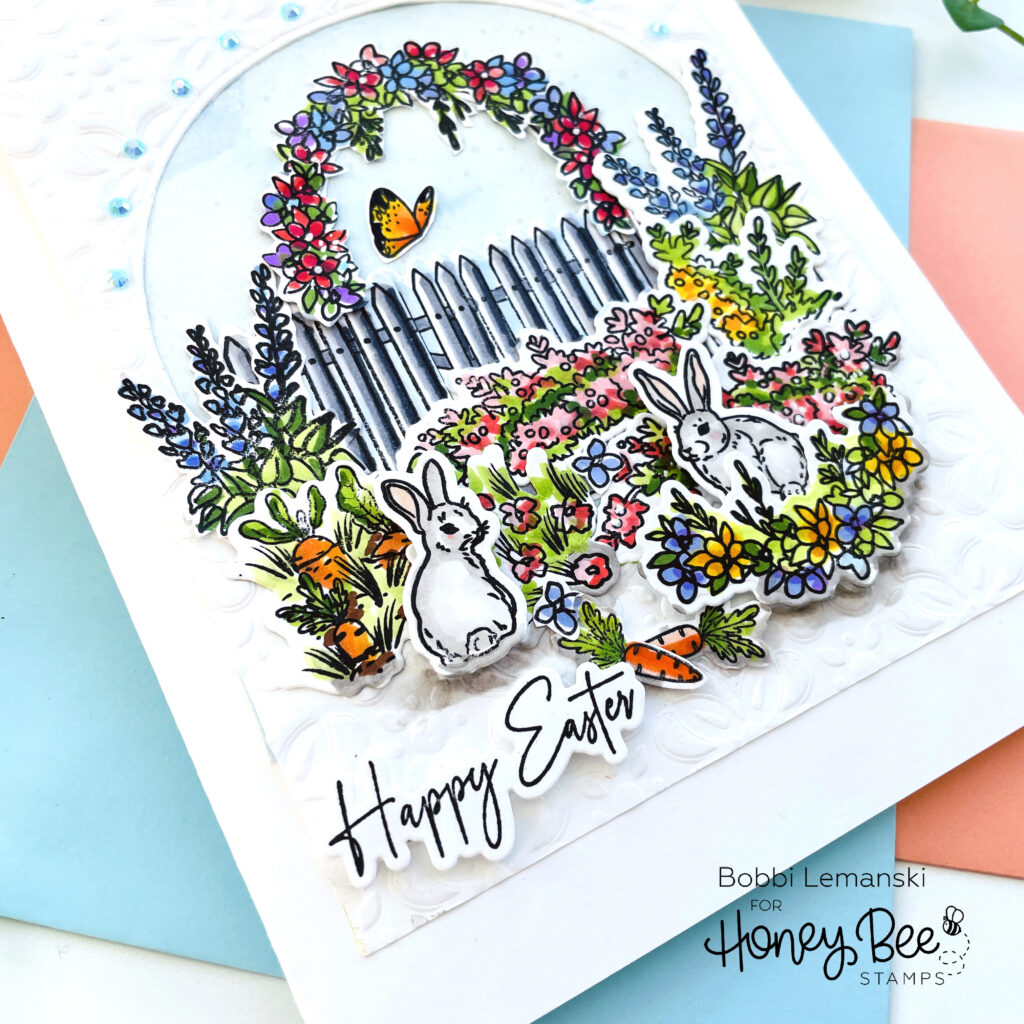
I adhered all the elements to the scene beginning with the gate’s hinged door and arch positioned in the center of the circular opening. From there, I added all the beautiful flowers. I covered the arch with florals and surrounded both sides with clumps of colors. When creating a garden, they say the best looks come form using clumps/sections of the same flower so that’s what I did here, too! I like to make the foreground layers more dimensional with white foam tabs behind them. Next, I nestled the two bunnies and the two carrots into the garden for a Easter look. I added the “Happy Easter” phrase from the Garden Bouquet stamp set and coordinating dies. I attached the sentiment using white foam tabs. I added a little butterfly using the Spring Meadow stamp set and coordinating dies right under the arch. I colored the butterfly to look like a Monarch. Lastly, I added some sparkly blue gem stickers over the circle opening to finish the look.
You can shop the entire Honey Bee Stamps Simply Spring release here. If you decide to place an order, please use the links in this post so that Honey Bee knows which ideas inspired you! Thanks for stopping by today. If you want to see more ideas and inspiration from me, subscribe to my blog, BobbiHartDesign.com. I’ll send you updates on new posts!


