
 Hello friends! It’s Inspiration Week for the Honey Bee Stamps Holiday Wishes release. Today, we are having an Instagram Hop filled with loads of inspiration, a chance for prizes and hopping fun! Honey Bee Stamps will be giving away TWO $50 Gift Cards (one each) to the lucky winners! Leave a comment at each stop. Winners will be chosen randomly from all comments! You have until 11/3/2023 to leave comments. Winners will be posted on the Honey Bee Stamps Instagram account on 11/4/2023. Get all the details on how to enter to win this fabulous giveaway on my Instagram post.
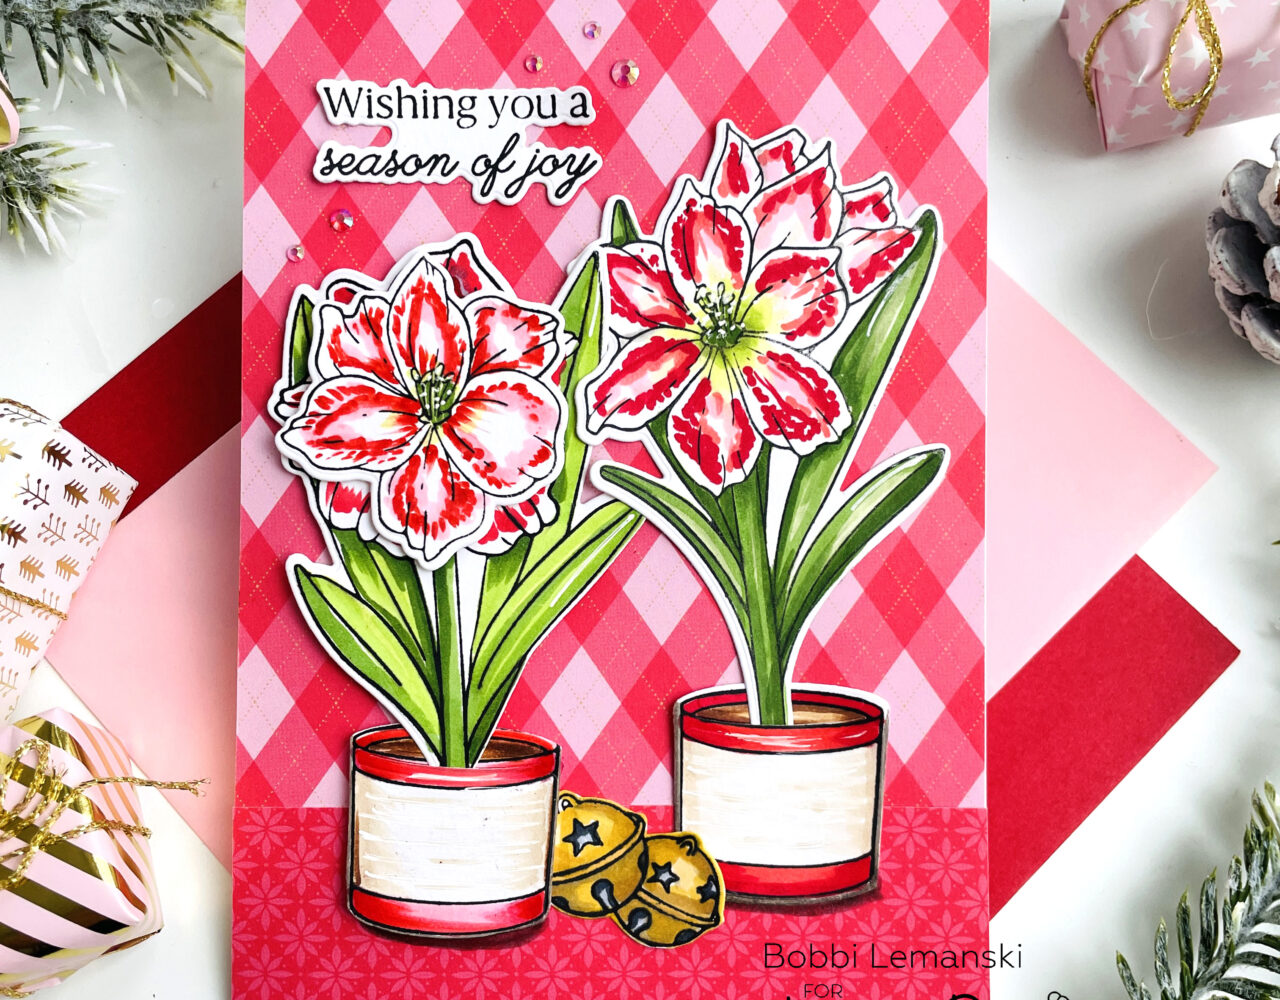
My IG HOP card features the following new products:
Holiday Blooms stamp set and coordinating Honey Cuts dies
Pine & Berry Centerpiece stamp set and coordinating Honey Cuts dies
I also used Happy Hearts Gem Stickers (from a previous release.)
The featured project below is made from Neenah 80lb Solar White cardstock for the card base. All of the black ink stamping was done using Honey Bee’s Bee Creative Intense Black Ink. I use Honey Bee Stamps Bee Creative Precision Glue for adhering my elements together. My card is 5″ X 7″ in size unless noted.
To make this bright, full of life card, I stamped the amaryllis images and pots and colored them using Copic Sketch Markers. I searched the internet for different types of amaryllis blossoms and this white/pink/red variety was my favorite so I used the following colors:
- Reds (blossoms): R29, R27, R17, RV02, RV00
- Greens (foliage and flower centers): YG67, YG63, YG17, YG03, YG21, YG00
- Beiges (pots): E43, E42, E41, E40,
- Browns (dirt): E59, E57, E55
- Golds (bells): Y28, Y26, Y19, Y15
I cut all the images using the coordinating dies. I also stamped the sentiment in black and die cut it. I had an extra pair of bells in my studio from the Pine & Berry Centerpiece stamp set and coordinating Honey Cuts dies. I decided to add these to this project, too.
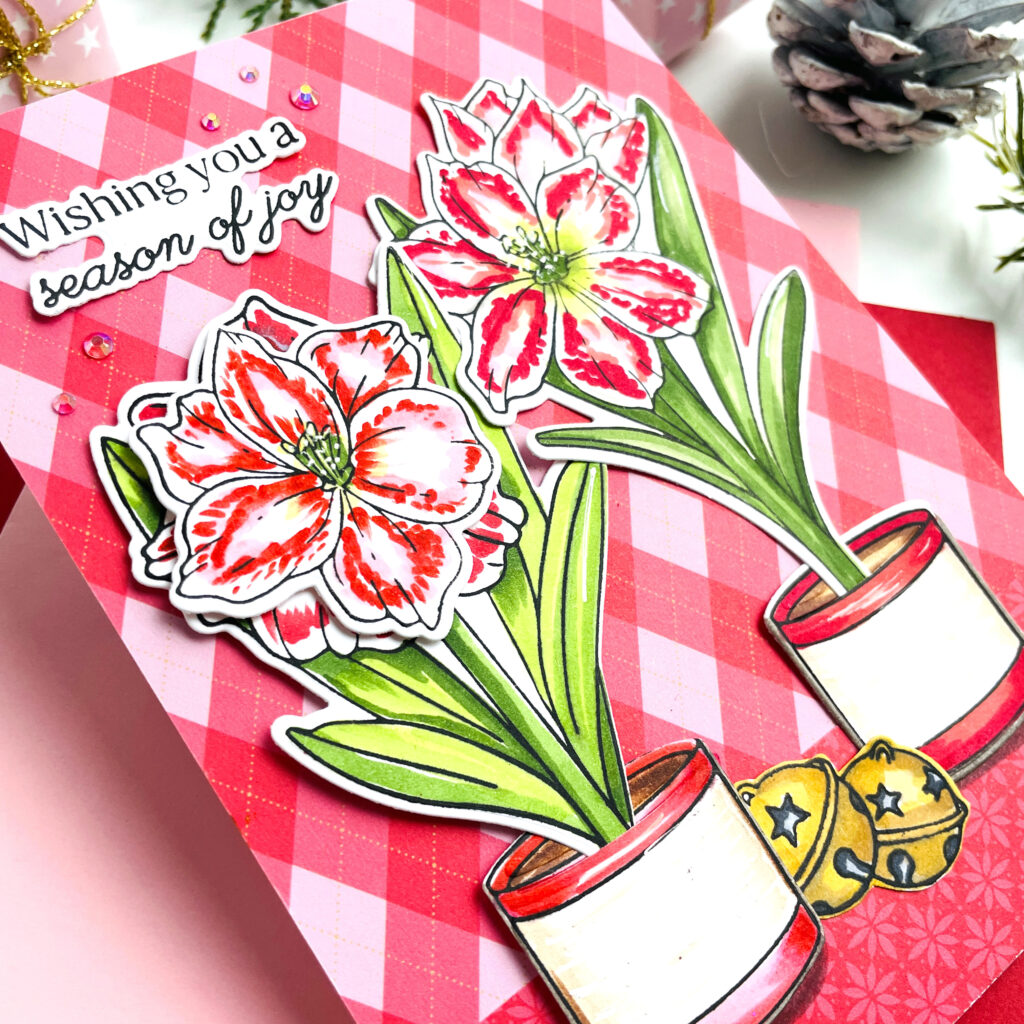
I assembled the flower. Here’s a secret – I messed up the coloring on one of the flowers (plant on left) so I stamped and die cut a new layer of petals and attached it to the original. You can see above how I layered it. It looks amazing with the layered petals, but this is not necessary to do. 🙂 No one will ever know it was a mistake (well except for anyone reading this!)
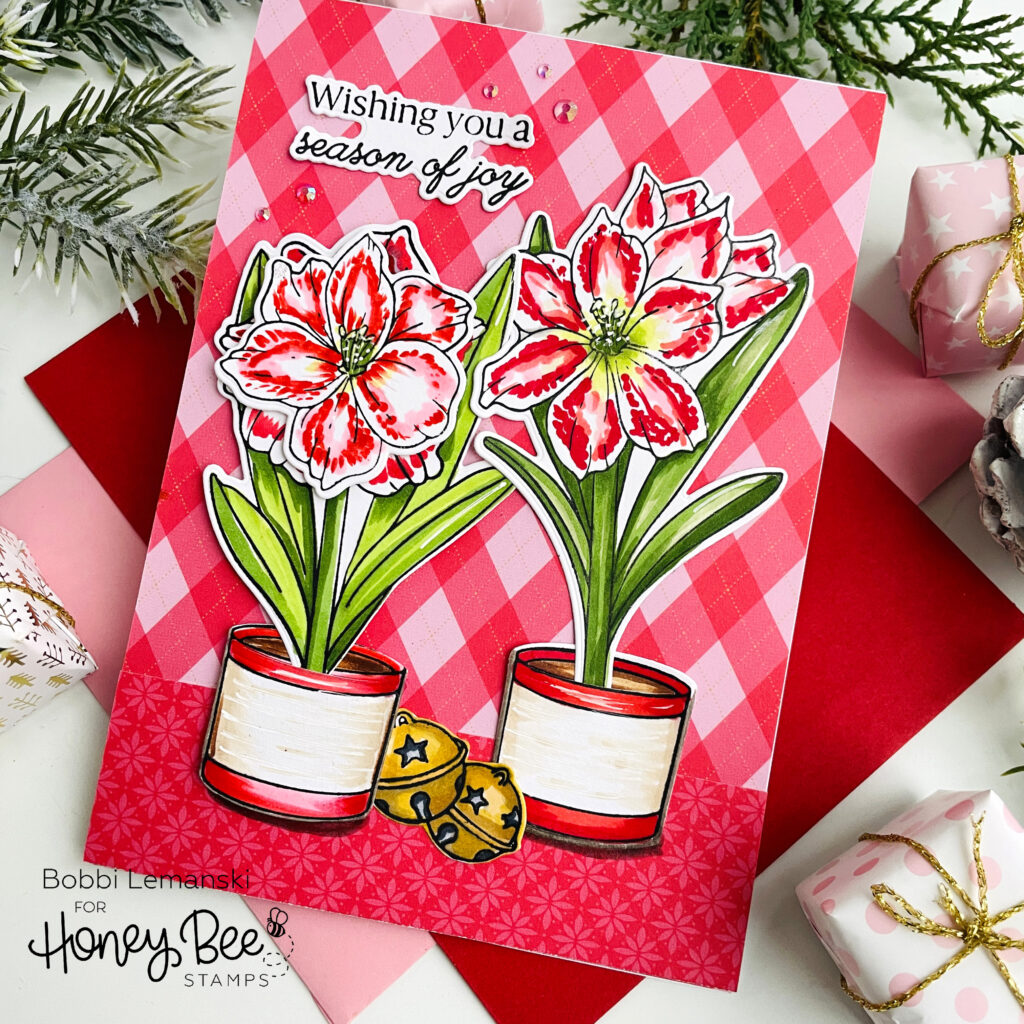
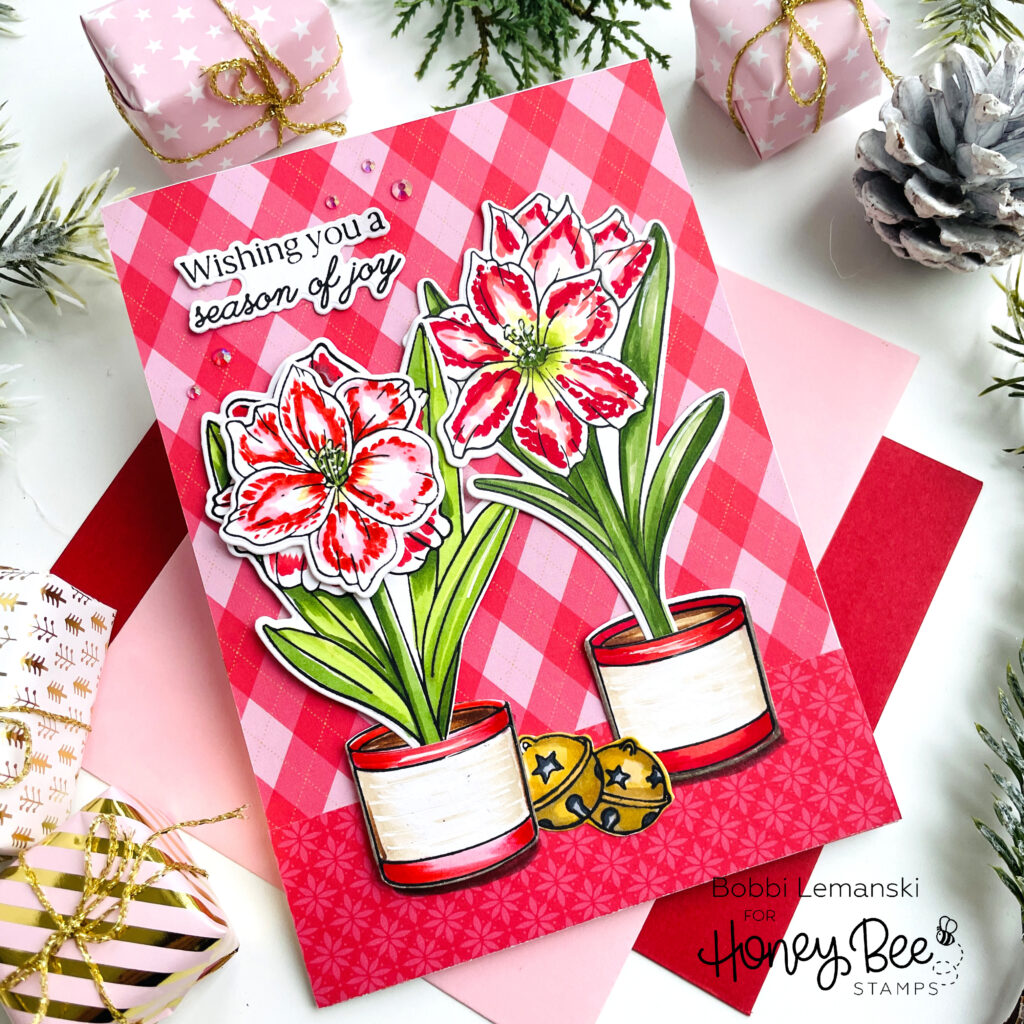
To assemble the A7 card, I cut pattern paper from the new Holiday Wishes Paper Pad and used the darkest pattern on the bottom for a “ground” for my pots and bells to rest on. I attached the elements as shown. The left-side plant was attached using 1/16″ thick foam dots (Bee Creative Foam Dots With Tab) to make it stand out a bit more for dimension. The 1/16″ depth is perfect for cards because you get the dimension without all the bulk. A few gem stickers finished the look.
You can shop the entire Honey Bee Stamps Holiday Wishes Release here. If you decide to place an order, please use the links in this post so that Honey Bee knows which ideas inspired you!
Thanks for stopping by today. If you want to see more ideas and inspiration from me, subscribe to my blog, BobbiHartDesign.com. I’ll send you updates on new posts! You can also find me on Instagram as @BobbiHartDesign and on Facebook as BobbiHartDesign.


