

Hello, friends. I know the spring season is coming when I start to get pretty spring sets from companies. Today, Spellbinders is releasing its new Make A Scene collection by Becca Feeken. Becca continues her innovative three-dimensional format with a twist! This series of dies create an interaction function of a slider window that opens to a layered scene or offers elements for it in a mix or match option.
You can also use the elements in the sets in more traditional ways if you don’t want to create an interactive card. My two cards use the same elements in more traditional ways. I’m using the following new products:
Make a Scene Bold Greetings Etched Dies
Rolling Along Scene Etched Dies
Grand Cinch and Go Flowers Etched Dies

SPECIAL: Shop these products and earn a free Weekend Fun Cardmaking kit with a $100 purchase, too! Shop now! Offers ends on Tuesday 2/23/2021. Terms and conditions here.
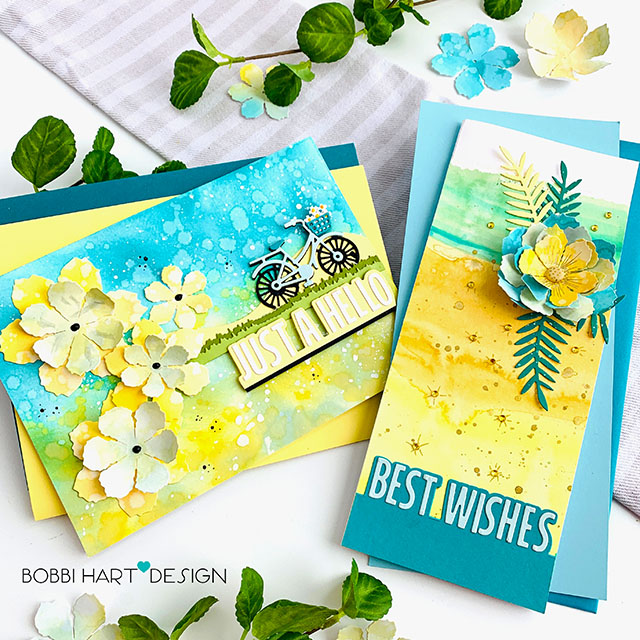
Just a Hello
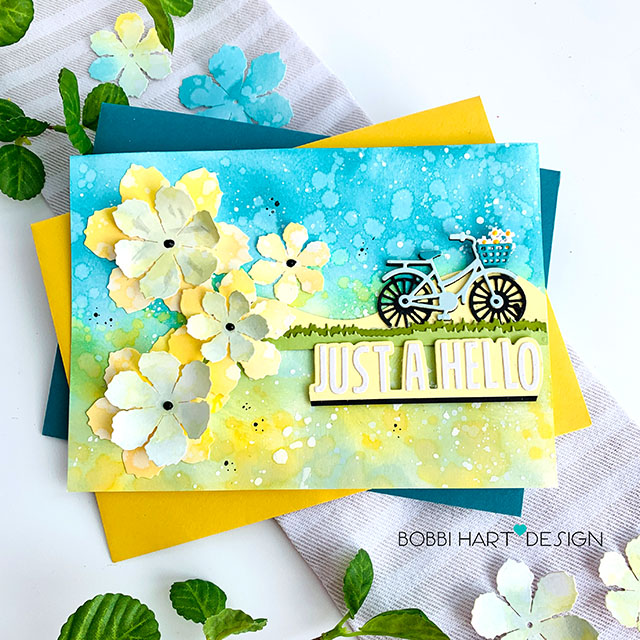
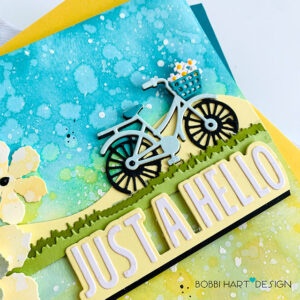
For my first 5″ X 7″ card, I used the “Just a Hello” Phrase” from the Make a Scene Bold Greetings Etched Dies, the bike from the Rolling Along Scene Etched Dies and the flowers from the Grand Cinch and Go Flowers Etched Dies. All three of these sets are great alone, but also fun to use together.

To make this card, I started by applying Ranger Distressed Oxide ink in Mustard Seed and Mermaid Lagoon to Neenah 80lb Neenah Solar White cardstock using my HBS Blender Brushes. . I splattered water on the ink and blotted it using a paper towel. Once it was dry, I splattered white paint using Dr. Martins Bleed-Proof paint to the top and finally added some black specks using a marker. The flowers were also die cut from another piece of cardstock with the same application. Once the paper had dried, I die cut the flowers and shaped them using a burnishing tool to make them curl up. After they dried, I layered them and attached to my card using HBS Be Creative Precision Glue. I used black Pearl Pen for the flowers centers.
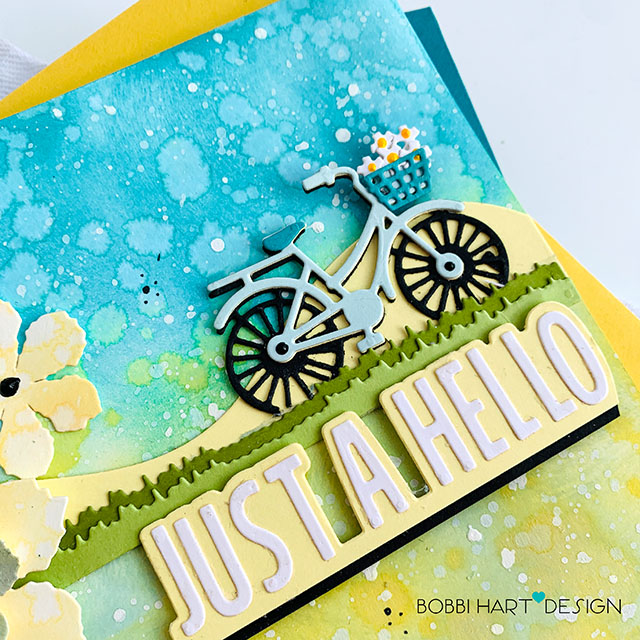
For the words and bike, I cut out the elements, glued them together using the HBS Be Creative Precision Glue and stacked them on the right side of the card front. I used Pearl Pen in yellow for the daisy centers and black Pearl Pen for the wheel centers.

I think this card screams fun and spring. It’s a nice card to send someone that has been cooped up all winter season! I know I’m ready to get my bike out for the new season!
Best Wishes Card
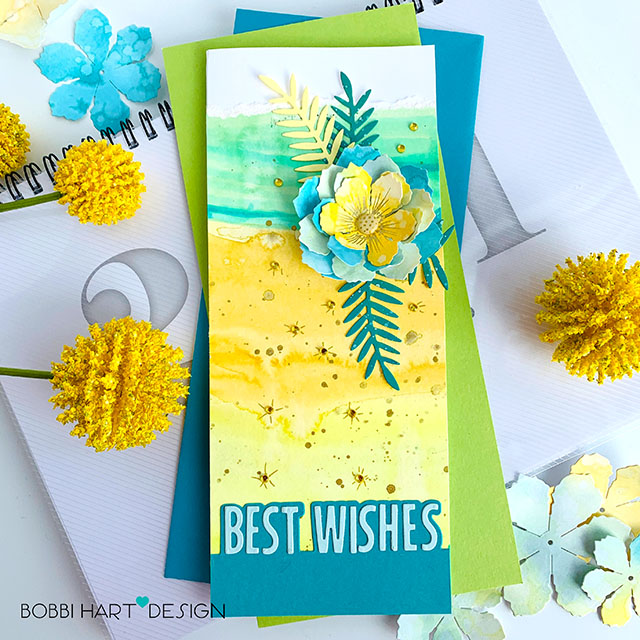
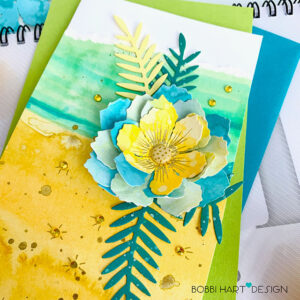
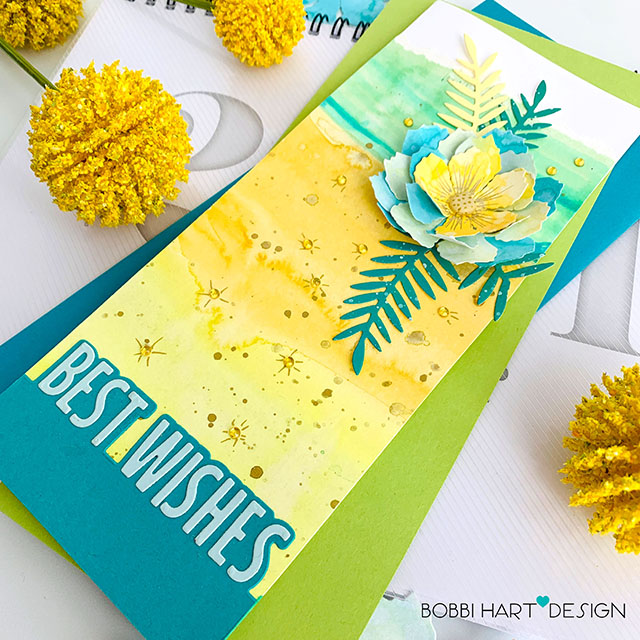
For this slimline card measuring 3-1/2″ wide X 8-1/2″ tall, I used a watercolor wash background using Kuretake Gansai Tambi watercolors (48) and Canson XL Bristol Smooth watercolor paper. I splatter metallic paint over the watercolors from the gold pan in the paint set. Eventually, (after attaching the flower using the brad) I tore the top off and attached the watercolor paper to a slimline card base made from 80lb Neenah Solar White cardstock.
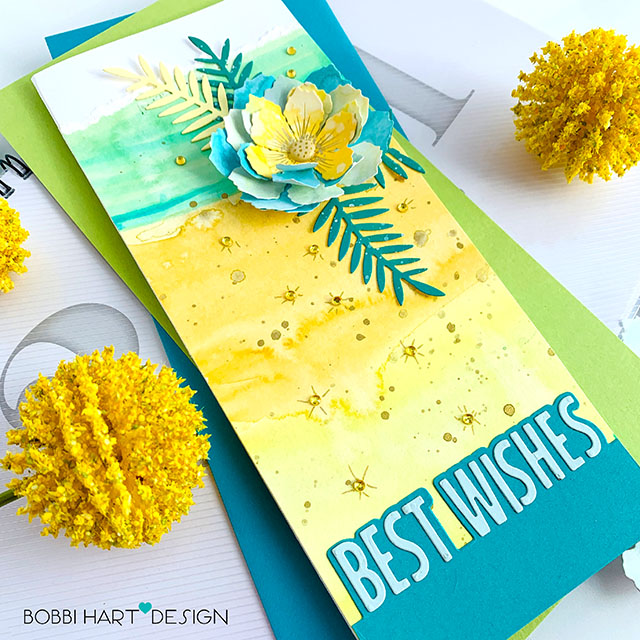
I die cut the phrase, “Best Wishes” from the Make a Scene Bold Greetings Etched Dies and attached the shadow and letters to the base of this card.
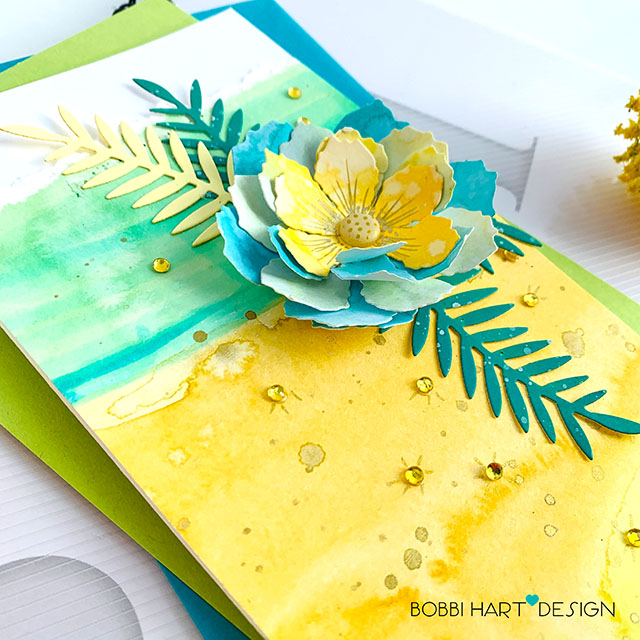
I had left over paper from my first card so I die cut another set of flower layers from the distressed ink cardstock and created my flower. I glued each layer, alternating the petals of each layer and lining up the center whole. When I was done, I inserted a brad down the center hole and attached the flower to my watercolor cardstock.

Leaves were die cut out of some scrap paper I had in my scrap box in a deeper teal tone. I splattered some white paint on them to make them less perfect, too.
For a little sparkle, I added gold gem stone stickers to the front and added some starbursts around them with a gold metallic pen. They match all the gold splatters on the watercolor! I also drew in some veining lines in the middle of the flower and gold dots on the brad for interest.

The two cards complement each other well. 🙂 It’s nice to make two cards at one time because you can use bits and pieces and die cuts and scrap papers on each one.
If you like these products, there is a bundle offer available including the interactive base for these cards here. If you decide to place an order with Spellbinders, please use my links in this post so that the companies know how you found these products I used! I appreciate it very much. It helps me to continue to bring more ideas to you!
Thanks for stopping by today. If you want to see more ideas and inspiration from me, subscribe to my blog, BobbiHartDesign.com. I’ll send you updates on new posts! You can also find me on Instagram as @BobbiHartDesign and on Facebook as BobbiHartDesign. Bobbi Hartmann Lemanski,
Bobbi Hart♥ Design, Adding h♥art into every design


