
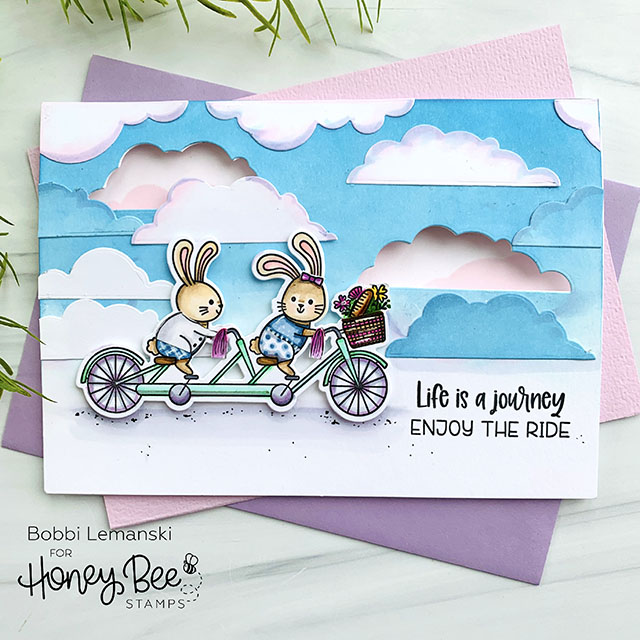
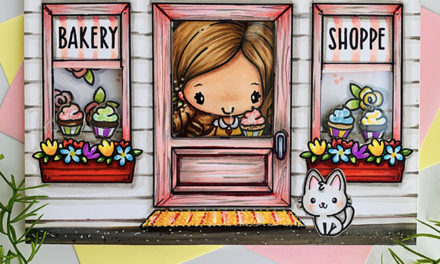
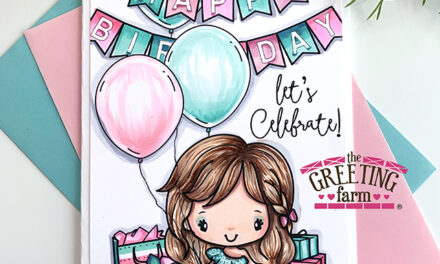
Hello, Friends! Today, I’ve got a sweet card featuring Honey Bee Stamps products. These are products that came out in the latest release called, Love Letters. It’s a bicycle made for two. It’s also made for bunnies! I dressed these fur balls up for a nice and easy ride through town. Oh, how I can’t wait to get my own bike out in a few months, too!
I’m using the following Honey Bee Stamps products:
Enjoy the Ride stamp an die sets
Wispy Clouds Honey Cuts die set
Wispy Clouds Background Stencil
To make this card, I stamped and die cut the cute bicycle made for two image and then colored it in. I added clothes to the bunnies because I think its fun to give them a little more personality through their clothing. I get a kick out the that white sweater. Isn’t he cute?! I added flowers and bread to the basket and even hand drew in some fun streamers from the handlebars! Does that take you back to when you were a kid on your first two-wheel bike?! I set aside the die cuts and worked on the 5″ X 7″ card base next.
For the A7-sized card base, I used Neenah 80lb Solar White cardstock. I almost always cut two more 5″ X 7″ panels to add to the inside and to the card front. It’s easier for me to work on them and then glue them into the card base using Honey Bee Stamps Bee Creative Precision Glue. This makes the 80lb weight double in thickness and sturdier as a card without being too heavy.
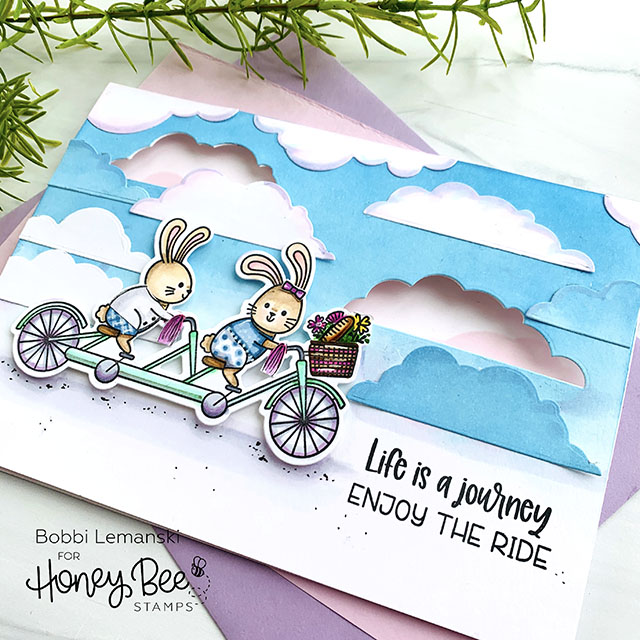
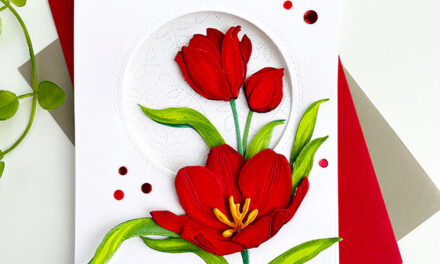
For the card front panel, I blended blue ink on the top half using my Background Blender Brushes and Distressed Oxide ink in Salty Ocean. I stamped the phrase at the bottom in black and attached the card front to the card base before die cutting two clouds from the front using Wispy Clouds Honey Cuts die set. Note: I have the larger sized die cutter that fits this 10″ X 7″ card base. If you don’t, you can hinge the front to the base instead and cut from 5″ X 7″ panels.
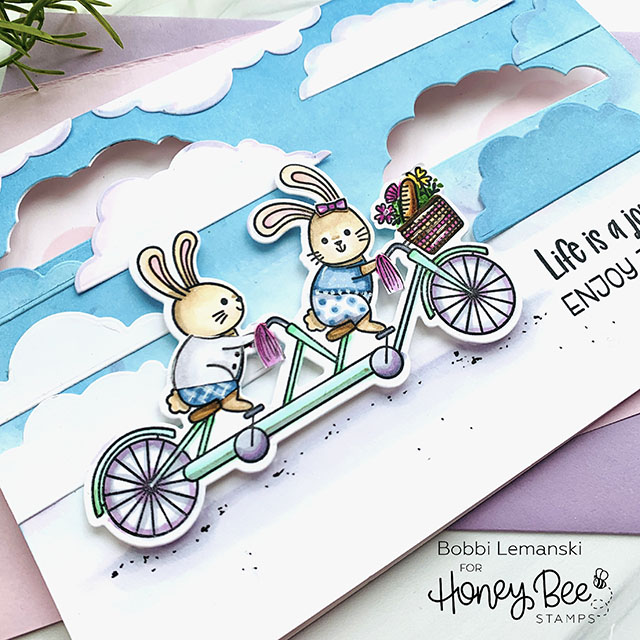
I added the two cloud dies back on the front and die cut a few white ones and layered them as well. A little BV000 and BV0000 was added to the clouds for some light shading for definition and blue-violet color.
I assembled and attached the bicycle die cut and added it to the card front using Scrapbook Adhesives .25 Foam Squares in white. I grounded the image using some gray C3 and C1 Copic shading and added a few black “gravel” specks to the shading.
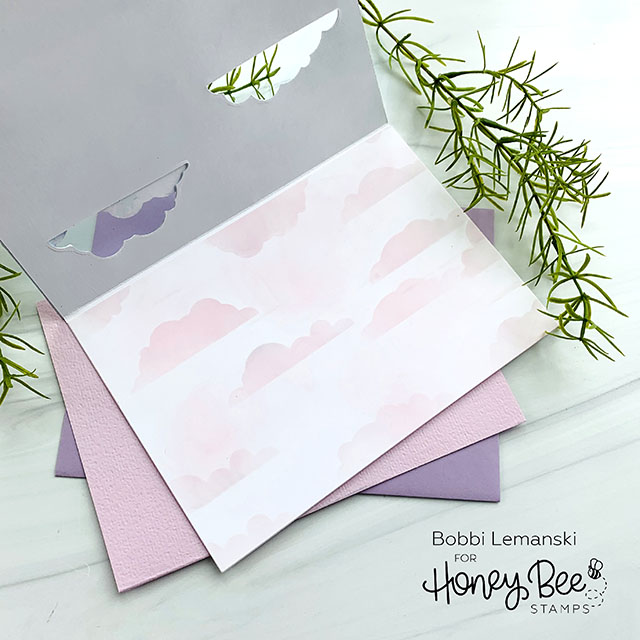
For the inside card panel, I stenciled clouds using the Wispy Clouds Background Stencil using Background Blender Brushes and Distressed Oxide ink in Shaded Lilac. The clouds show to through the die cuts so I tried to plan around that so I had color in those areas. To complete the card, I glue the inside panel to the card base to complete it.
You can shop the entire Love Letters release here. If you decide to place an order, please use my links in this post so that Honey Bee knows how you found these products! I appreciate it very much. It helps me to continue to bring more ideas to you!
Thanks for stopping by today. If you want to see more ideas and inspiration from me, subscribe to my blog, BobbiHartDesign.com. I’ll send you updates on new posts! You can also find me on Instagram as @BobbiHartDesign and on Facebook as BobbiHartDesign.


