Warm Heart stamp set and coordinating die set
Big Snowflake Cut and Foil die set
Slimline Forest Border die set
Instagram Hop on 10/13/2021: To celebrate this release, the design team of Trinity Stamps is participating in a Instagram Hop. Hop with us today for hot ideas and cool, inspiring projects! You can start here, at my IG page, @BobbiHartDesign
Warm Heart Card
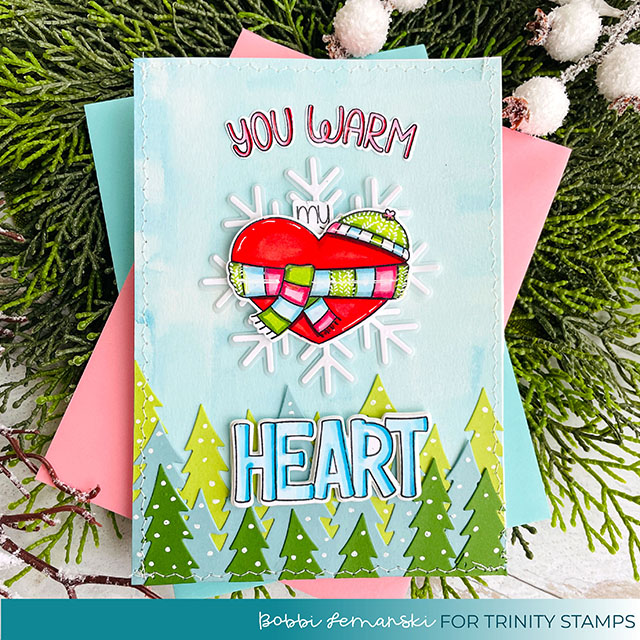
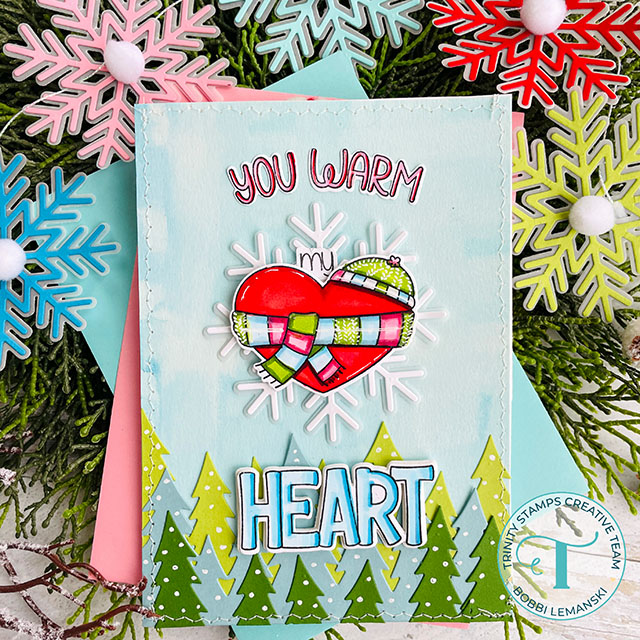
This festive card measures 5″ X 7″ and begins with a watercolor background in blues and aquas for the card front. I used Canson XL watercolor paper and Kuretake Gansai watercolor paint. I applied a light wash of color to keep it light and bright. Next, I die cue three slimline borders of trees in a dusk blue, yellow-green and a tree green color. The three borders were layered at the bottom and staggered for a forest look. I added snowflakes on the trees using a Gelly Roll White Gel Pen.
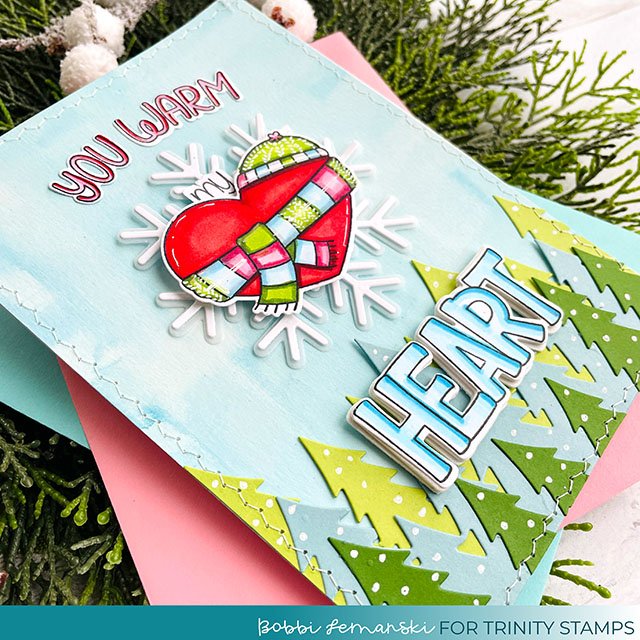
Next, I die cut the large snowflake using white cardstock for the snowflake and vellum for the shadow die. I stamped and colored the Warm Heart stamp set using the following Copic colors: R29, R17, R14, R85, R83, R81, B04, B02, B00, B000, YG67, YG03, YG00 and C1. I die cut the elements using the coordinating die set. The large heart was attached to the snowflake and all the elements were attached to the card front.
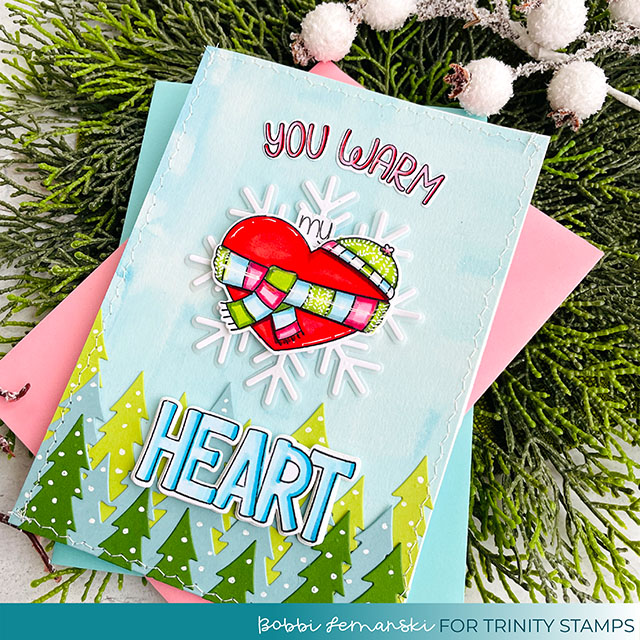
I attached the front watercolor panel to a A7 white card base made from Neenah 80lb cardstock. Sometimes watercolor paper is hard to adhere because it warps a bit. I attached it using double sided tape and then sewed the edges to the card base.
Here’s a few tips on sewing on cards:
- Use a dedicated sewing needle in your machine reserved for paper sewing. Paper will dull your needle. Keep this one for paper only!
- Adhere your papers together before sewing. This will keep your paper from shifting while going around the corners.
- Backstitch when you start and end your stitching. This keeps your threads from coming out.
- Try different thread colors to accent your card!
Cool Snowflake Garland
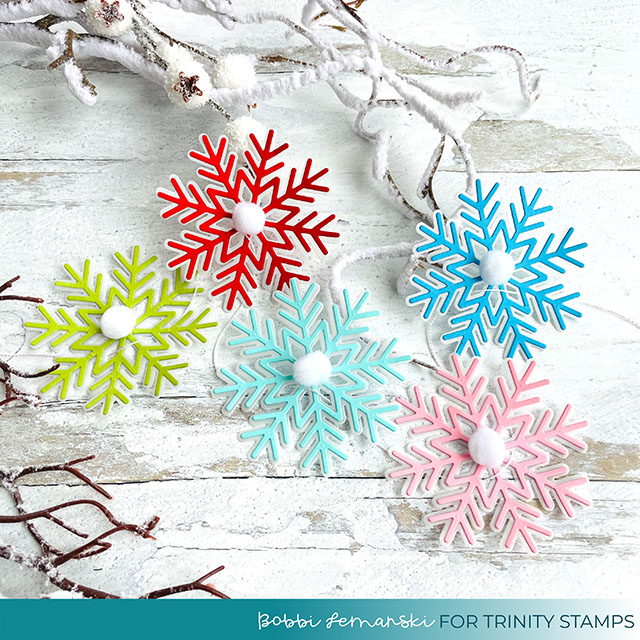
I wanted to show these great, big snowflakes so I made a fun snowflake garland for the holidays. Like the card above, I die cut the large snowflake using festive cardstock colors for the snowflake top layer and vellum for the shadow dies. I added cute white pompoms to the centers of each flake. A quick drying glue works great for this.
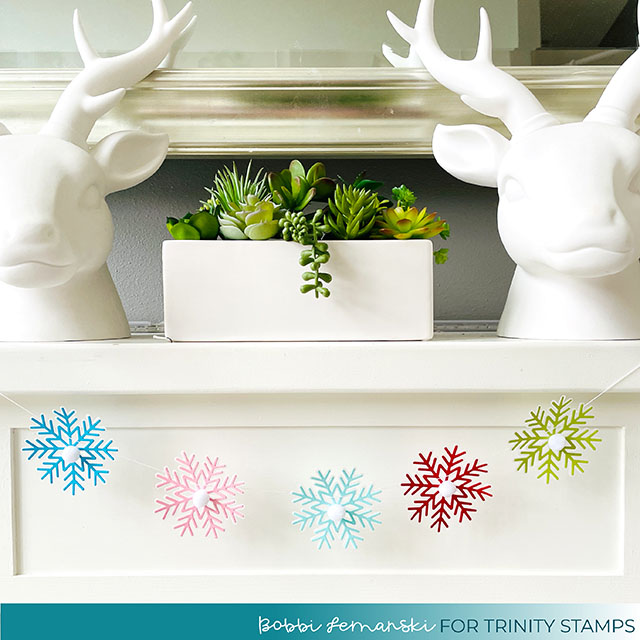
Lastly, I added an iridescent string, lacing through the centers of the snowflakes, to create a strand of snowflakes. You can see how pretty this festive garland it on my mantel above! Its light, airy and adds a festive touch to any room!
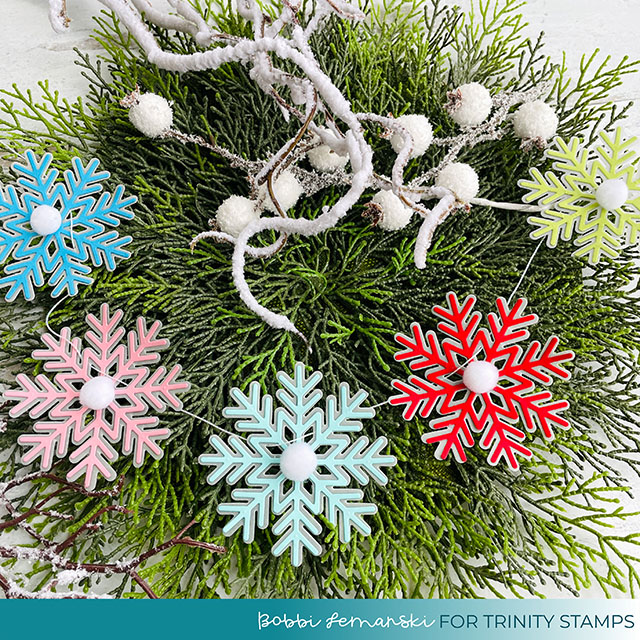
The garland looks good on evergreens, holiday trees, gift packaging and more! Thanks for stopping by today!
Thanks for stopping by today! If you decide to place an order, please use the links in this post so that Trinity Stamps knows what inspired you. You can Shop Trinity Stamps now! I appreciate it very much. It helps me to continue to bring more ideas to you!
Thanks for stopping by today. If you want to see more ideas and inspiration from me, subscribe to my blog, BobbiHartDesign.com. I’ll send you updates on new posts! You can also find me on Instagram as @BobbiHartDesign and on Facebook as BobbiHartDesign.
Bobbi Hartmann Lemanski, Bobbi Hart♥ Design, Adding h♥art into every design

