Hello friends! Today is a fun day because it is time for the Simon Says Stamp, Peace On Earth Release Instagram Hop! I hope my projects today put you in the holiday spirit! After the Peace on Earth release went live, I had to snag these adorable products for my holiday gift cards and tags:
Vintage Christmas Station Wagon die set ($9.99 as of 11/5)
CZ Design Merry and Bright die set ($18.99 as of 11/5)
Snowflake Cluster Stencil ($6.99 as of 11/5)
I am using these sets below for a little holiday inspiration!
You could win! Hop along with us on Instagram and see countless ideas using products from this holiday release. Simon Says Stamp is giving away a $25 gift card at every stop on the hop. Winners will be chosen from those who leave a comment on each post. Simon will announce the winners on its Instagram feed on Monday, November 8, 2021. It’s that easy to win! The winner on my post could essentially buy all these products shown here and almost have them fully paid with the credit! How fun would that be? Who doesn’t want this cool, vintage set of wheels?! You can start the hop on my Instagram page, here.
Vintage Christmas Wagon Card
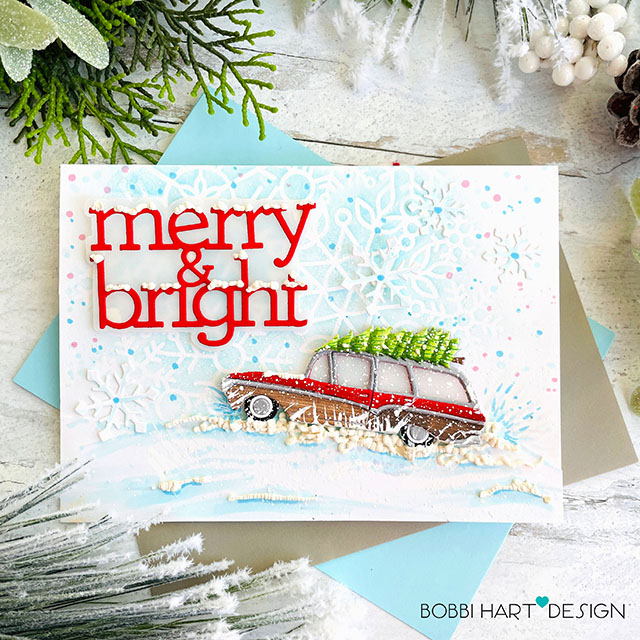
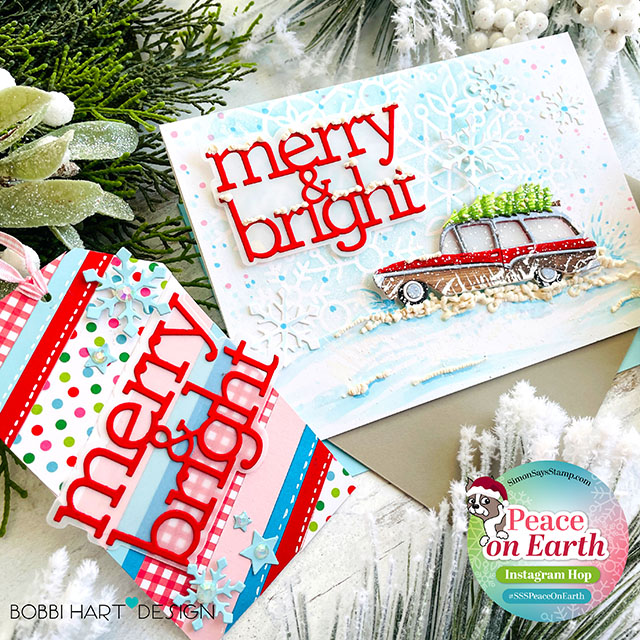
My holiday greeting card measures 5″ X 7″ and starts with a front card panel and card base made from 80lb Neenah Solar White cardstock. I stenciled the adorable Snowflake Cluster design on the background of the panel, using Mermaid Lagoon Distressed Oxide Ink and my Simon Says Stamp Blender Brush. I inked off on a scrap sheet then inked on, keeping the color light for the background. This is a GREAT STENCIL to have in your stash. I’m so glad I bought it.
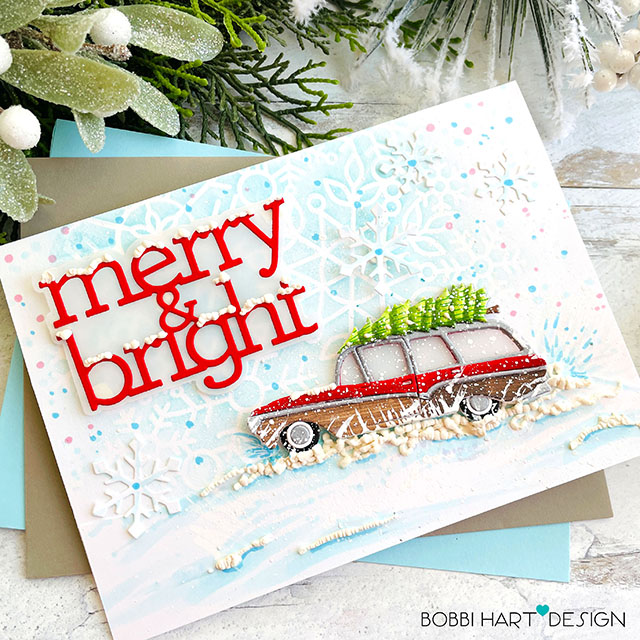
I die cut the CZ Design Merry and Bright dies using a heavier weight vellum for the shadow and red cardstock for the letters. I added liquid applique to the tops of the letters, heat set it using my embossing heat gun and set it aside to work on the car. For the car, I die cut the elements from red, woodgrain pattern paper, metallic silver, black and white cardstock. I assembled the car, cutting apart pieces and adding pieces in different papers. I added vellum to the window openings for glass. The tree was cut in white and colored using Copic markers in four greens – YG67, YG17, YG03, YG00. I used a fine tip green marker to add the teeny, tiny evergreen needles. Once my car was assembled, I splattered it with white paint using Dr. PH Marten’s Bleed Proof paint. I touched the die cut with my brush for the lines of color to go with the splatters of flakes!
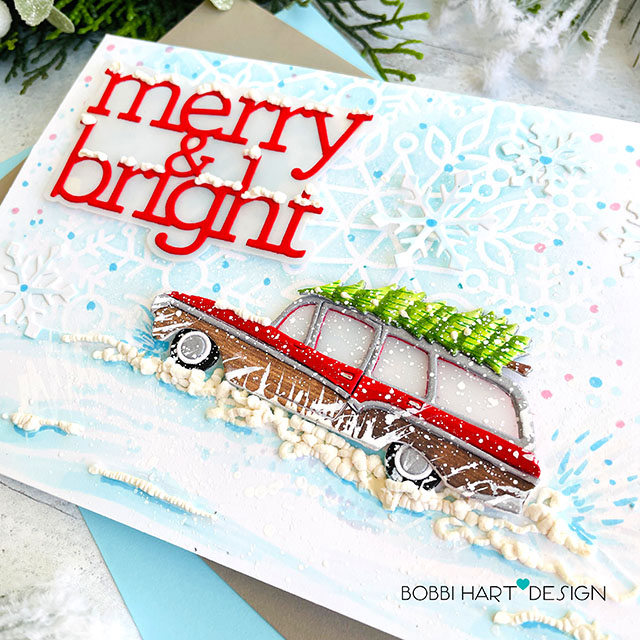
The card was assembled, positioning the phrase and car on the card front panel. I wanted the card to look like it was in a snowstorm, climbing a big snowy hill. I used Copics in B000, B000, B0, B02, B04, C3, and C1 to create the snowy landscape. I attached the card and phrase using Scrapbook Adhesives White Foam Squares to make them stand out. I added die cut snowflakes from the Merry and Bright die set and spattered more “snow” over the entire scene. Once dry, I attached the card front to the card base to complete the card.
Merry and Bright Tag
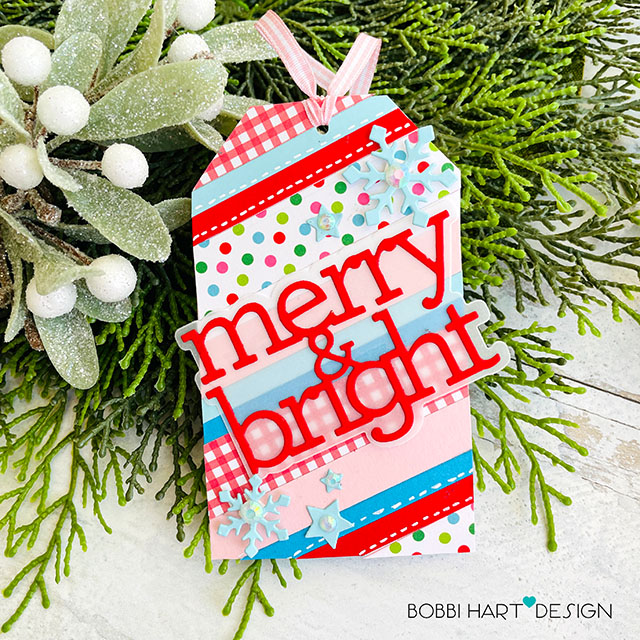
With scraps in my studio, I created this 2-3/4″ wide X 5″ tall tag. I used the largest size tag from the Hero Arts Nesting Tags die set. I use this set all of the time because the tags are generously sized for decorating. I used my paper cutter and Strips 1 dies to cut the colored and patterned strips. If you have a hard time cutting even strips, this is a great set to have. I attached the cuts in a diagonal direction and added faux white stitching using my Gelly Roll Pens Size 10 (my favorite size) for added interest.
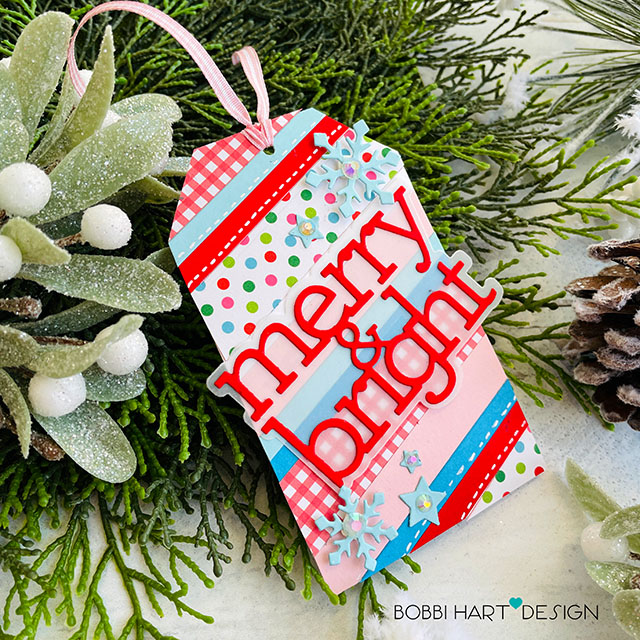
I die cut the phrase just like I did in the vintage car card (above) and added the snowflake and star die cuts from the set. Iridescent sparkle gems were added to the centers for a little bling! Gingham ribbon was added for a tag string. The Gingham pattern paper is from this Honey Bee Stamps paper pad. I can’t remember where I found the dotted paper, but really any scrap will do to achieve this look. It’s a great way to use up those pretty pieces of paper you can’t stand to throw away. 🙂 This tag is ready for gift giving!
Don’t forget to join us on the IG Hop today. You can start by linking here >> Bobbi’s Instagram page. I have the full list of participants. Remember: one winner is chosen from EVERY stop so you have a great chance of winning one of the draws! You can shop the entire Peace On Earth Release here.
If you decide to place an order, please use the links in this post so that Simon Says Stamp knows what inspired you. I appreciate it very much. It helps me to continue to bring more ideas to you!
Thanks for stopping by today. If you want to see more ideas and inspiration from me, subscribe to my blog, BobbiHartDesign.com. I’ll send you updates on new posts! You can also find me on Instagram as @BobbiHartDesign and on Facebook as BobbiHartDesign.
Bobbi Hartmann Lemanski, Bobbi Hart♥ Design, Adding h♥art into every design

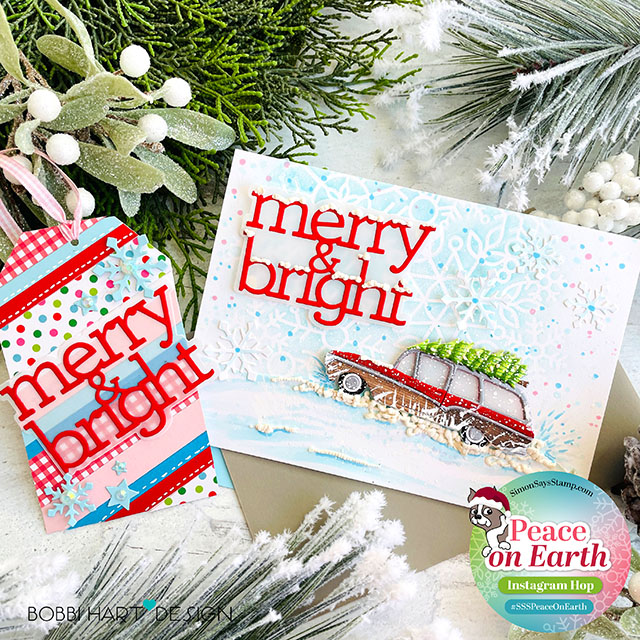




The vintage car card is really beautifully designed and made. I love it. Thanks for making it AND sharing it with us! Need to find out more about liquid appliqué.
Amanda – It’s super easy to use, but you will need an embossing / heat gun to puff it up. It’s a super old product, but people forget about it 🙂 Crafty Hugs, Bobbi