
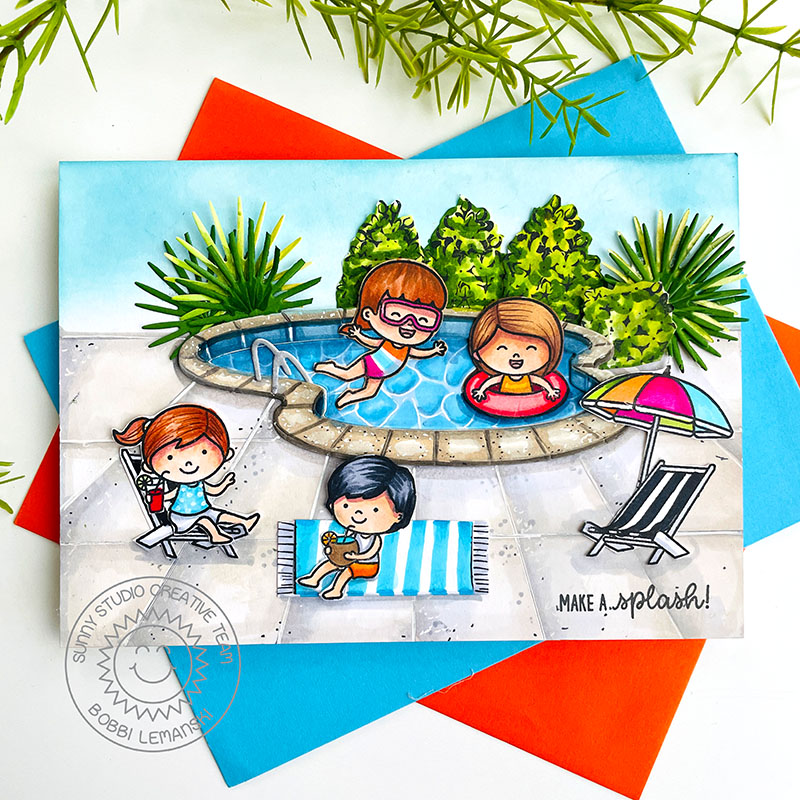
Hi Sunny Studio friends! It’s Bobbi Lemanski here sharing a few new products from the latest release. I wanted to create a light-hearted pool scene for my card today. I’m using a unique group of Sunny Studio Stamps together to create this summer setting including:
Kiddie Pool Stamps and coordinating dies
How to Make this Card
To make this 5″ X 7″ card, I used 80lb Neenah Solar White cardstock for the card base and all the die cuts. I die cut the pool ledge and steps and colored them using the following Copic Marker colors:
- Water: B26, B02, B91, B93, B95
- Pool ledge and decking: W4, W3, W1
- Greenery/bushes: YG67, YG63, YG03, YG00
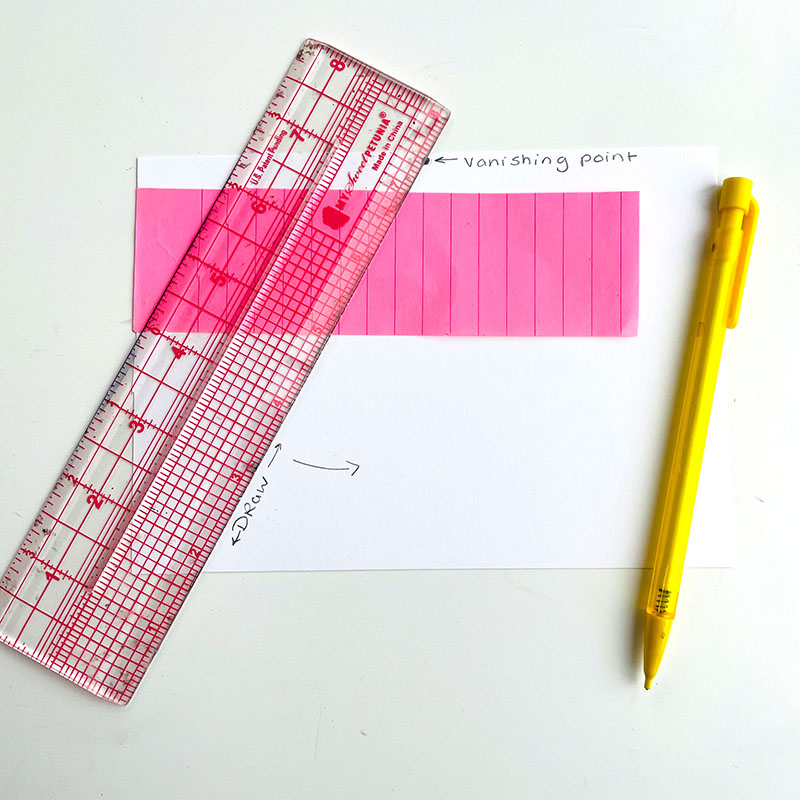
To make the patio tile decking around the pool, I made a small point in the center of my card (i.e., the vanishing point) at the top edge and moved my ruler from that stationary point out to the bottom edge of my card. This is called a one-point perspective. This helps make my scene look a little more realistic and somewhat three-dimensional. The pool die cuts were positioned on the cement tile decking along with the pool steps.
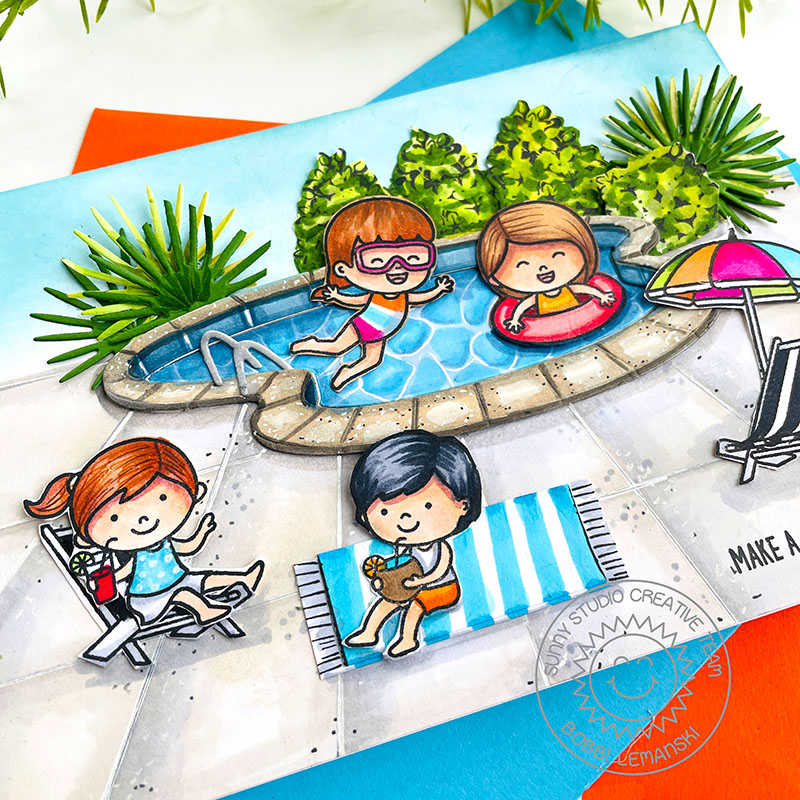
To create the background, I used a blender brush to apply Mermaid Lagoon Distress Oxide Ink for the sky. I added a natural privacy fence around the pool using the Lovely Lilacs stamps. These taller floral stamps make great bushes/hedges around the back of the pool. I also used one of the Summer Greenery Dies to create two spikey-looking bushes, too. I really love how the greenery turned out. Sometimes you have to look at your supplies just a little differently to achieve the desired result. 🙂
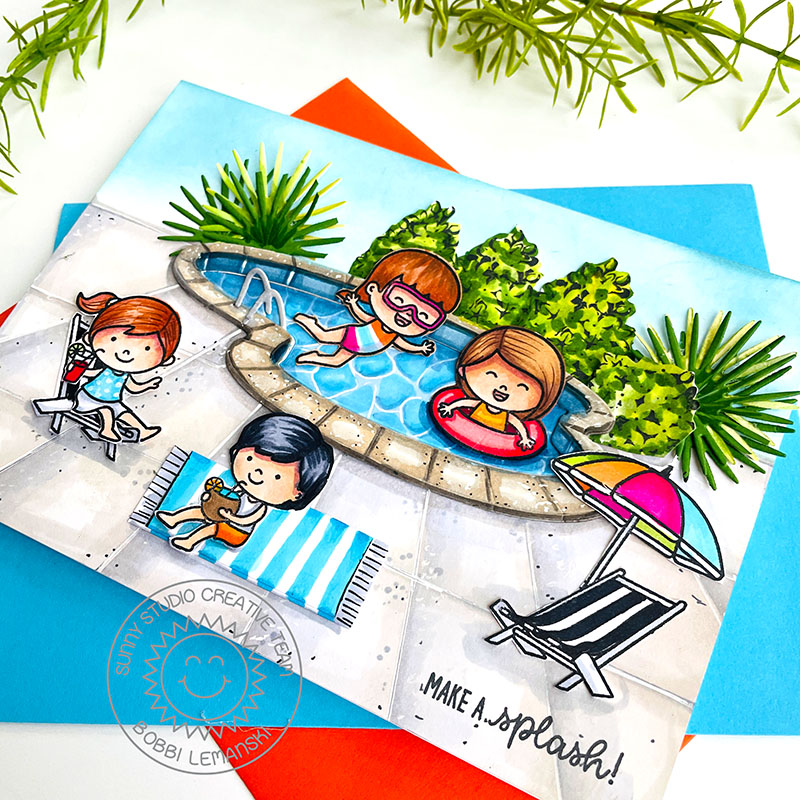
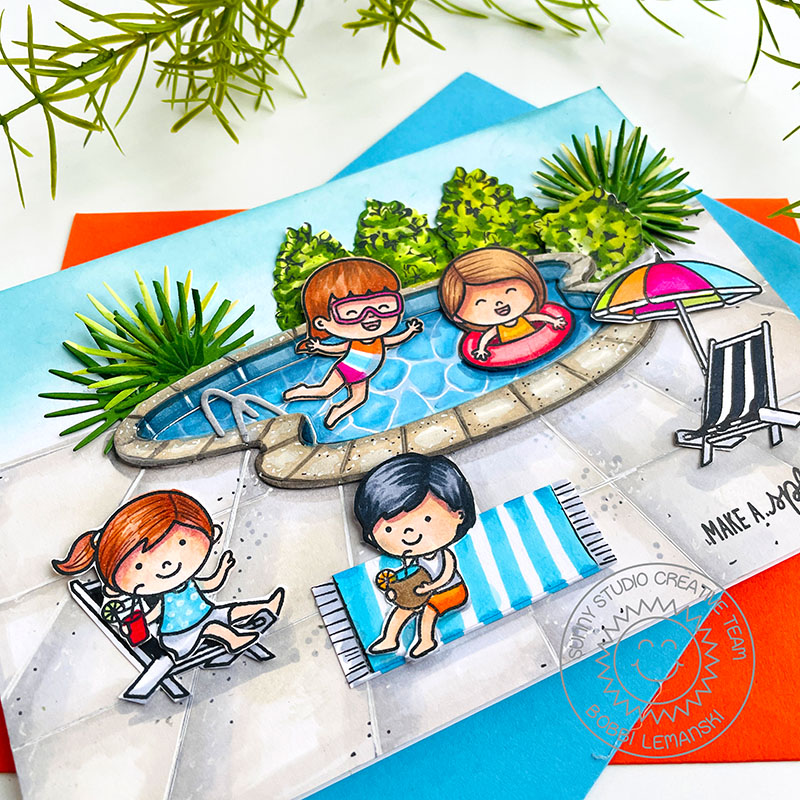
For the characters in the scene, I used the Kiddie Pool Stamps and coordinating dies to add the girls in the pool, the friends around the pool, and the left-side beach chair. I wanted another summer deck chair, so I added the right-side one from the Ocean View Stamps set. Lastly, I hand drew a small towel for the boy to sit on. Various Copic colors were used to color in all the elements. Lastly, I stamped the phrase in the lower right corner to finish this card.
Thanks for stopping by today. If you want to see more ideas and inspiration from me, subscribe to my blog, BobbiHartDesign.com. I’ll send you updates on new posts! You can also find me on Instagram as @BobbiHartDesign and on Facebook as BobbiHartDesign. Bobbi Hartmann Lemanski, Bobbi Hart♥ Design, Adding h♥art into every design


