
Hello Bee crafters! I want to welcome you to my little home for the holidays! This home was made using some really fun new items from the Honey Bee Stamps Holiday Wishes release. If you love to decorate your home, you’re going to love to decorate this front porch. I’m using the following new Honey Bee Stamps products:
Lovely Layers: Front Porch Honey Cuts
Lovely Layers: Front Porch Holiday Add-On – Honey Cuts
Welcome Home stamp set and coordinating Honey Cuts dies
The featured project below is made from Neenah 80lb Solar White cardstock for the card base and card front panel. All of the black ink stamping was done using Honey Bee’s Bee Creative Intense Black Ink. I use Honey Bee Stamps Bee Creative Precision Glue and for when I want more dimension, Bee Creative Foam Dots With Tab for adhering my elements together. My card is 5″ X 7″ in size.
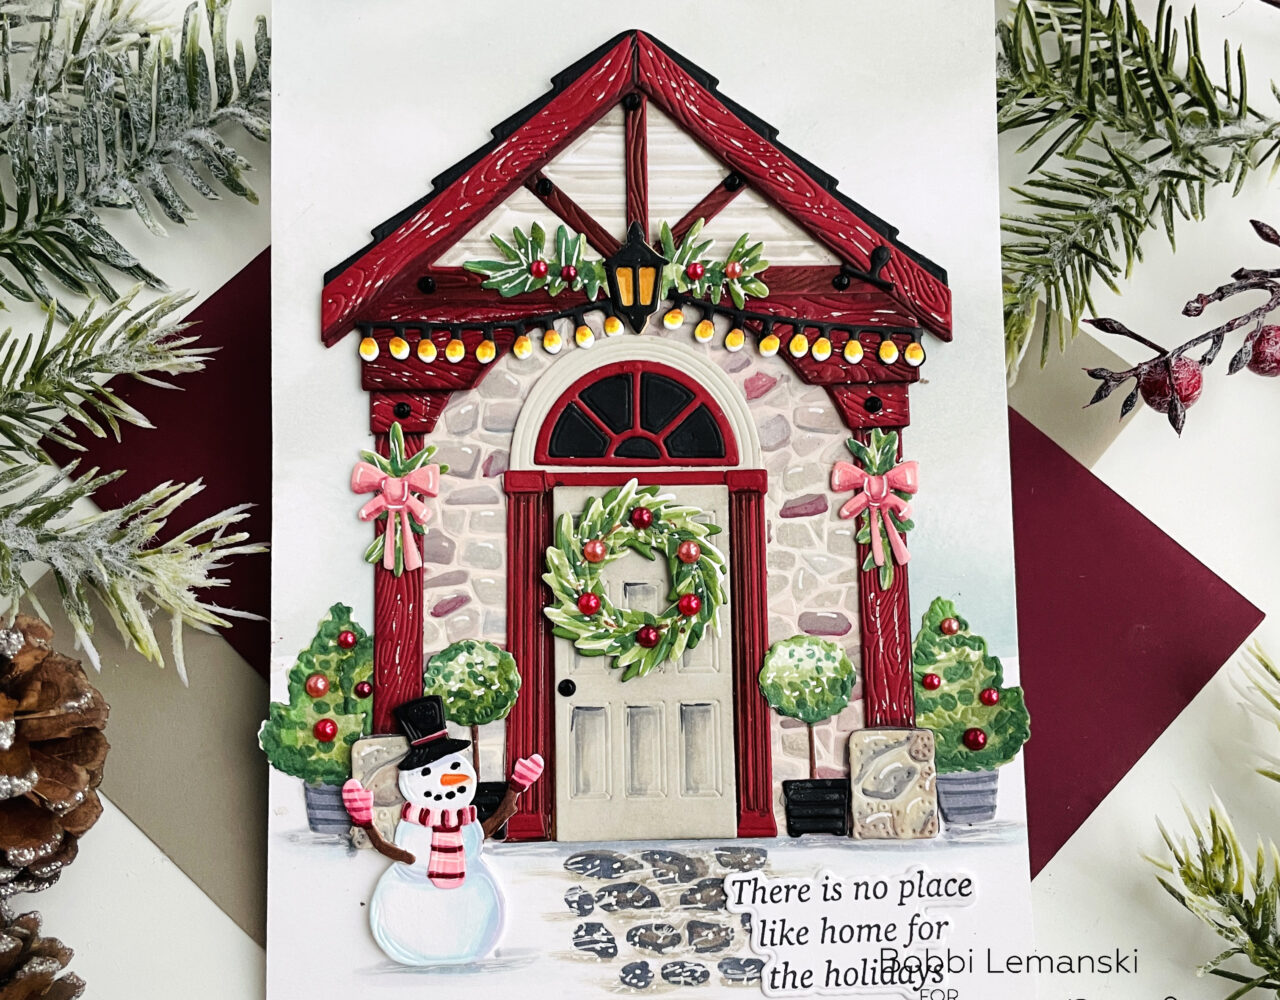
To create this card, I started with a white 5″ X 7″ card base. Next, I die cut all the elements of the house using the Lovely Layers: Front Porch Honey Cuts dies. I used a earthy brick red cardstock and a brighter red cardstock for the wood details. I used a black cardstock for the roof shingles, porch light, and half circle window panes. The cobblestone and front door were die cut from a warm shade of gray cardstock. For the trees, snowman, boughs, wreath bows and string of lights, I used white cardstock.
Once everything was cut, I colored the detailed elements with Copic Sketch Markers to add shading and more dimension to the the pieces. For the cobblestone, I used earthy, natural stone colors including: E70, E40, E43, W2, W4, C3, C1 and R89. I used warm and cool shades of grays along with R89 to add depth to the red painted/stained wood elements. For the foliage (wreath, shrubs, topiaries, boughs, etc.), I used yellow-green shades and green shades including G29, G28, YG67, YG17, YG23, YG03. The door panels were shaded with warm grays. The snowman was shaded in blues and blue-violets including BV0000, BV000, B000, and B00. The mittens and scarf were colored in red violets and the string of lights in Y19, Y24, and Y08.
I attached the house to the card front and added gray shading around the base to “ground” the house on the snowy landscape. I added stepping stones to the front of the door and speckled them with snow using my Gelly Roll white gel pen. I also used my white gel pen to add some rustic texture to the wood pillars, fascia and porch beams. A dry white gel pen is perfect for this technique. I stamped, die cut and attached the sentiment from the Welcome Home stamp set in the lower right corner. To finish the card, I added some Holiday Wishes pearl gem stickers and snow to the wreath, potted shrubs and the top bough.
You can shop the entire Honey Bee Stamps Holiday Wishes Release here. If you decide to place an order, please use the links in this post so that Honey Bee knows which ideas inspired you!
Thanks for stopping by today. If you want to see more ideas and inspiration from me, subscribe to my blog, BobbiHartDesign.com. I’ll send you updates on new posts! You can also find me on Instagram as @BobbiHartDesign and on Facebook as BobbiHartDesign.


