

![]() I’m so excited to be guest designing this month for Whimsy Stamps. I am also happy to let you know that Whimsy is celebrating “31 Nights of Halloween,” too! Naturally, I’m sharing in on the fun with a Halloween card today featuring the following Whimsy stamp sets:
I’m so excited to be guest designing this month for Whimsy Stamps. I am also happy to let you know that Whimsy is celebrating “31 Nights of Halloween,” too! Naturally, I’m sharing in on the fun with a Halloween card today featuring the following Whimsy stamp sets:
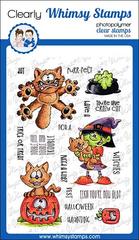
When I saw the funny cat in the Going Catty stamp set, I was immediately drawn to this set. The expression on this feline’s face is priceless and perfect for a humorous Halloween card. I could just envision this scaredy cat looking out a window and seeing a dressed-up, scary trick or treater. Here’s my take on that scene…
Cracked Glass Window
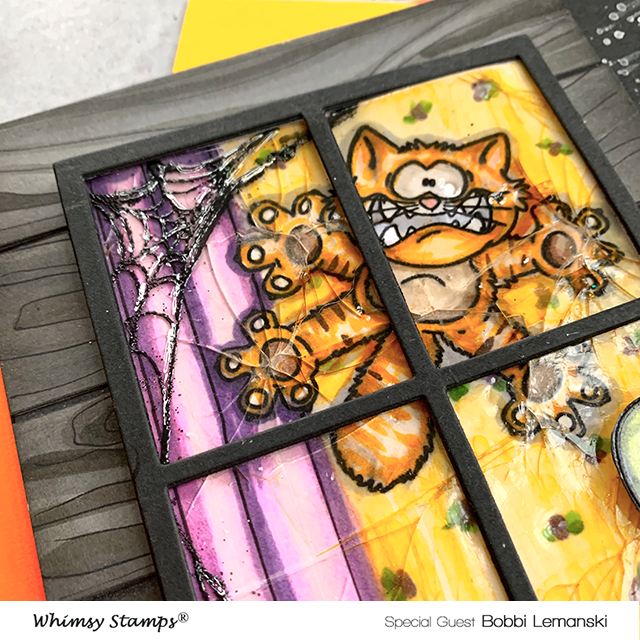
I wanted the recipient to feel the intensity of the cat’s fear so I created a broken glass window to match those large paws and fearful face. Using an oldie, but goody technique called cracked glass, I created the feature window. To make the window, I stamped and colored the cat and added a curtain to the left along with a yellow wallpaper background to create the look of an inside of a house. I covered the entire window front with Versamark Watermark ink using the direct-to -paper method (stamp the pad directly on the cardstock). Quickly, I covered the inked area with Ranger Ultra Thick Embossing powder and heat set it with my heat tool. I repeated these steps three times to create a three-layer, thick glass. Next, I put the frameless window scene in the freezer to completely harden. While the window was in the freezer, I worked on the rest of the card.
Exterior Scene
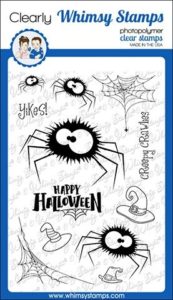
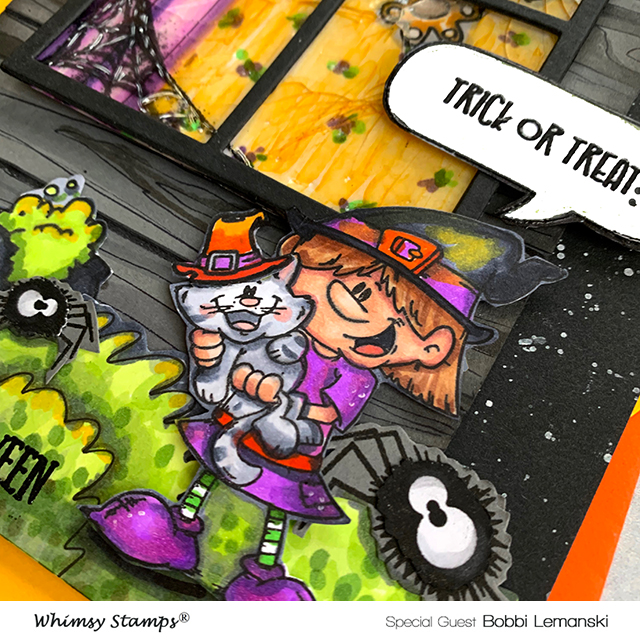
I stamped, colored and fussy cut various images for the exterior scene including two spiders from Fuzzy Spiders and the witch holding the cat from Going Catty. I also hand drew some shrubs for outside the window. I used Copics in the following color families: yellow-greens (YG) for greens, violets (V) for the purples, cool grays (C) for the gray/black shades and a bit of red (R) and yellows (Y) for the reds/oranges.
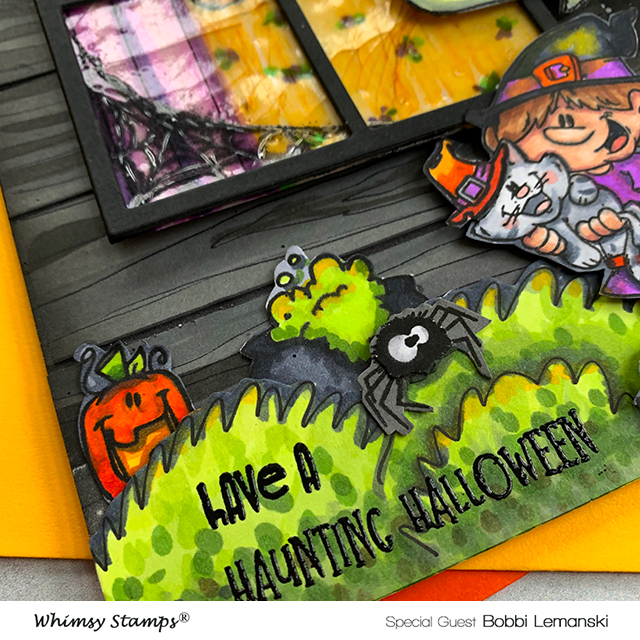
I needed to create the house exterior for the window and the outside sky. The house siding was created using strips of gray cardstock. I added lines using a fine-tip black marker and Copics in gray shades to mimic woodgrain. The strips were added to a black piece of cardstock, allowing a thin strip of black to show through between each faux siding board for dimension. The sky was created by splattering diluted white ink on black cardstock. The house was adhered to the card front background and the bushes were added to the bottom edge to create the scene design. Next the exterior creatures were added – the witch, spiders, and cute little orange pumpkin.
Finishing the Card
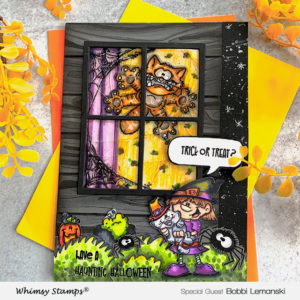
Now it’s time to finish the window for the house. After removing the window glass from the freezer, I lightly bent the embossed cardstock by the paws to create glass cracks by the paw points. I always love “cracking the glass.” It’s so fun to see it happen. After the glass was broken, I added a few cobwebs using a Versafine Black permanent ink over the clear embossing. Lastly, I added the four-pane, framed black window to the glass front. I made this by punching four squares out of a black piece of cardstock. The completed window was layered over the house siding.
I heat embossed a subtle phrase over the shrubs in black and a feature speech bubble with the phrase “trick or treat?” to the exterior to complete this Halloween card. This is a 5″ X 7″ card so there was plenty of space to create this scene. This could easily be done on a smaller card size by simply overlapping and simplifying the elements, too.
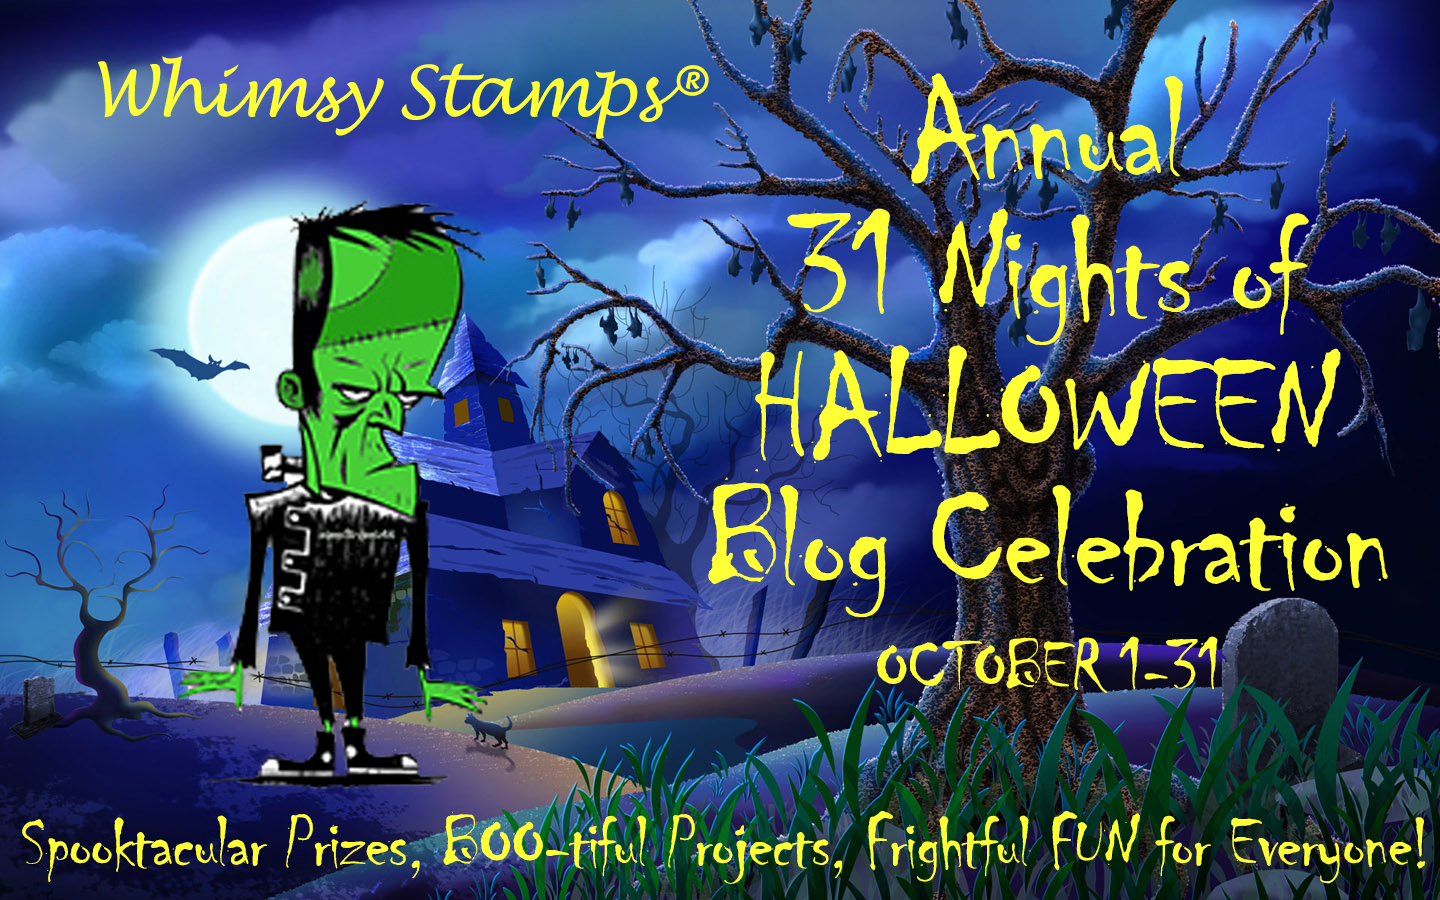
31 Nights of Halloween all month long at Whimsy Stamps!
If you’re a Halloween lover, make sure to check out all the fun Halloween cards that are being featured during the 31 days of Halloween on the Whimsy Stamps blog. There are spooktacular prizes and boo-tiful projects offering frightful fun for everyone!
My card is the 11th card idea and I will have another one on the 22nd so stay tuned for more great fun and another idea using these awesome Whimsy stamp products!
You can find me on my blog everyday at BobbiHartDesign.com,
on Instagram as @BobbiHartDesign and on Facebook as BobbiHartDesign.
Bobbi Hartmann Lemanski, Bobbi Hart♥ Design,
Adding h♥art into every design


Such awesome details on your adorable card! Love the cat and the cracked window! Great coloring too!