
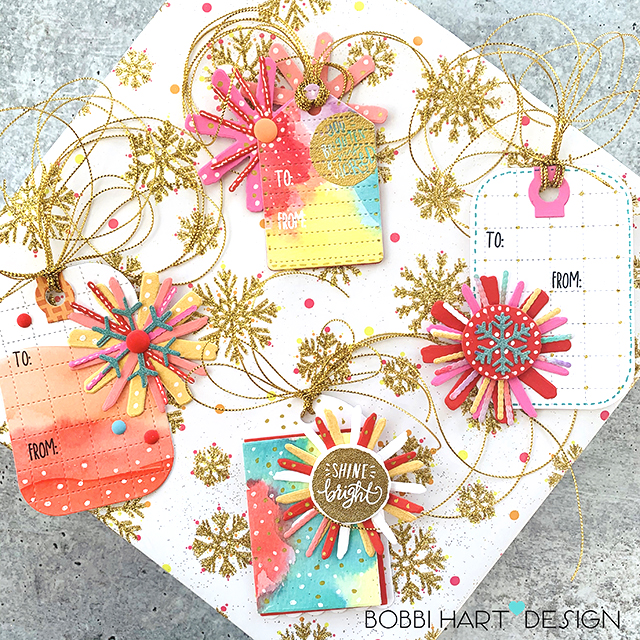
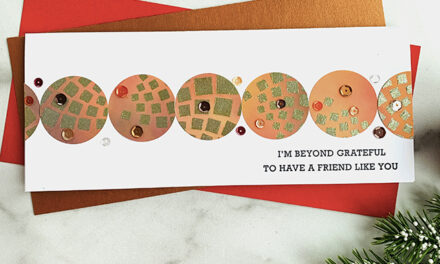
I love to take non-traditional colors and use them for Christmas. I found this cute white with gold glitter snowflake paper at Home Goods. It has bright dots in orange, fuchsia and lime which drew me to it. I had these fun new tag dies from Reverse Confetti so I decided to pair them together for these very non-traditional, yet merry tags for my holiday gifts.
I used the following products from Reverse Confetti. None of the products I used are considered Christmas sets. They are all designed to be used for any occasion which makes them very versatile. Most of the products are available at Simon Says Stamp, too. Here’s direct links to all of the items used.
- Grid Stitched Tag Confetti Cuts
- Dashed Line Tag Confetti Cuts
- Fold Over Tag Confetti Cuts
- My Sunshine stamp set (currently not available at SSS, but available at Reverse Confetti)
- My Sunshine Confetti Cuts (currently not available at SSS, but available at Reverse Confetti)
My Sunshine is not available at Simon Says Stamp, but this set that is available would be a perfect substitute:
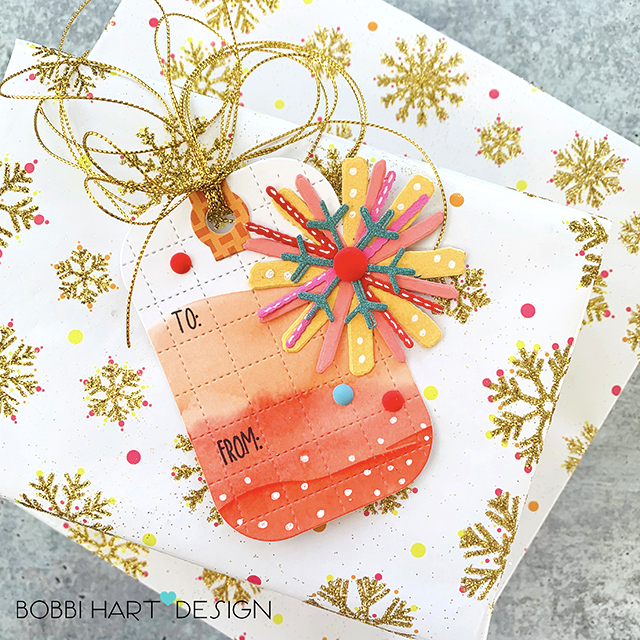
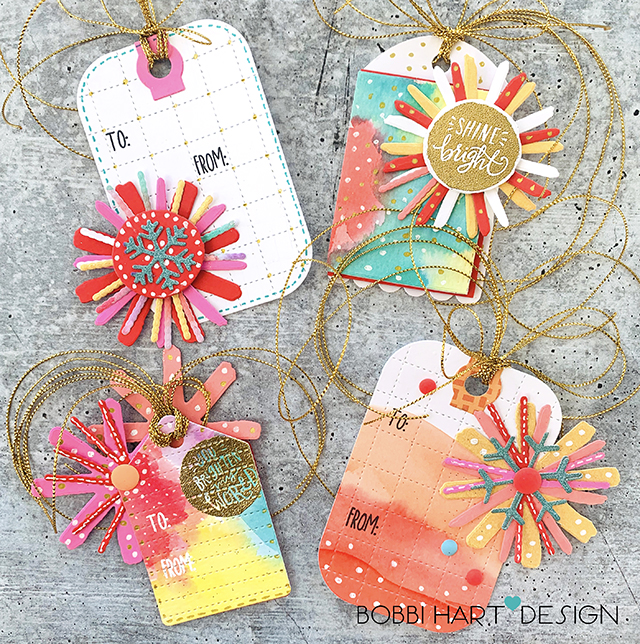
I had some extra watercolored papers sitting around, leftover from other projects. I had painted bright colors on them including yellows, oranges and pinks. I ran the colored papers through my die cutting machine to make the textured-stitched tags. From there, I added additional stitching and the My Sunshine Confetti Cuts to make “snowflake” designs. A touch of aqua blue was added using enamel dots and a glittery snowflake, too!
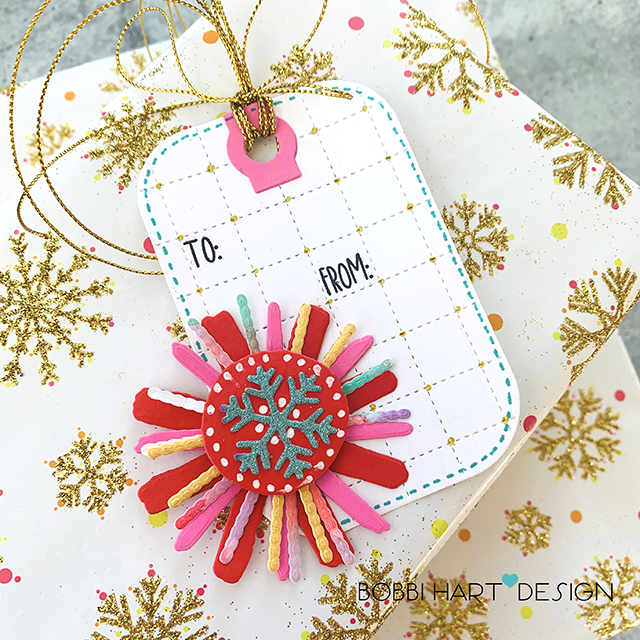
Fun colored stitching using a fine-tip marker and white gel pen dotted accents add to the fun of these tags.

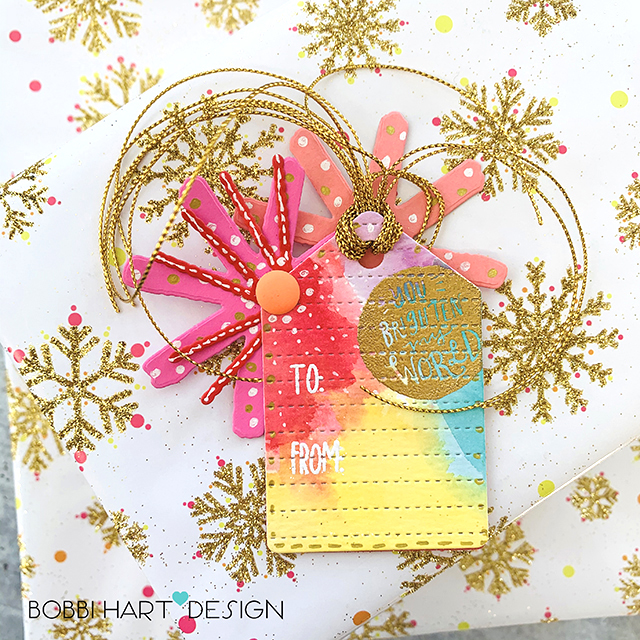
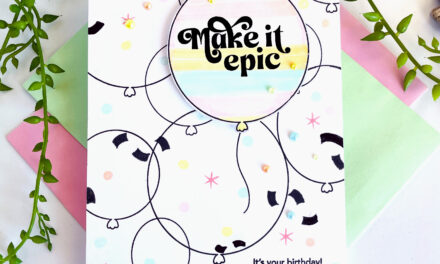
This Fold Over Tag Confetti Cuts tag opens to reveal the to/from inside. The “Shine Bright” stamp from the My Sunshine stamp set makes the perfect center for these abstract snowflake designs. I embossed it using gold embossing powder. I also added gold and white dots using a Uniball Signo White Gel Pen and Uniball Signo Gold Gel Pen.
All is glitter and bright with this tag! The dashed line tag is so adorable to use. It’s a smaller tag so I added the starbursts in bright colors to the back of the tag (sandwiched between the front and back tag pieces for a clean back side. Gold strings were added to all the tags.
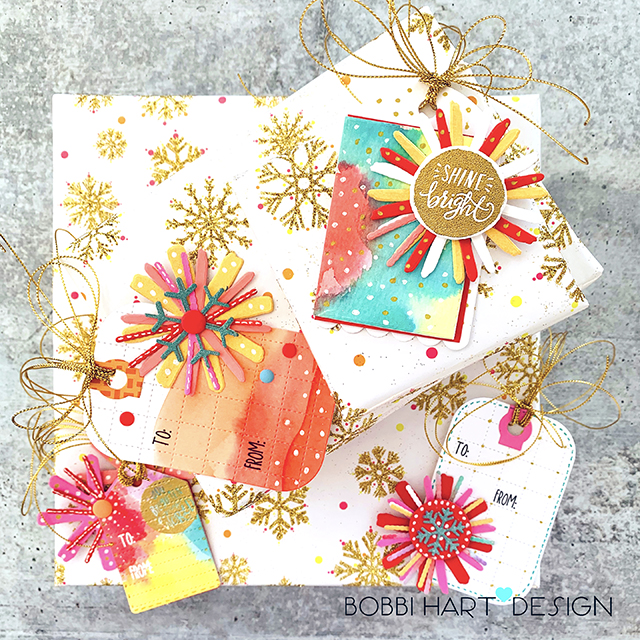
Here’s a look at all four tags. These all could easily be used for birthday, anniversary, congratulations gifts, etc. All you need to do is match it to your gift bag or wrap!
Well, I guess it’s time to say… that’s a WRAP on this post!
Want to see more ideas and inspiration from me? Subscribe to my blog, BobbiHartDesign.com. You can also find me on Instagram as @BobbiHartDesign and on Facebook as BobbiHartDesign.
Bobbi Hartmann Lemanski, Bobbi Hart♥ Design, Adding h♥art into every design


