
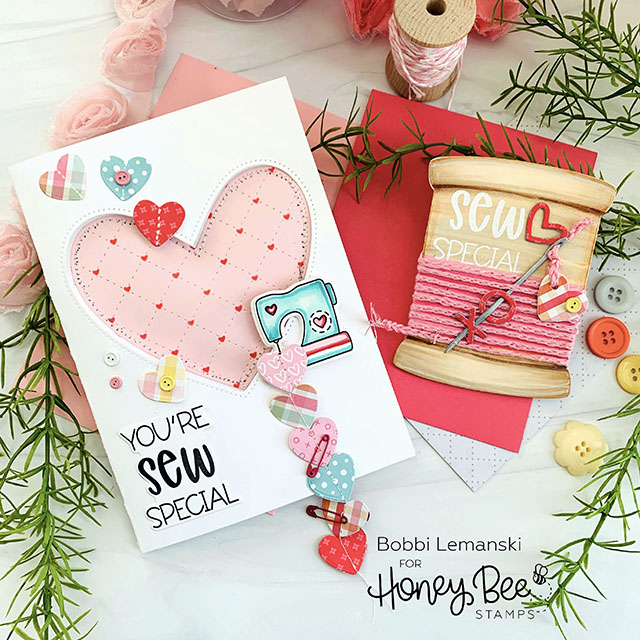
Hello! I have a greeting card and gift card holder that are SEW special and may just have you in stitches by the end of this post!  Both projects were designed using a sewing theme. I had to get my old Elna sewing machine out for today’s feature. I’m really glad I did. It was fun to sew on paper for a change. These projects could be used for a birthday, Mother’s Day or Valentine’s Day by simply changing the verse inside. I’m using the following Honey Bee Stamps products from the new release, Love Letters:
Quilted Hearts and Dots Stencil
So Special stamp and die sets
Pickup Lines stamp and die sets
Honey Bunnies die set (for the small heart die only)
Love Letters 6″ X 6″ pattern paper pad
From prior releases:
Pierced XOXO Hearts die set
Home Sweet Home die set (Note: This set is retiring and is currently on sale!)
The Bee’s Knees 6″ X 6″ pattern paper pad
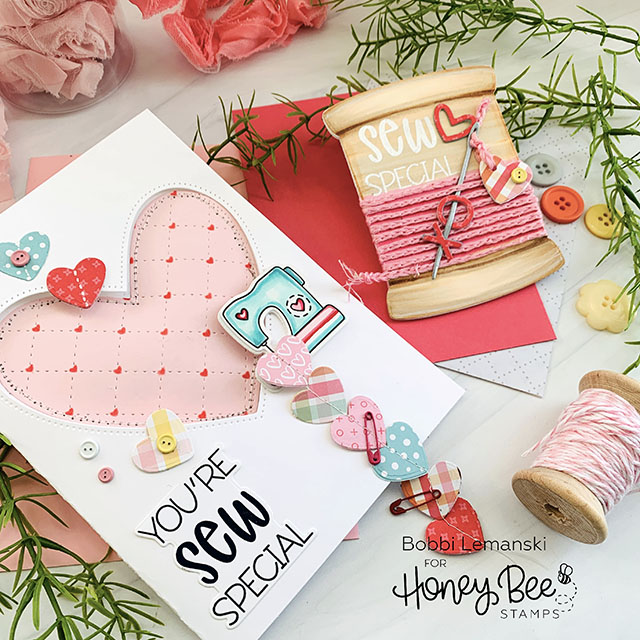
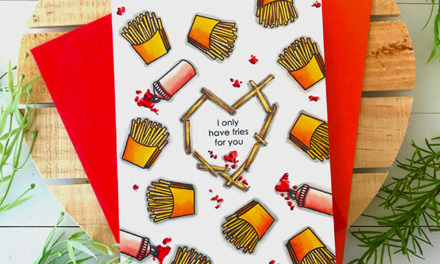
You’re So Special Greeting Card
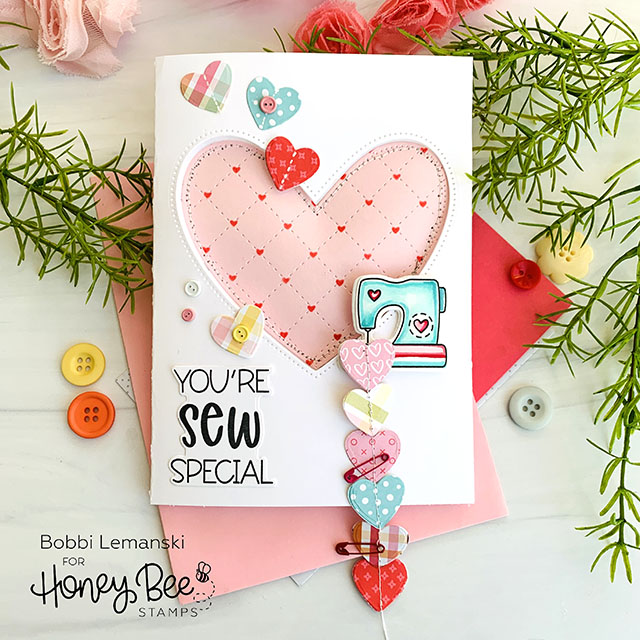
For the greeting, I started with a 5″ X 7″ card base made from 80lb white cardstock and die cut a heart out of the front panel using the Pierced XOXO Hearts die set. The stitching lines looks so cute around the heart and the opening. It’s perfect for this card! I stamped the phrase and sewing machine, colored the machine, and die cut both. I layered the machine with white craft foam to make it stand out and attached both phrase and machine to the front using Bee Creative Precision Glue.
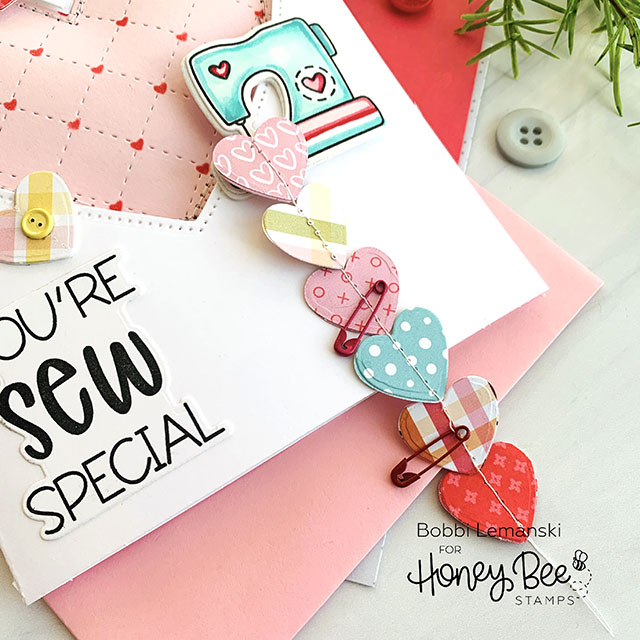
I die cut 6 patterned paper hearts from the new Love Letters 6″ X 6″ paper pad and The Bees Knees pad (aqua dot paper) and backed them with two layers of white cardstock and another matching pattern heart for the back side to create the string of hearts, I ran them through my sewing machine and stitched down the centers of them, keeping the stitch continiuous. I added some colorful safety pins and mini buttons (they are actually mini brads with the metal prongs cut off) to the front along with more hearts.
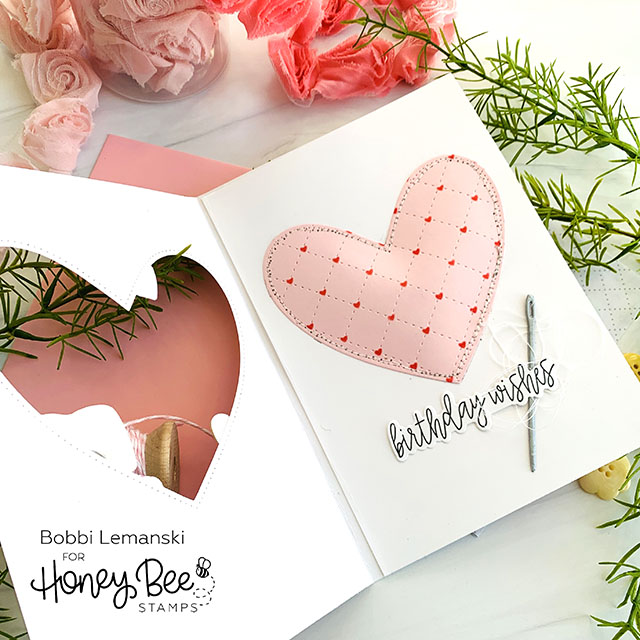
For the inside of the card, I cut a 5″ X 7″ white panel (that I eventually adhered inside the card.) I placed the panel loosely inside the card and marked the front panel heart opening. Next, I die cut pink cardstock using the A2 Quilted Cover Plate die and then cut it in the shape of heart using the same heart used on the front panel. I stenciled little red hearts on the pink die cut heart using Candied Apple Distressed Oxide Ink and a Honey Bee Stamps Blender Brush. I positioned the pink heart to match the front panel heart markings. I added some fiber fill between the heart and the panel and glued and sewed it on to the panel. The fill makes the heart puffy and protrude through the front opening. Tip: If you don’t have a sewing machine, You can glue the heart in place and add white faux stitching around it using a white gel pen.
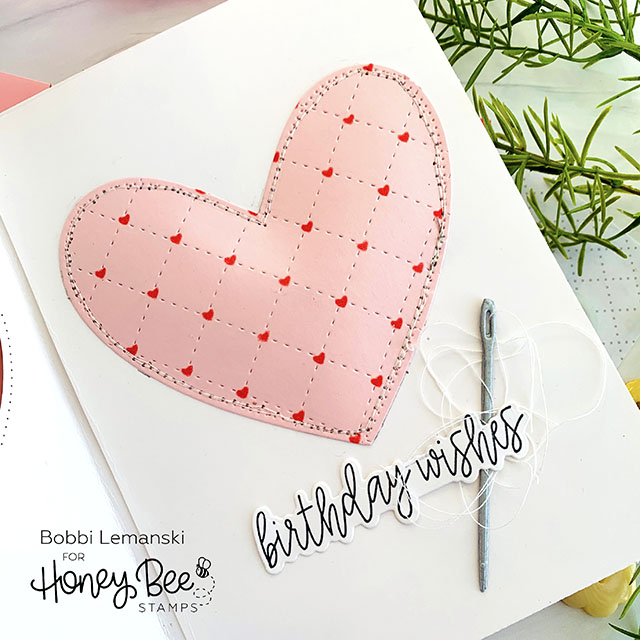
To finish the inside panel, I added the birthday phrase that was stamped and die cut from Pickup Lines stamp and die sets. I added the needle die cut from silver metallic cardstock. (Note: I die cut four layers and glued them together.) I also added white thread to the needle to complete the inside. The panel was attached to the inside of the card. The inside heart puffs out through the heart opening! It’s super fun and and unexpected!
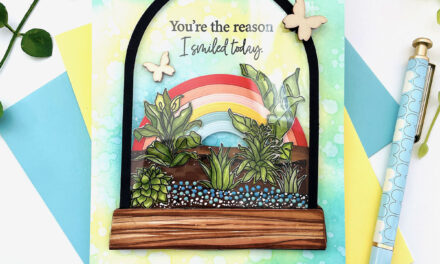
Spool Gift Card Holder
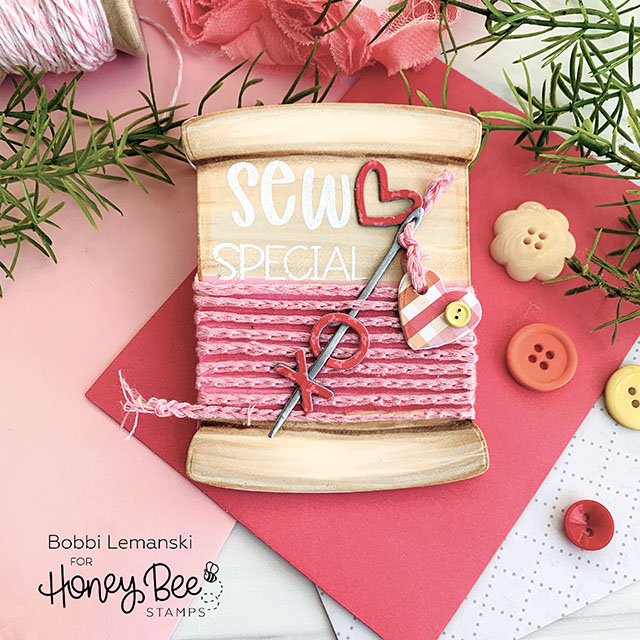
For this spool gift card holder, I die cut a single spool for the front panel and a card base Tip: place spool with top of die edge slightly over the fold to create a folded card base. I colored the spool’s ends and half of the middle body using E50s shades of Copics. I also die cut four needles out of metallic gray cardstock and adhered them together using Bee Creative Precision Glue
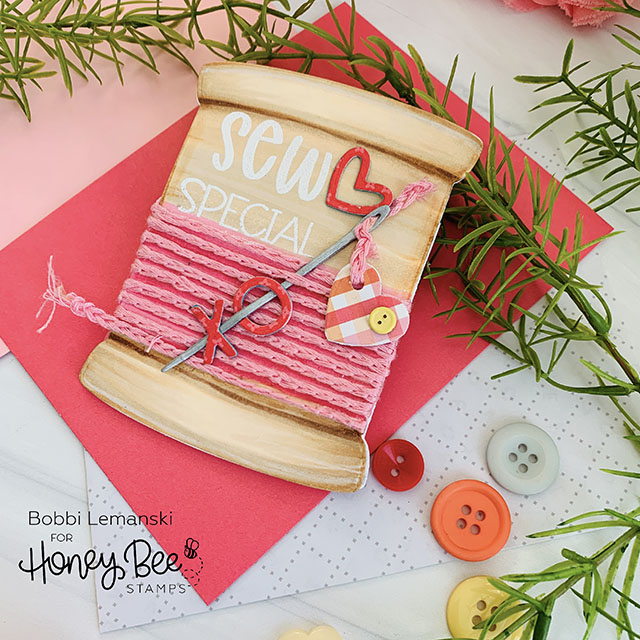
I heat embossed in white, the “Sew Special” phrase on the front. I had some pink cording with an adhesive back from long ago that I attached to the spool, tucking each row’s edges behind the front panel. As I added the rows of thread, I also colored the spool area in pink underneath using R85 and R83, shades darker than my cording for depth.
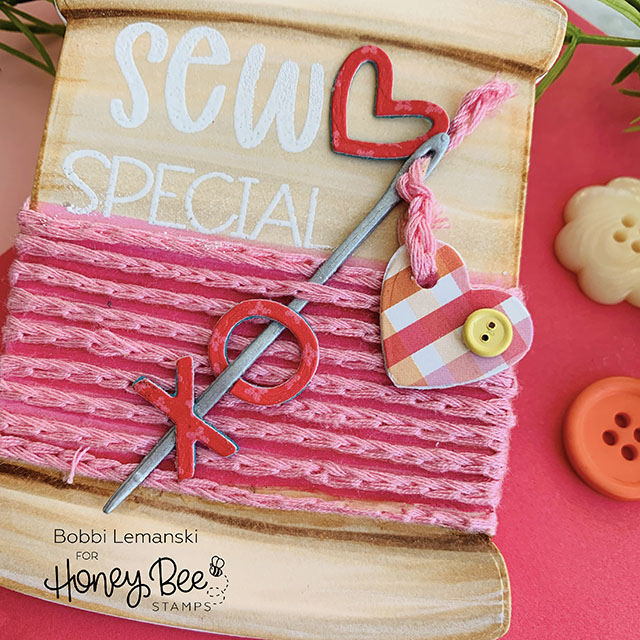
I also die cut some of the Xs and Os and open heart and full heart from pattern paper (backed with a few layers to make them stiff) and added them to the front to embellish.
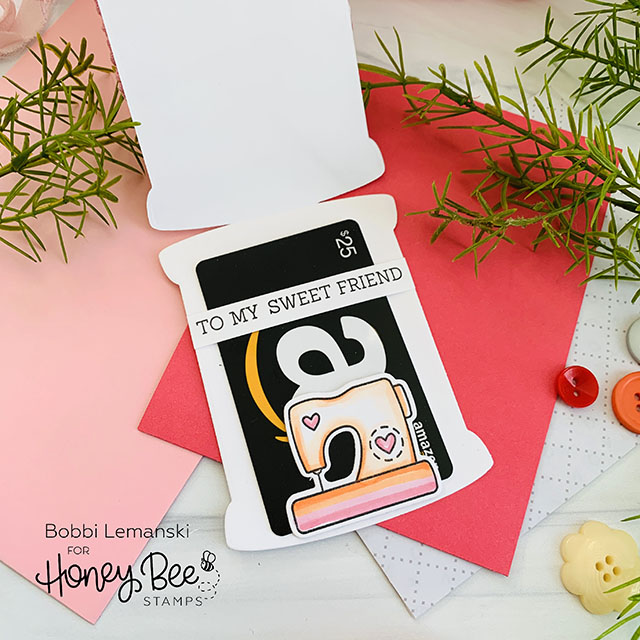
Inside the spool, I added the sewing machine and phrase strip. The “sweet friend” phrase is from the Honey stamp set. I positioned them so that they can secure a gift card in place to finish the gift card holder. I think a gift card to a local fabric or craft store would be really fun inside to fit the theme!
Consider getting out your sewing machine and see what you can create with a few stitches! If you don’t have one, just use faux stitches instead! You can shop all these products at Honey Bee Stamps here! Note: For the gift card, the stitched A2 Love Letters envelopes seen in my photos are also available at Honey Bee Stamps!
Thanks for stopping by today. If you want to see more ideas and inspiration from me, subscribe to my blog, BobbiHartDesign.com. I’ll send you updates on new posts! You can also find me on Instagram as @BobbiHartDesign and on Facebook as BobbiHartDesign.


