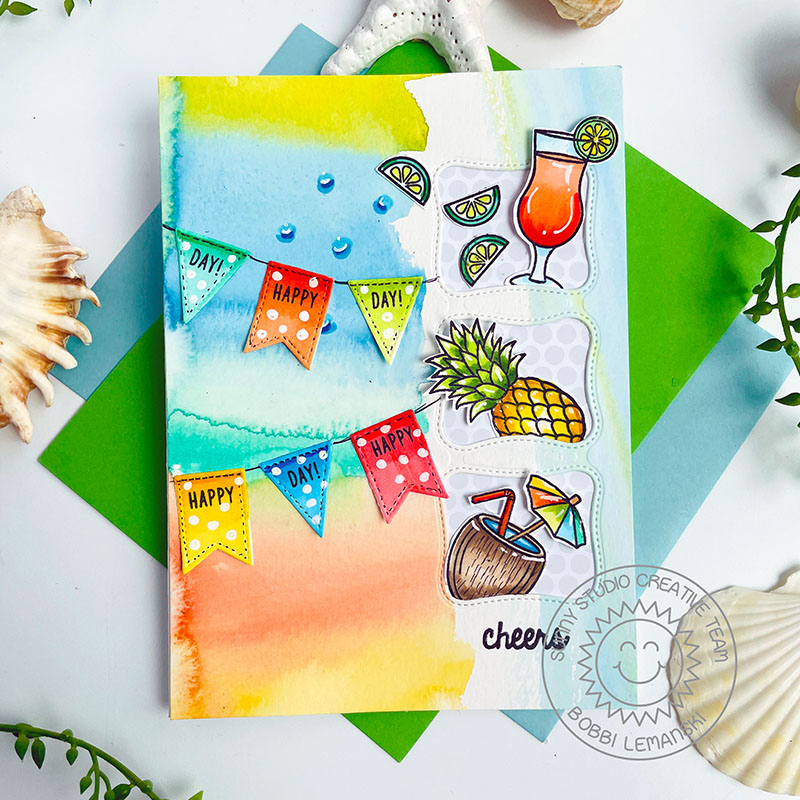
Hello friends! It’s time for a little “wonky” fun using the newly released, “Wonky Windows” die set by Sunny Studio Stamps. I paired this cute die set of imperfect windows and banners with some yummy drinks to make this card. I’m using the following Sunny products:
Tropical Paradise stamps and coordinating die sets
Cruisin’ Cuisine stamp set (for the “happy” and “day” words on the banners)
Subtle Gray Tones 6″ X 6″ paper pad
How to Make this Card
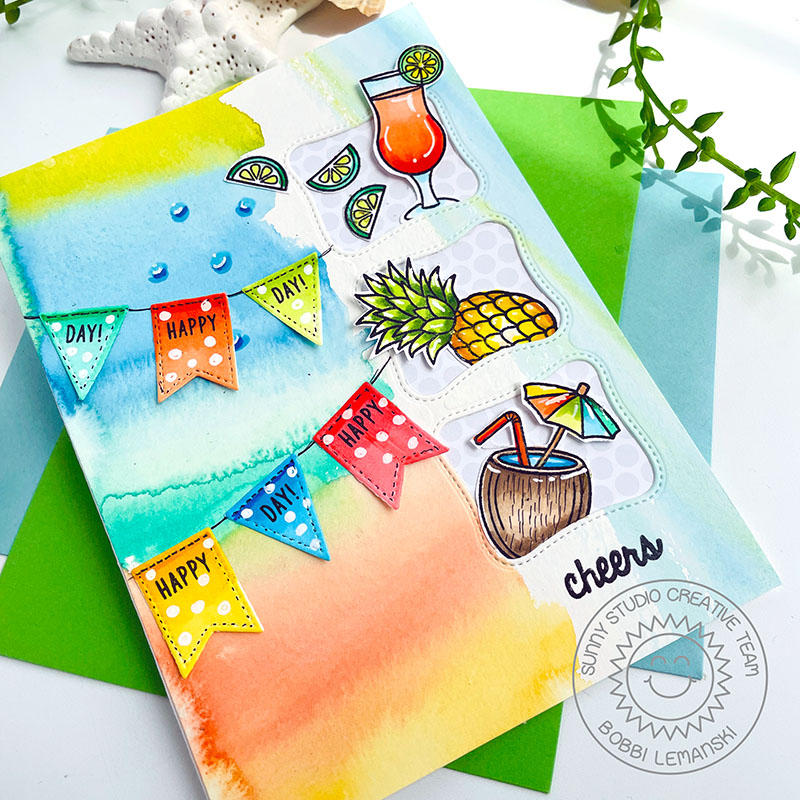
This 5″ X 7″ card begins with a fun watercolor background measuring 5″ X 7″. I brushed on fun colors and let them do their thing. I used Canson XL watercolor paper and Kuretake Gansai Tambi Watercolor paints. The colors blend so nice! Next, I cut out the wonky windows down the right hand side. I added a printed polka dot paper to the windows. The paper is from the Subtle Gray Tones 6″ X 6″ paper pad.
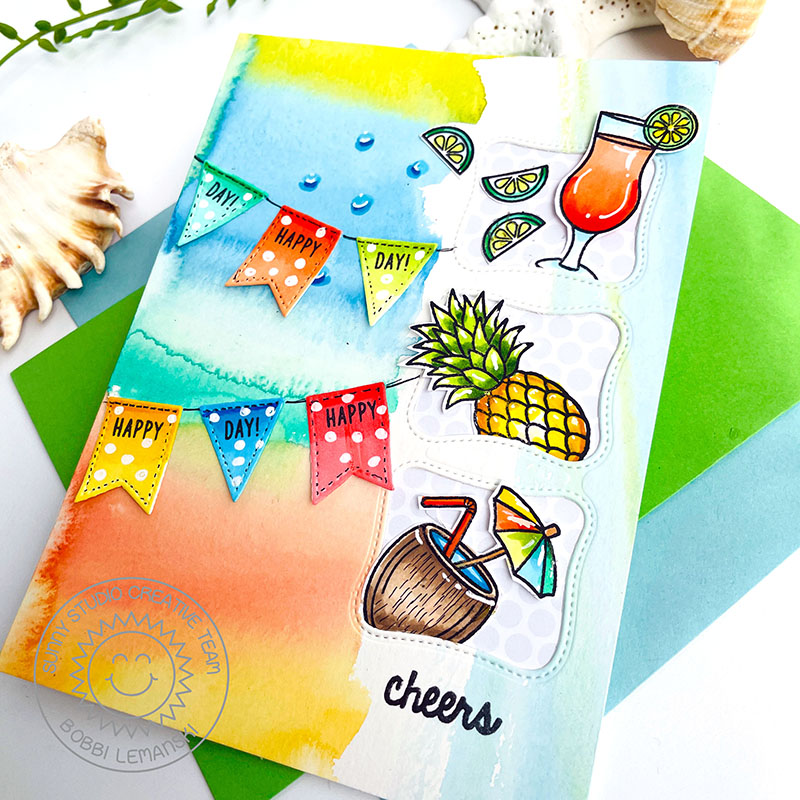
I stamped, colored, and die cut the pineapple and two drinks from the Tropical Paradise stamps and coordinating die sets. I also die cut six banners from the Wonky Windows die set. All of them were cut from Neenah 80lb cardstock. I love the stitching around the windows and banners! I colored the images in using the following Copic Marker colors:
- Pineapple: Y19, Y08, YG67, YG03, YG00, YR24, with white gel pen highlights
- Coconut drink: B05, B04, B02, YR07, YR6, Y19, Y08, G05, Goo, YG03, YG00, E57, E55, E43, with white gel pen highlights
- Daiquiri drink, lime slices and water droplets: G05, G00, Y08, YR07, YR68, YR65, YR61, B05, B02, B00, with white gel pen highlights
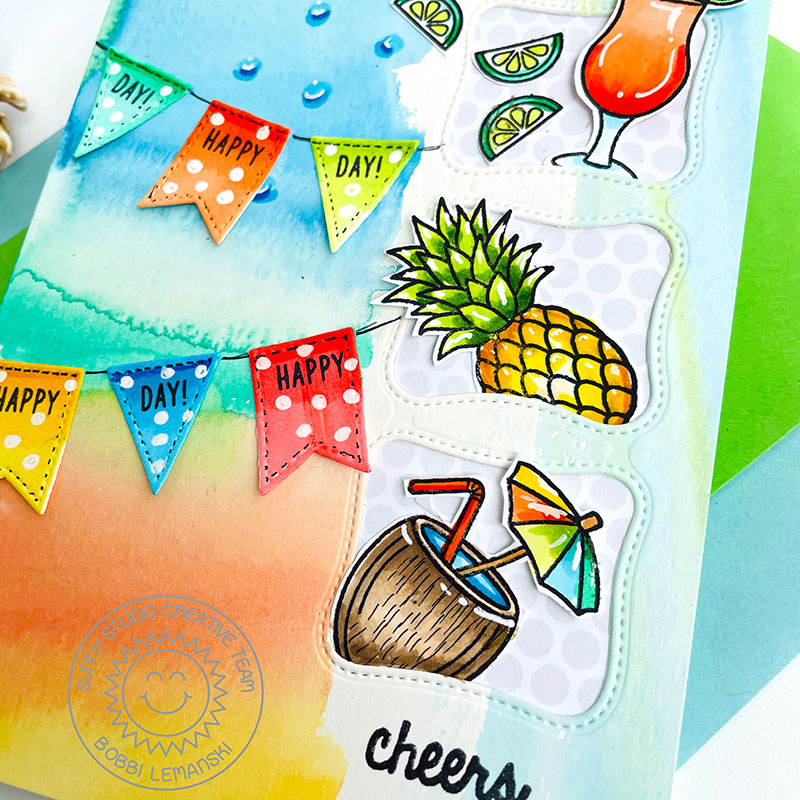
I used all the same colors from the images to color the banners, too. I used a fine-tip black marker for the banner string (hand drew it in) and my white gel pen for the white polka dots. I stamped “HAPPY” and “DAY” to the banners. Everything was glued in place and the entire front panel was attached to an A7 white card base made from Neenah 80lb Solar White cardstock using double sided tape. I have the best results attaching watercolor paper to card bases using very sticky double-sided tape. Lastly, I stamped “Cheers” in black to the lower right corner to complete this card.
Thanks for stopping by today. If you want to see more ideas and inspiration from me, subscribe to my blog, BobbiHartDesign.com. I’ll send you updates on new posts! You can also find me on Instagram as @BobbiHartDesign and on Facebook as BobbiHartDesign.

