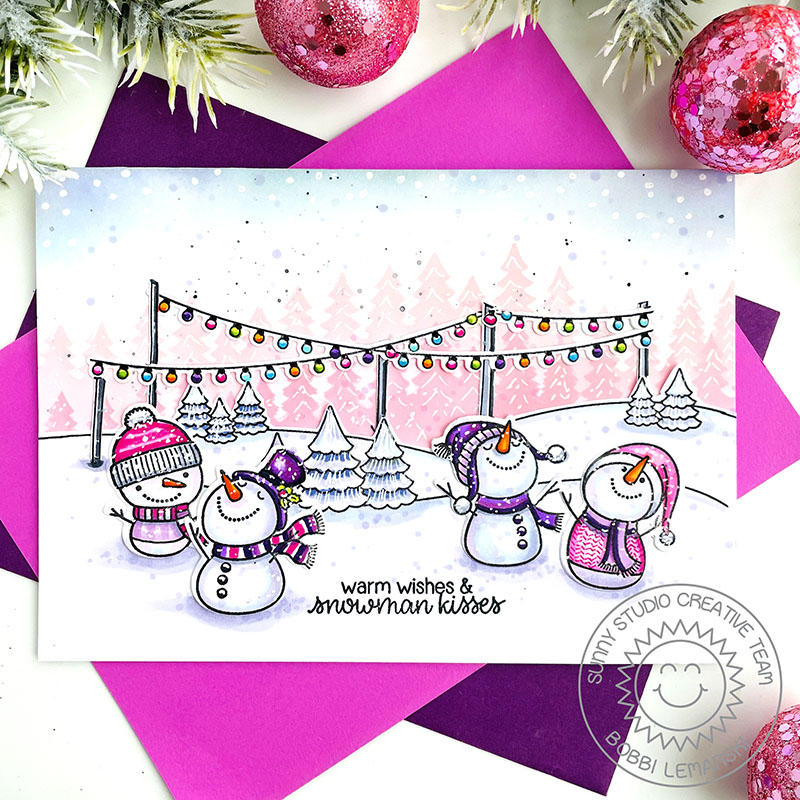
Hi crafty friends! It’s Bobbi Lemanski sharing a holiday card featuring the Snowman Kisses stamp set and coordinating dies by Sunny Studio Stamps. This stamp set just makes me happy. How cute are these snowmen?! I paired this set with the Scenic Route Stamps and coordinating dies and the Forest Trees Stencil set.
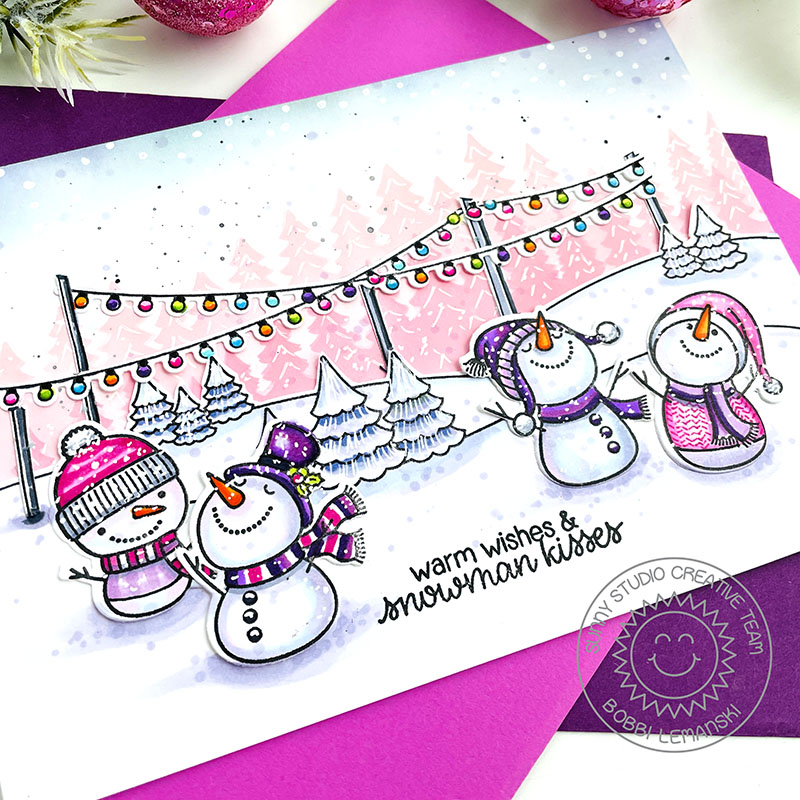
For this 5″ X 7″ card, I used a combination of pinks, lavenders and blue violets for this color story. I started with a card front panel and card base made from 80lb Neenah Solar White cardstock. I used the Forest Trees Stencil set to add trees to the background. Using a blending brush, I stenciled two layers of trees in Spun Sugar Distress Oxide Ink in the far background and Kitch Flamingo Distress Oxide Ink in the forest foreground. I ink blended Shaded Lilac and Broken China (very light touch) on the top of the front for the sky. I used my Gelly Roll white pen and my Copics to add white and blue-violet dots in the sky to make it look like snow is falling.
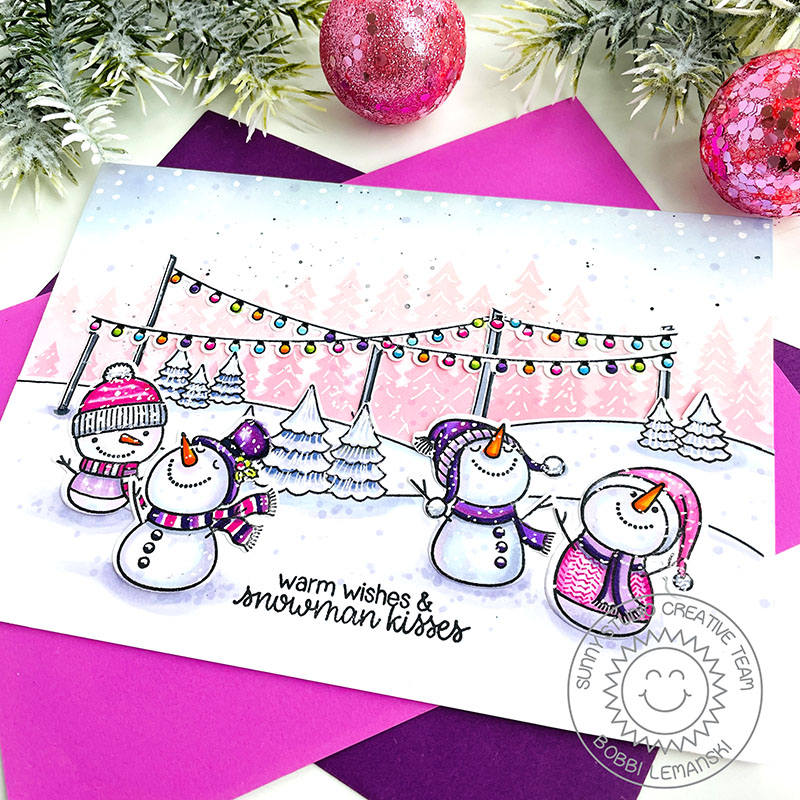
Next, I stamped the snowmen and the Scenic Route scene, including the string of lights on separate cardstock and die cut them using their coordinating dies. I colored them using pinks, lavenders, purples and blue violets using Copic Markers in
- Red-Violets: RV09, RV55, RV02, RV0
- Violets: V09, V04, V12
- Blue-Violet: BV000, BV00, BV12, BV29
- Blue: B00, B000
- Yellow-Green: YG67, YG03
- Cool Grays: C3, C1, and Black 100
In keeping with the color combination, I used blue-violet markers for all the shading around the snowmen and trees and for the falling snowflakes. The only exception to the colors listed above is the string of lights. I used bright and festive colors to color in the tiny light bulbs including yellow, orange, teal, etc.
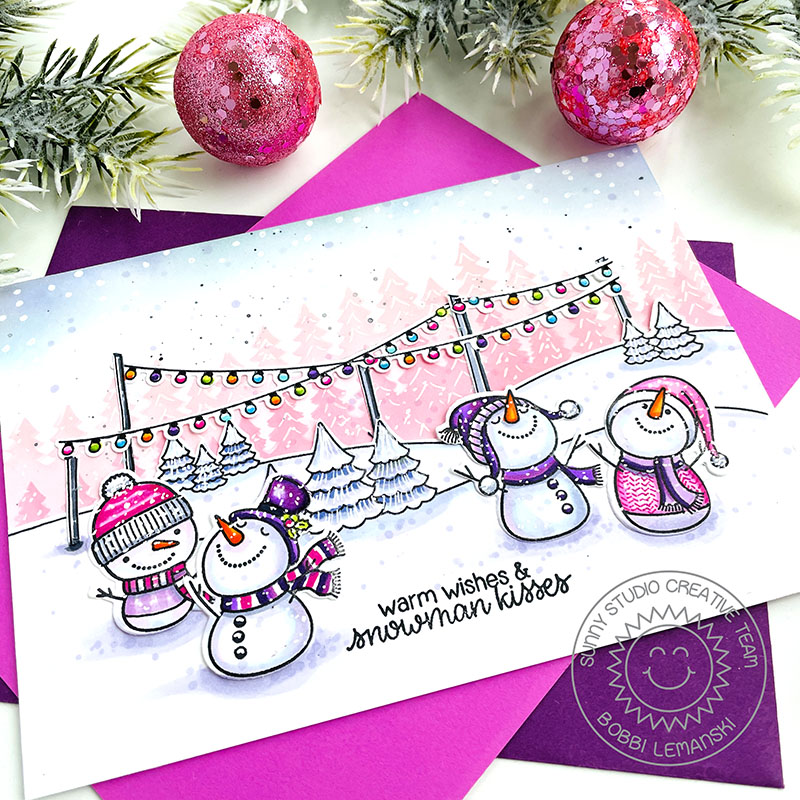
I attached the snowy hill image in the foreground and added the snowmen. Because my card is an A7 size versus A2, the string of lights do not reach from side to side on my card front. To make them work, I hand drew some wood posts to attach the string lights to at the top to make it fit my wider card. I placed the posts and lights in the scene and glued everything in place. I added white accents to the trees and more falling snow right on the snowmen and scene. Finally, I stamped the sentiment at the bottom to finish this holiday card.

Thanks for stopping by today. If you want to see more ideas and inspiration from me, subscribe to my blog, BobbiHartDesign.com. I’ll send you updates on new posts! You can also find me on Instagram as @BobbiHartDesign and on Facebook as BobbiHartDesign.

